Workday
This guide will walk through the process of connecting Workday LMS to Bindbee.
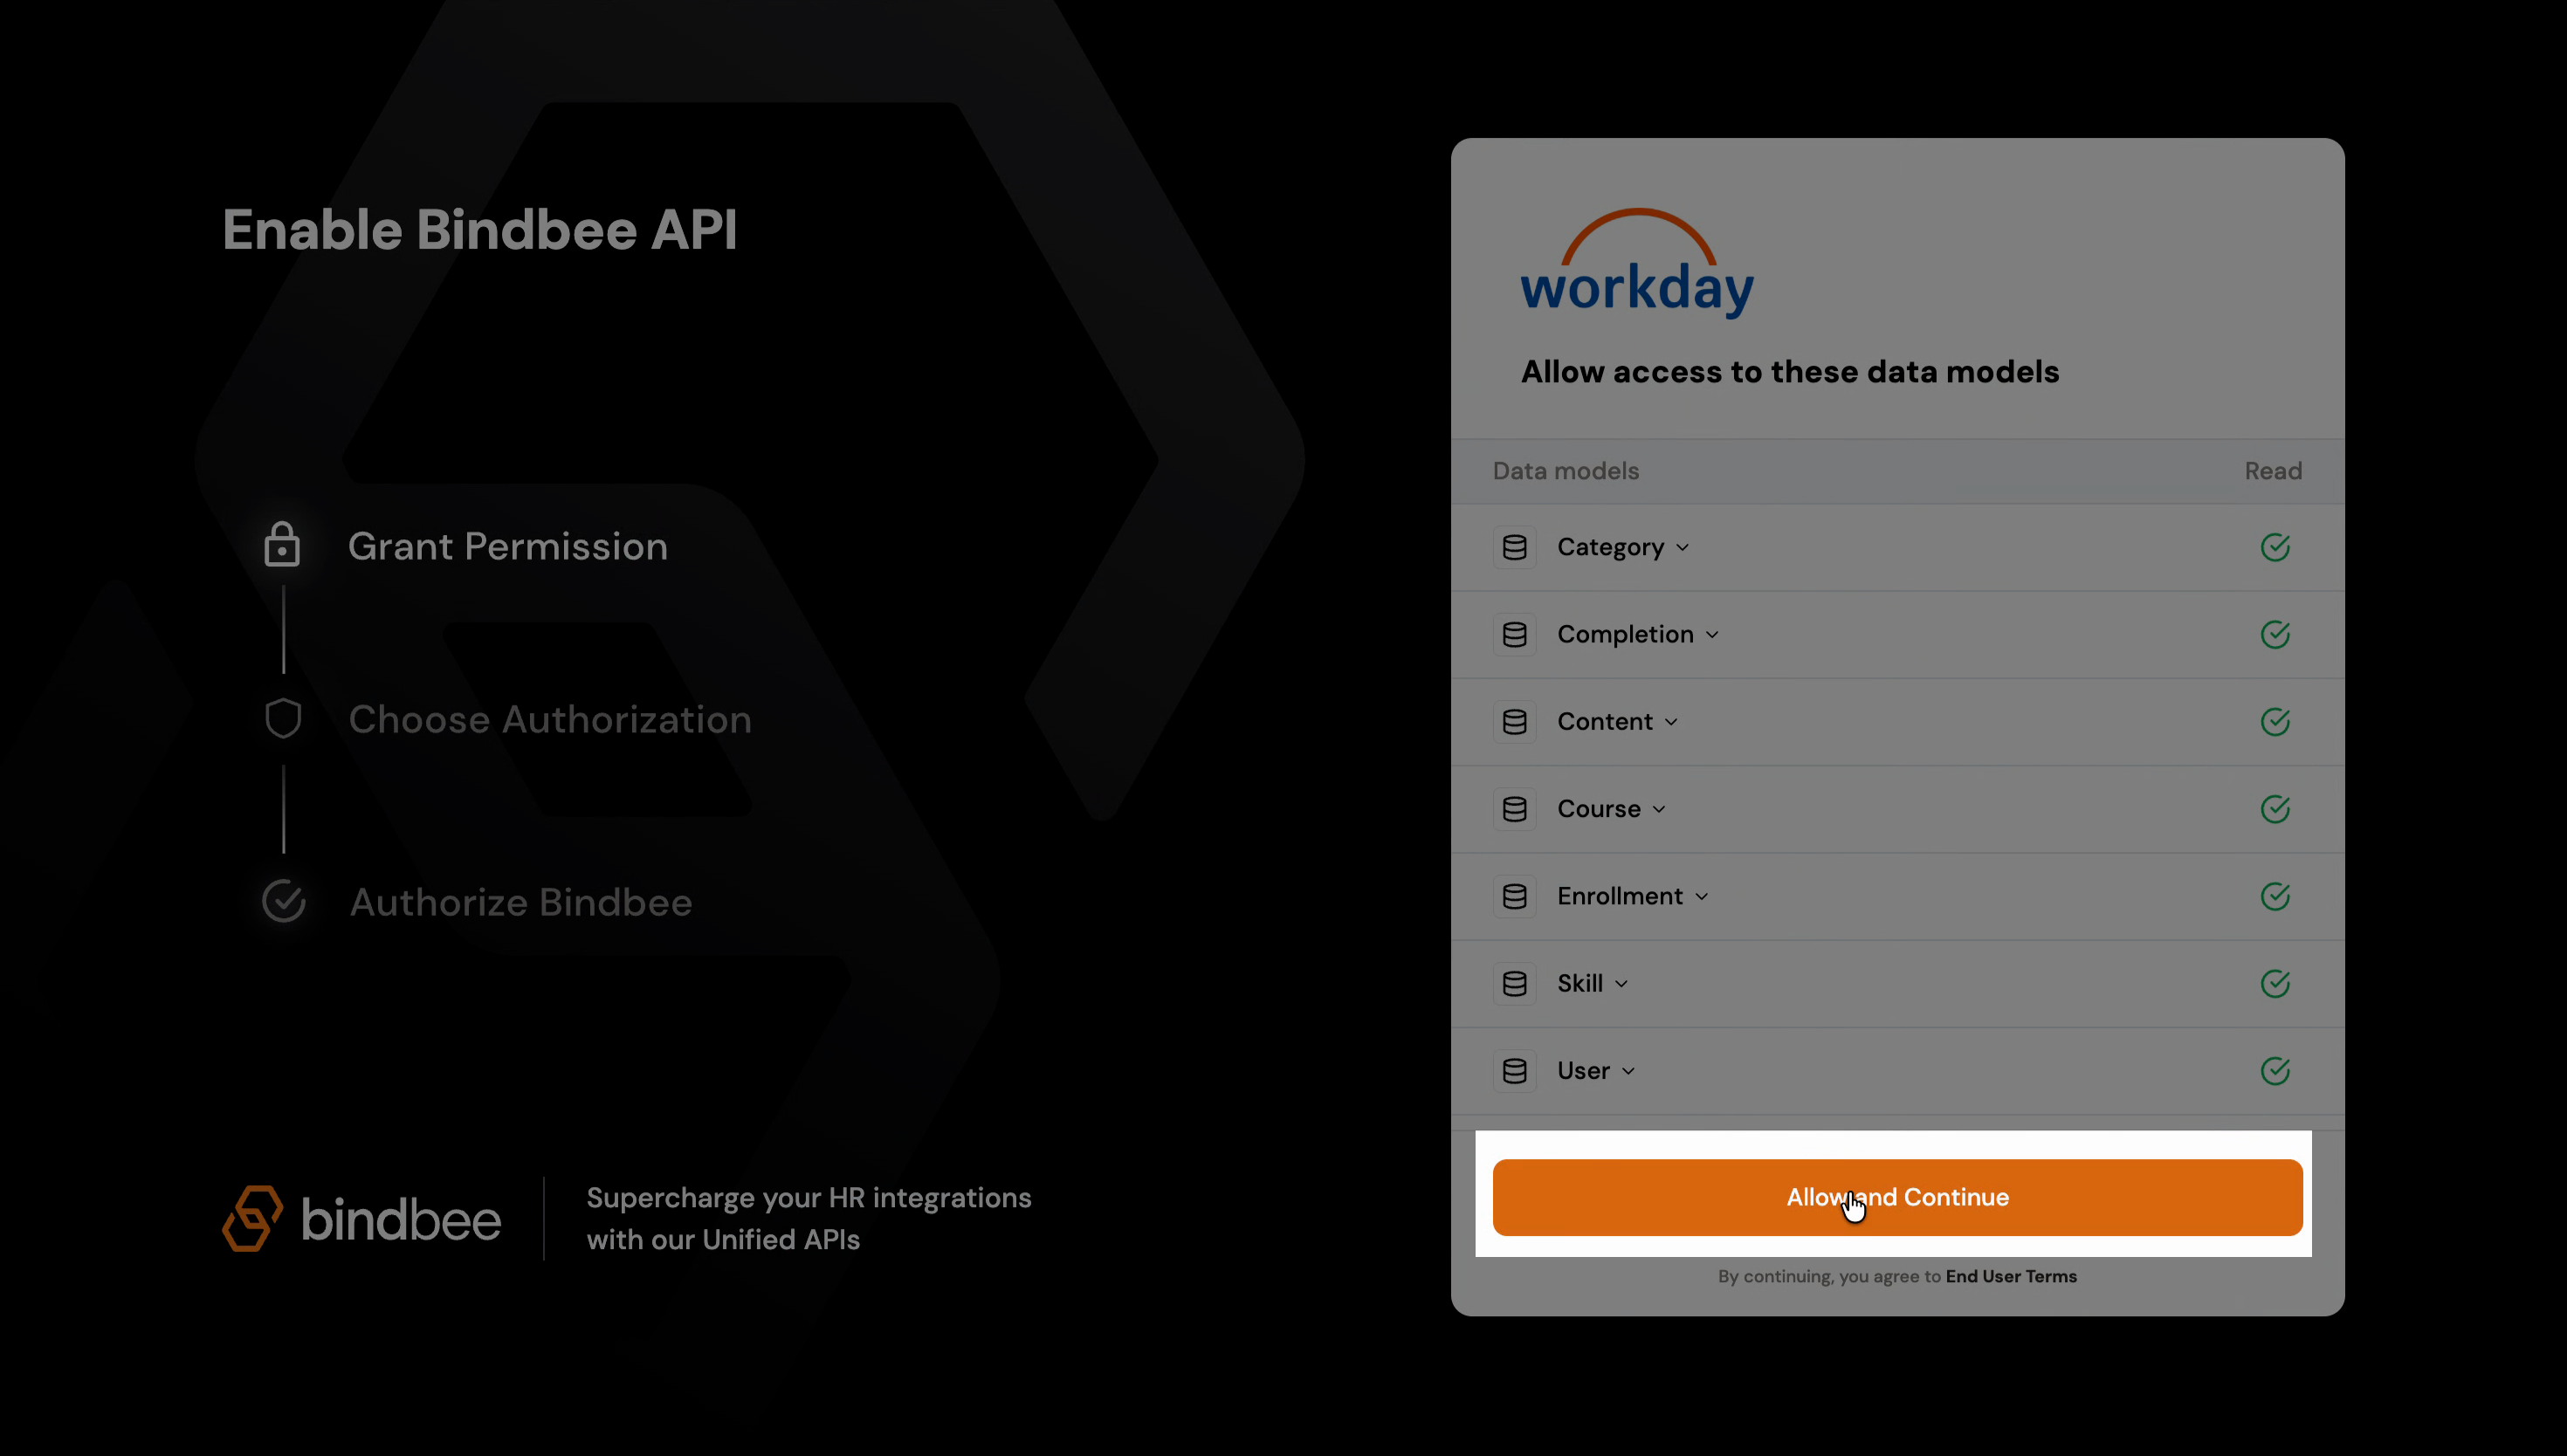
Step 1: Open the magic link and click on Allow and Continue to proceed.
Create a Workday Integration System User
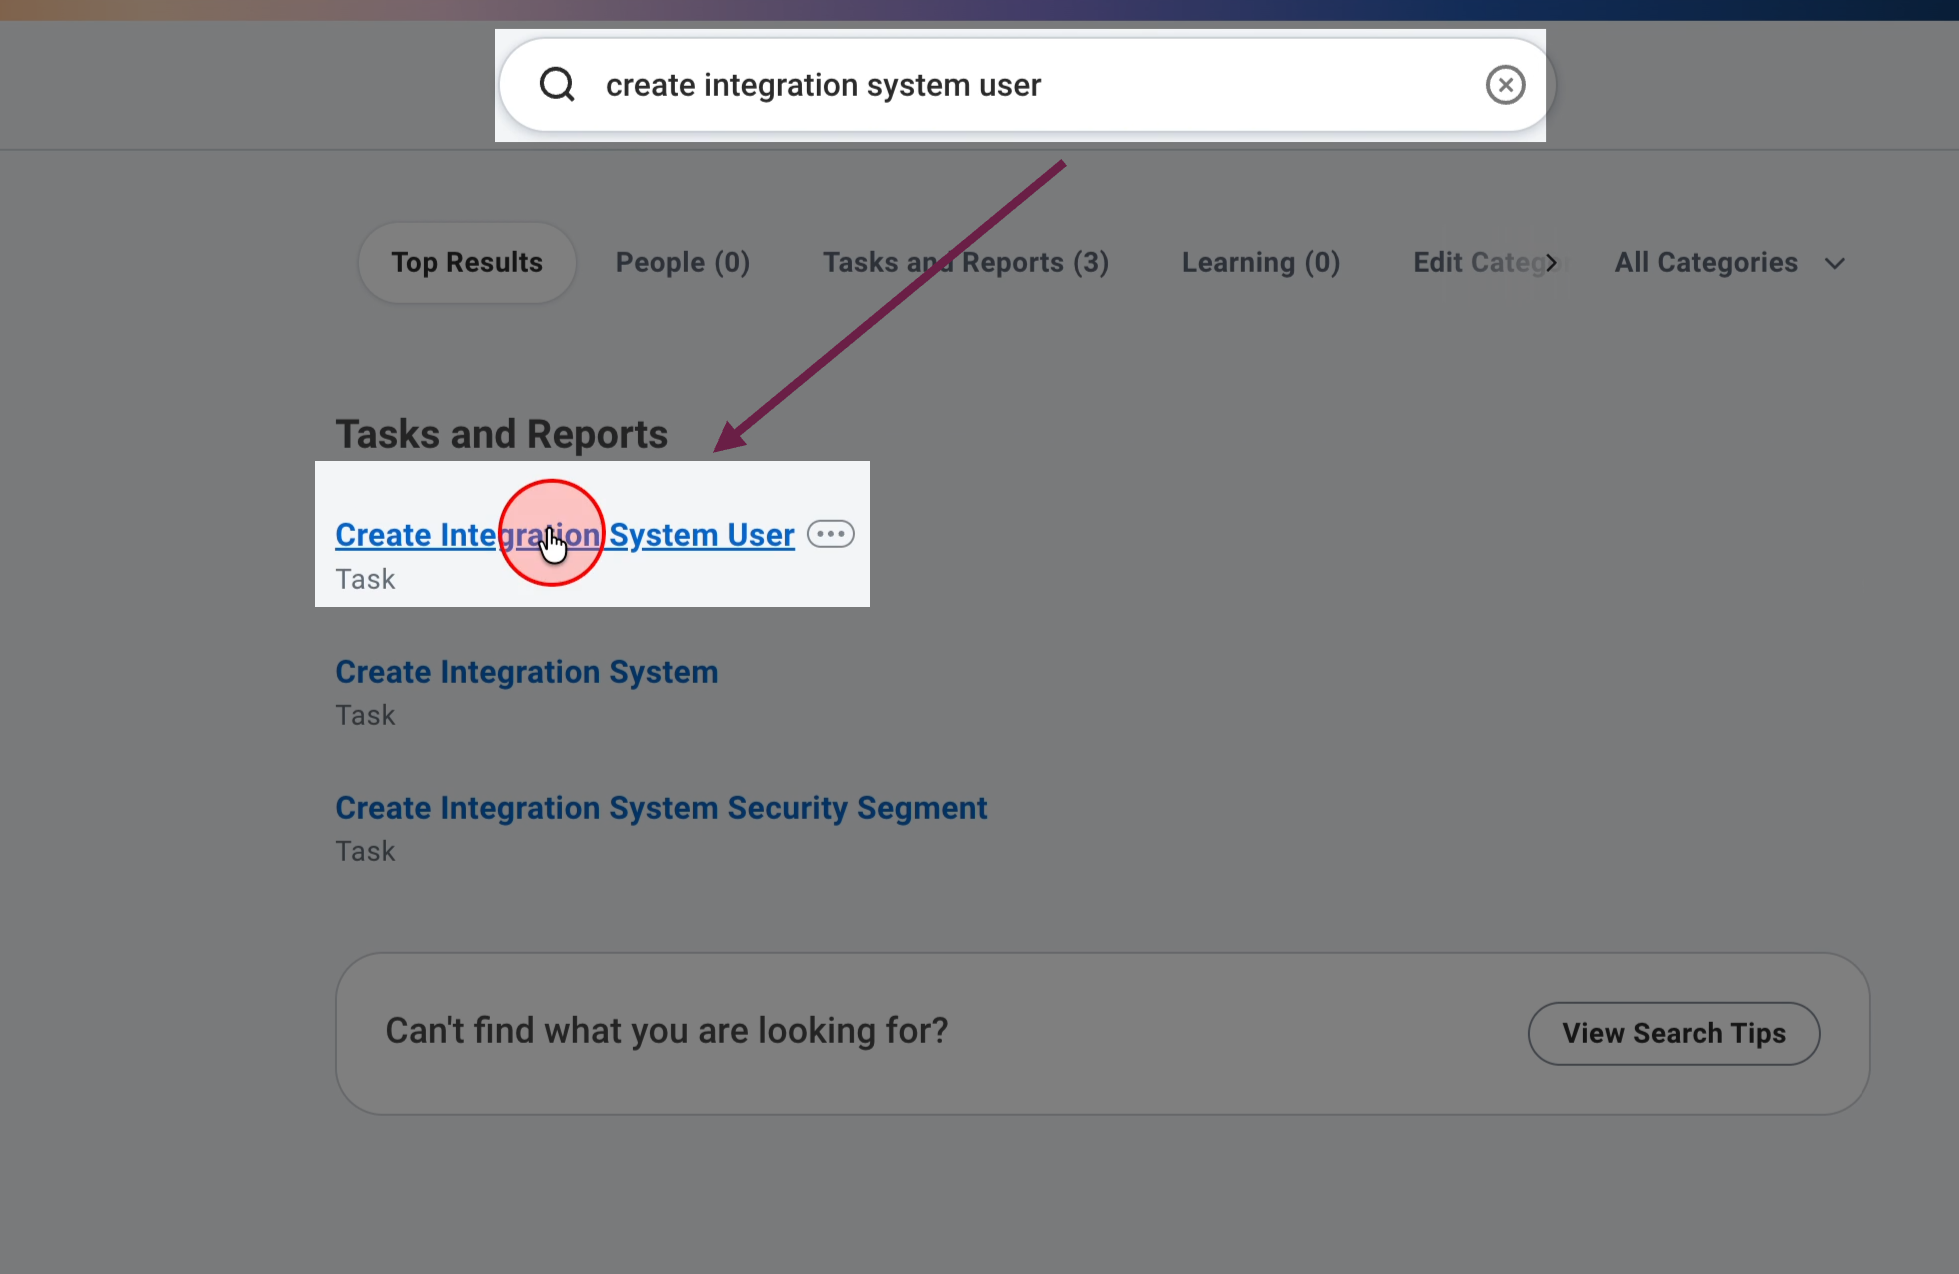
Step 1: In your Workday account, go to the search bar and search Create Integration System User.
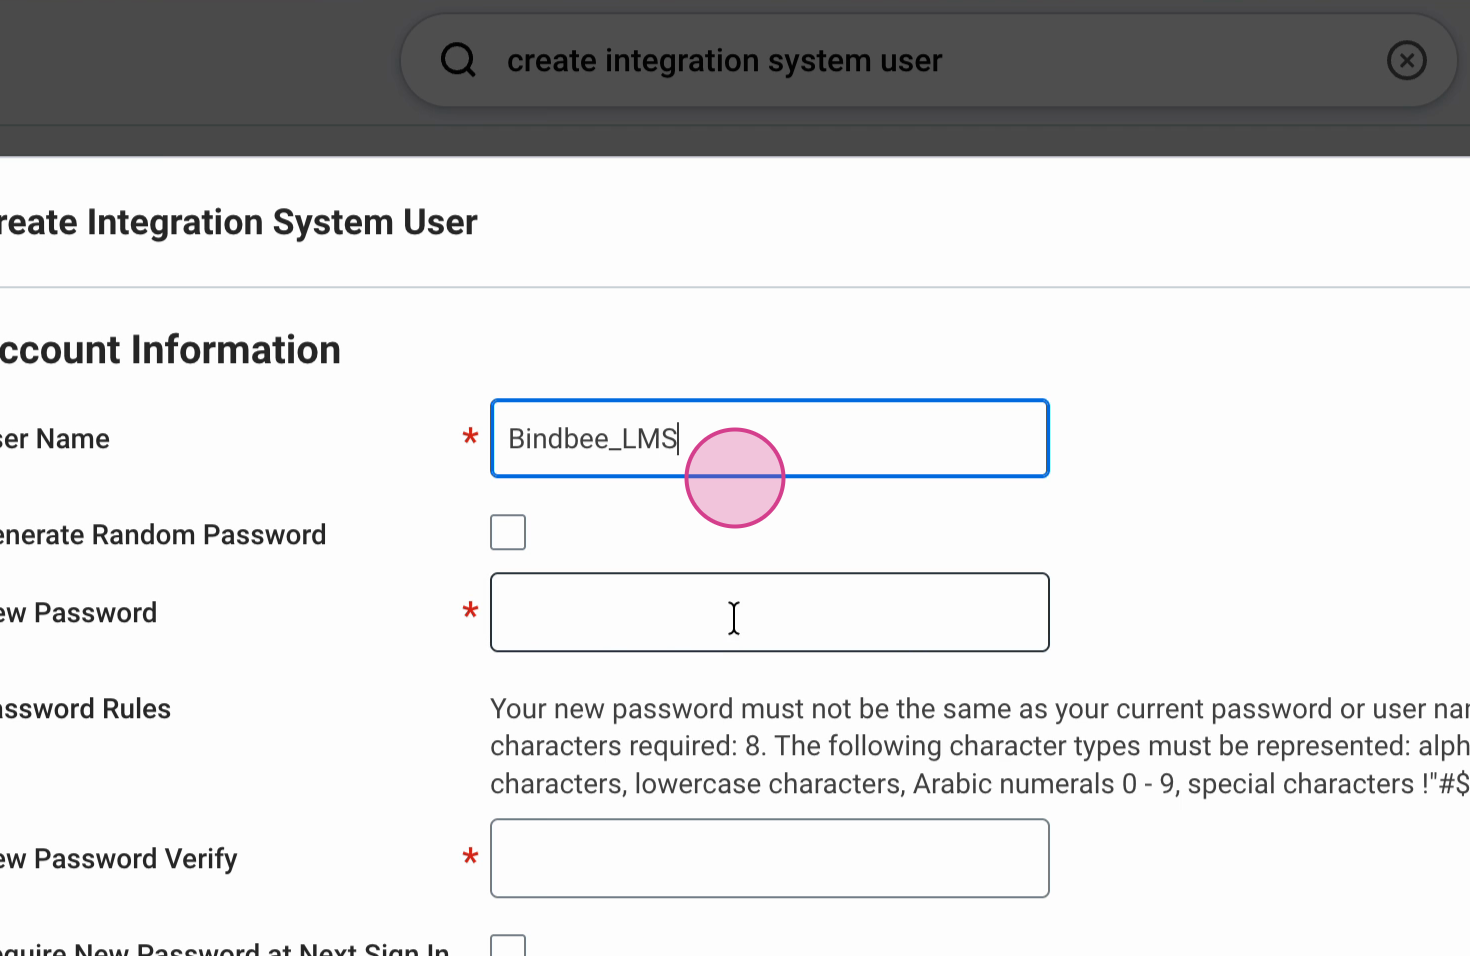
Step 2: Choose a Name and set a secure Password for this integration user.
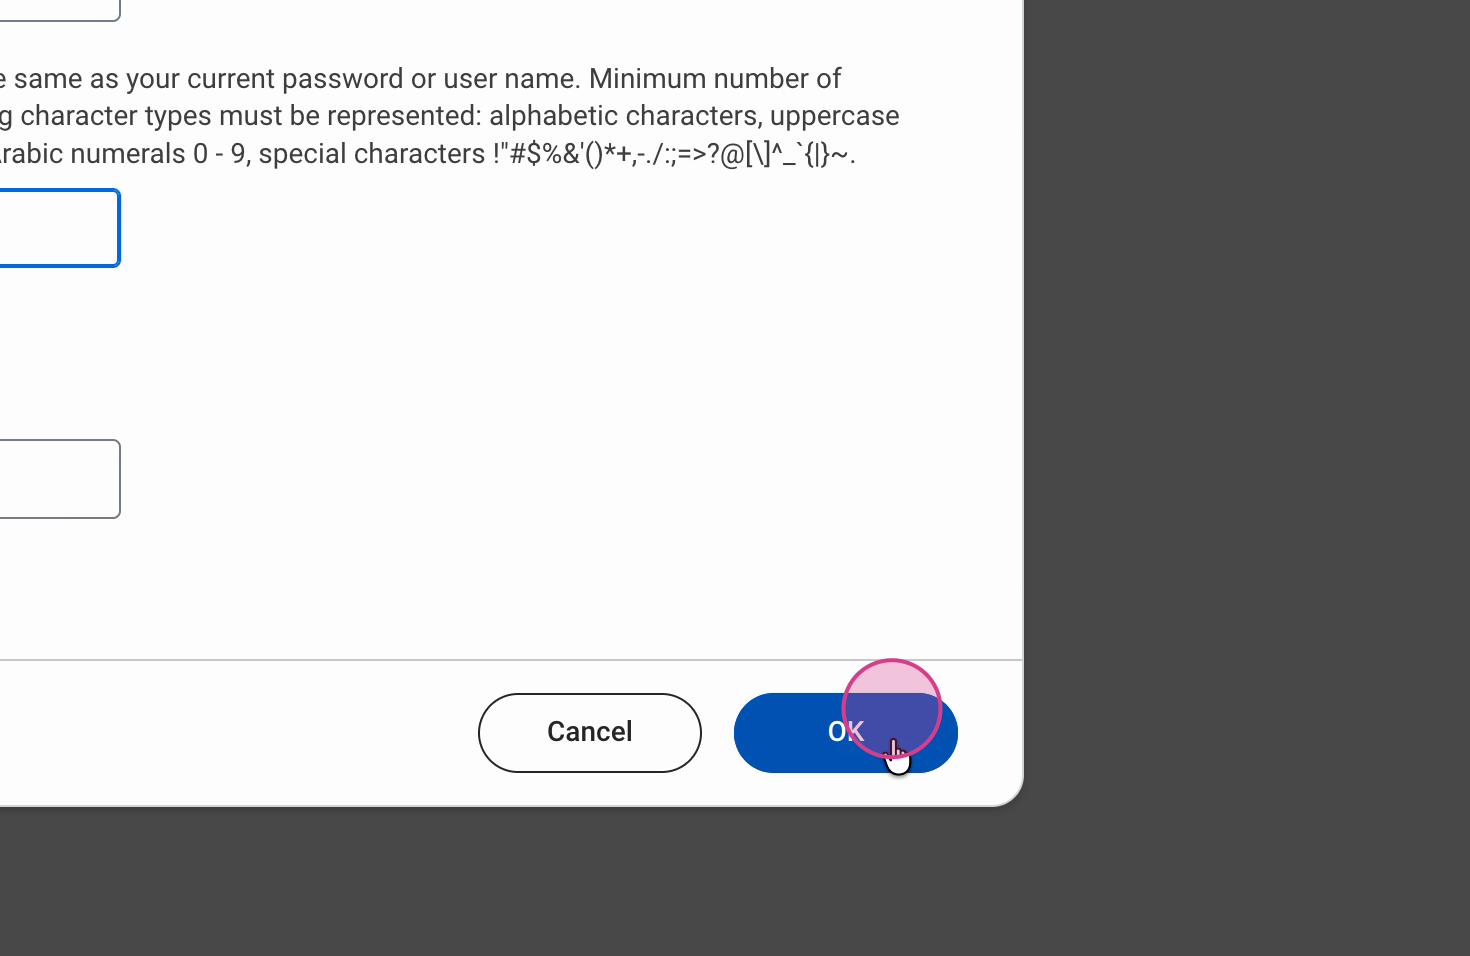
Step 3: Click OK to finish creating the user.
Ensure the password does not reset:
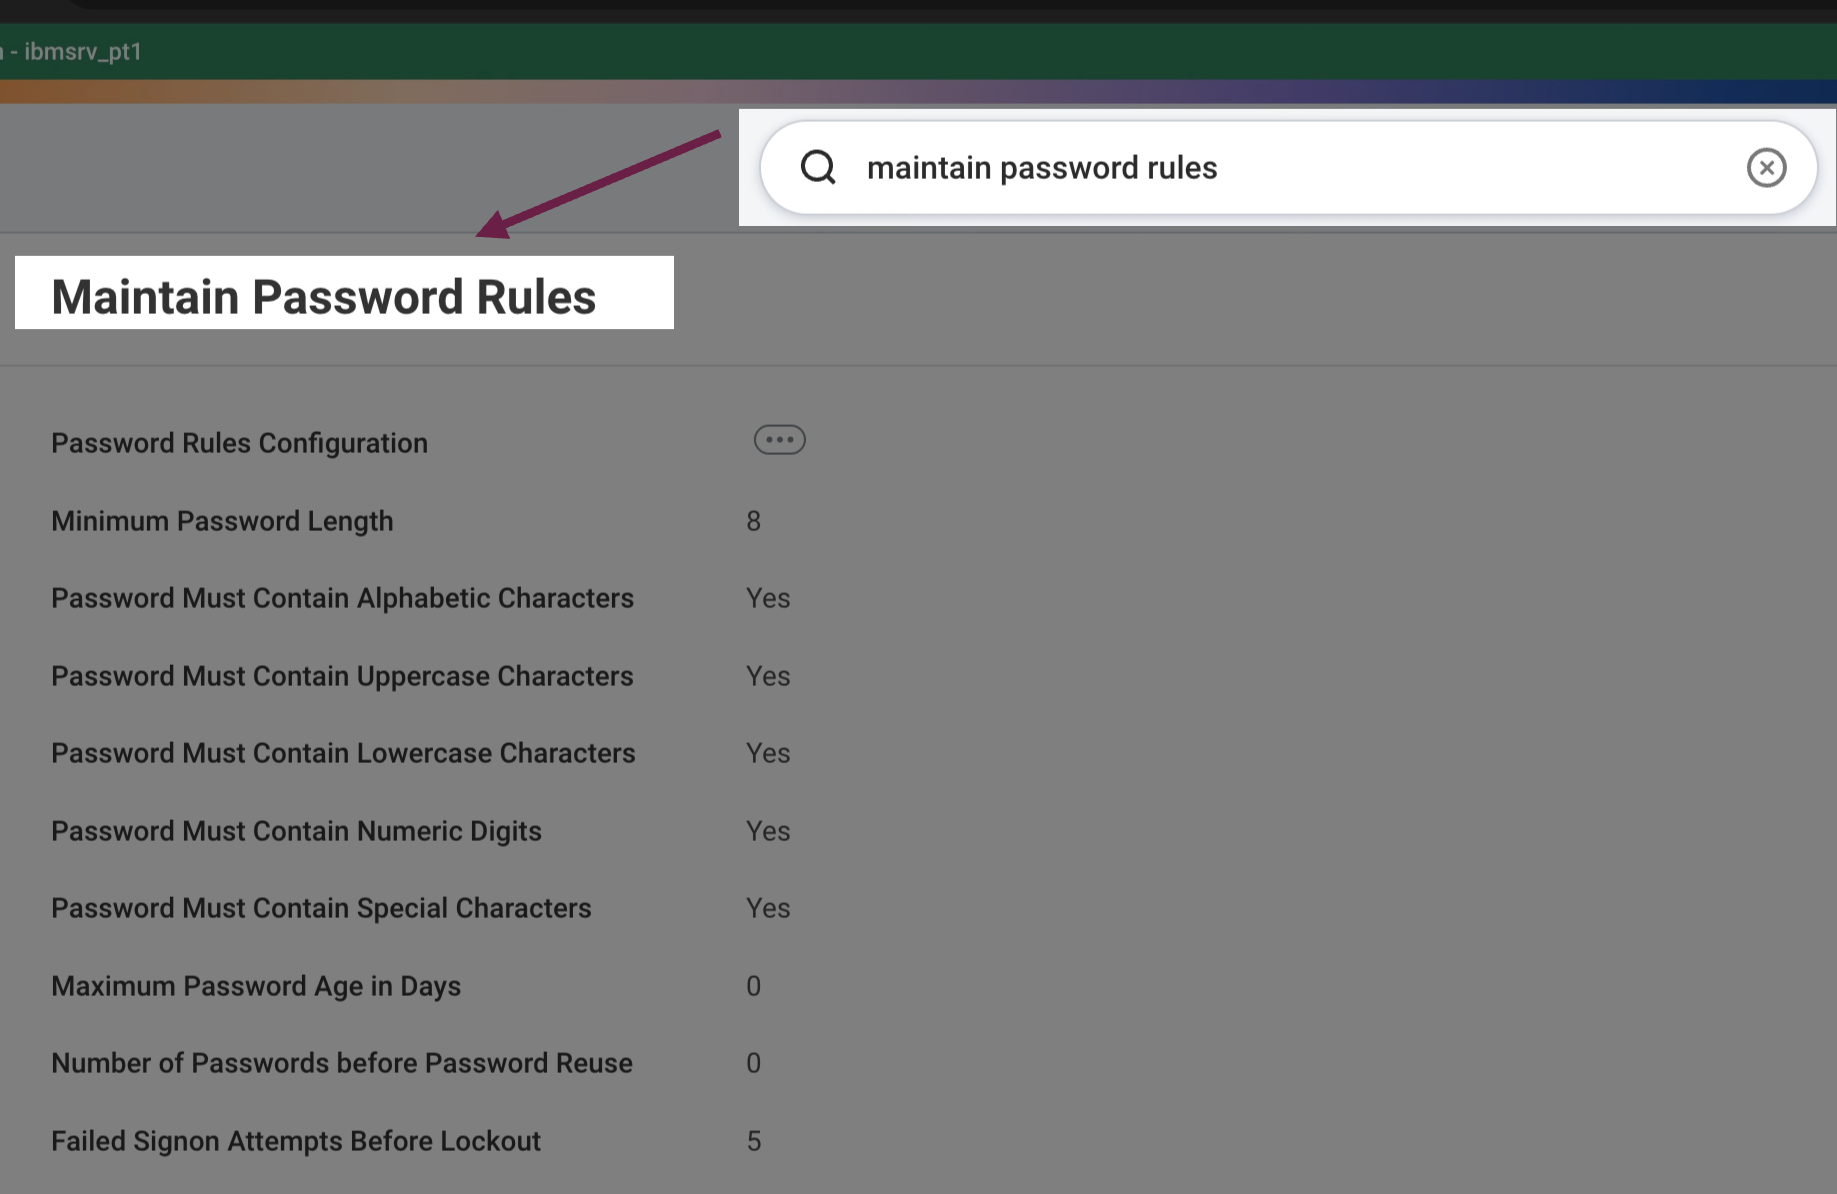
Step 1: Navigate to Maintain Password Rules.
Step 2: Go to System Users Exempt from Password Expiration. Add your newly created integration user.
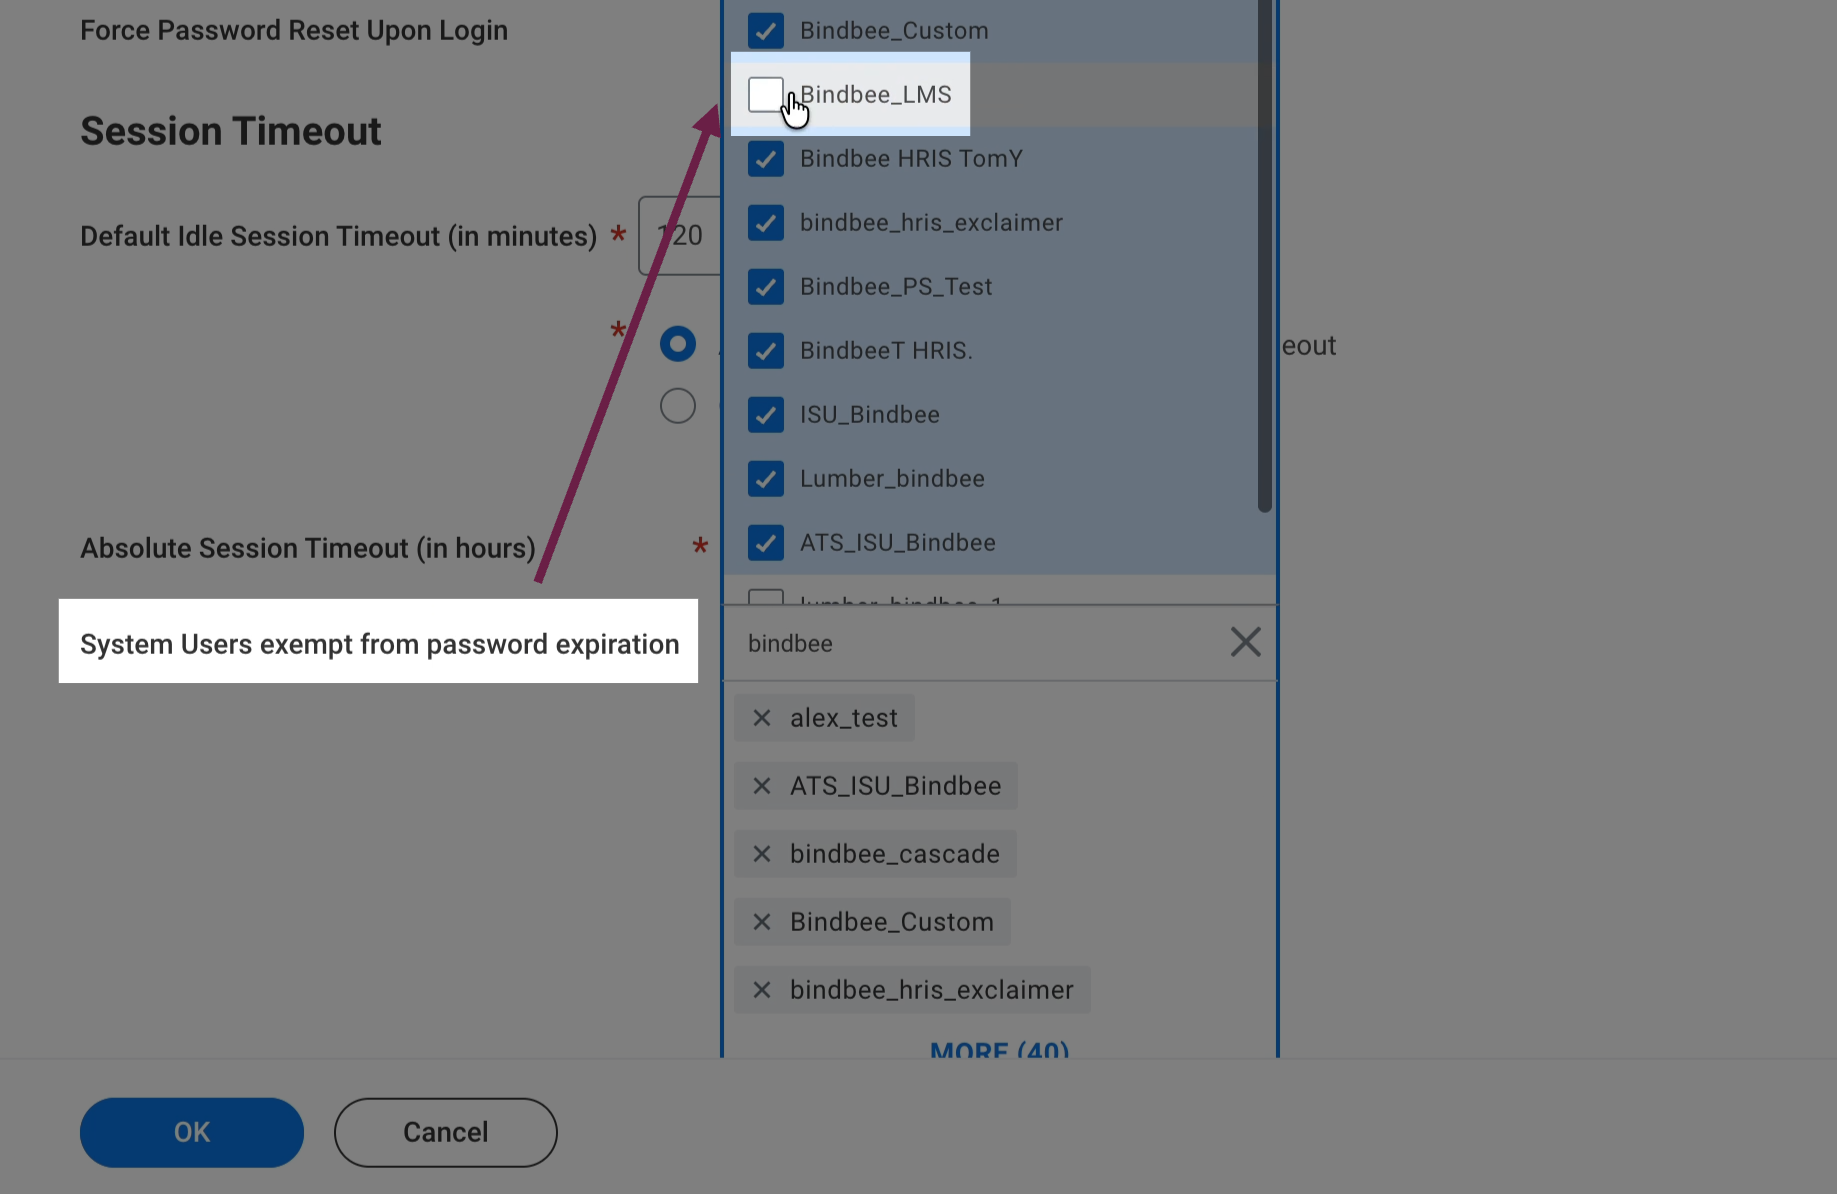
Step 3: Click OK and then Done.
Create a New Security Group
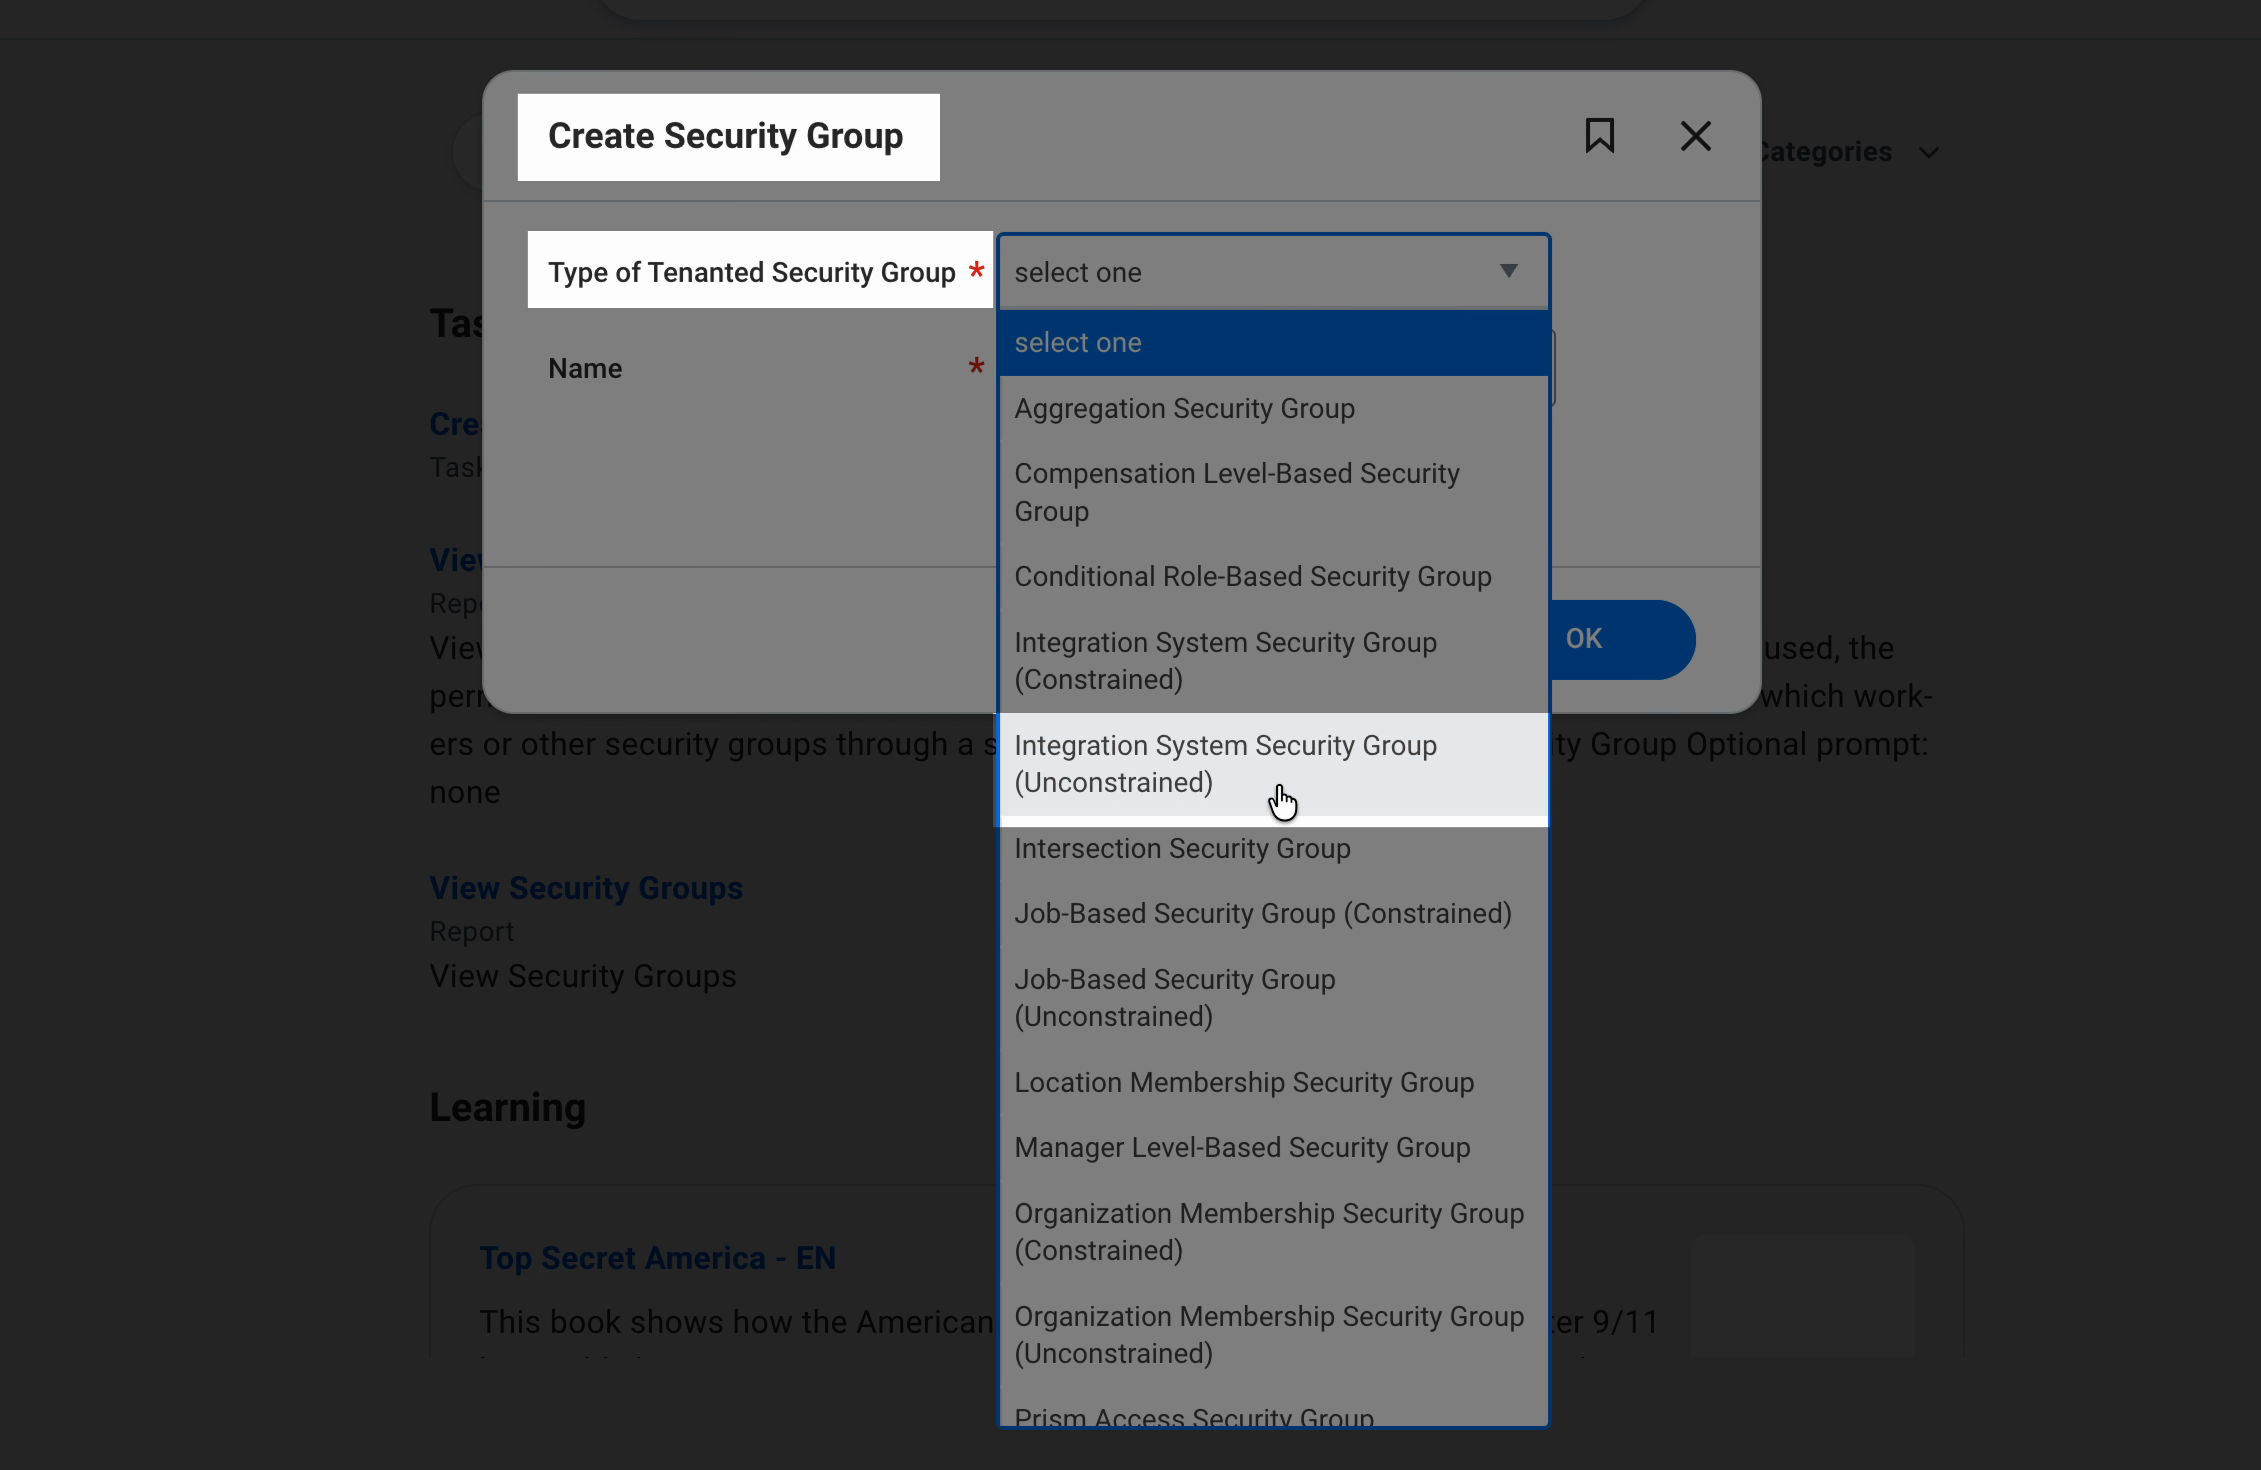
Step 1: Go to the dashboard and search for Create Security Group.
Step 2: Choose Integration System Security Group (Unconstrained) as the group type. Name your group.
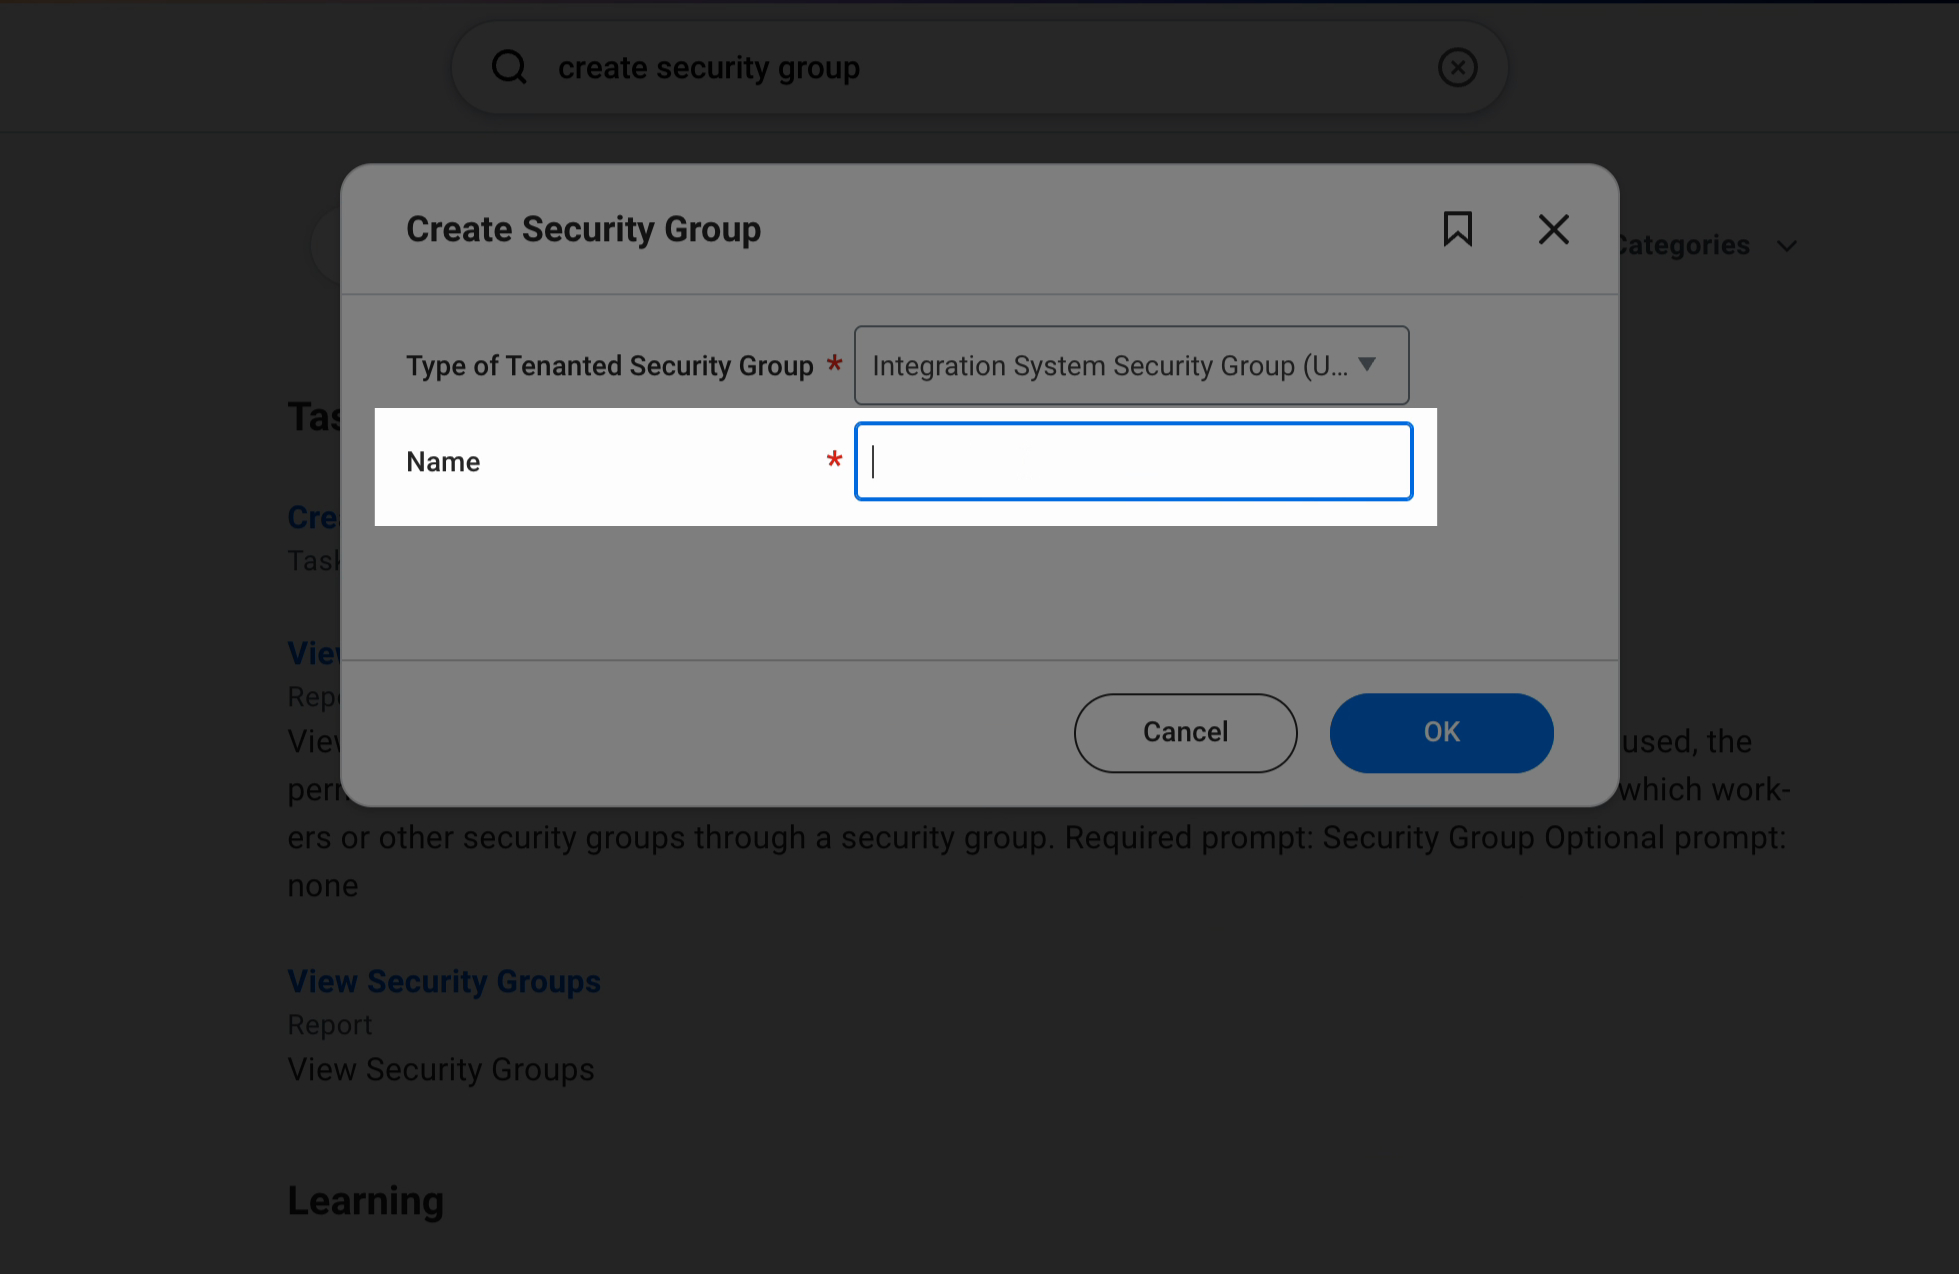
Step 3: Add the integration system user you created earlier to this group.
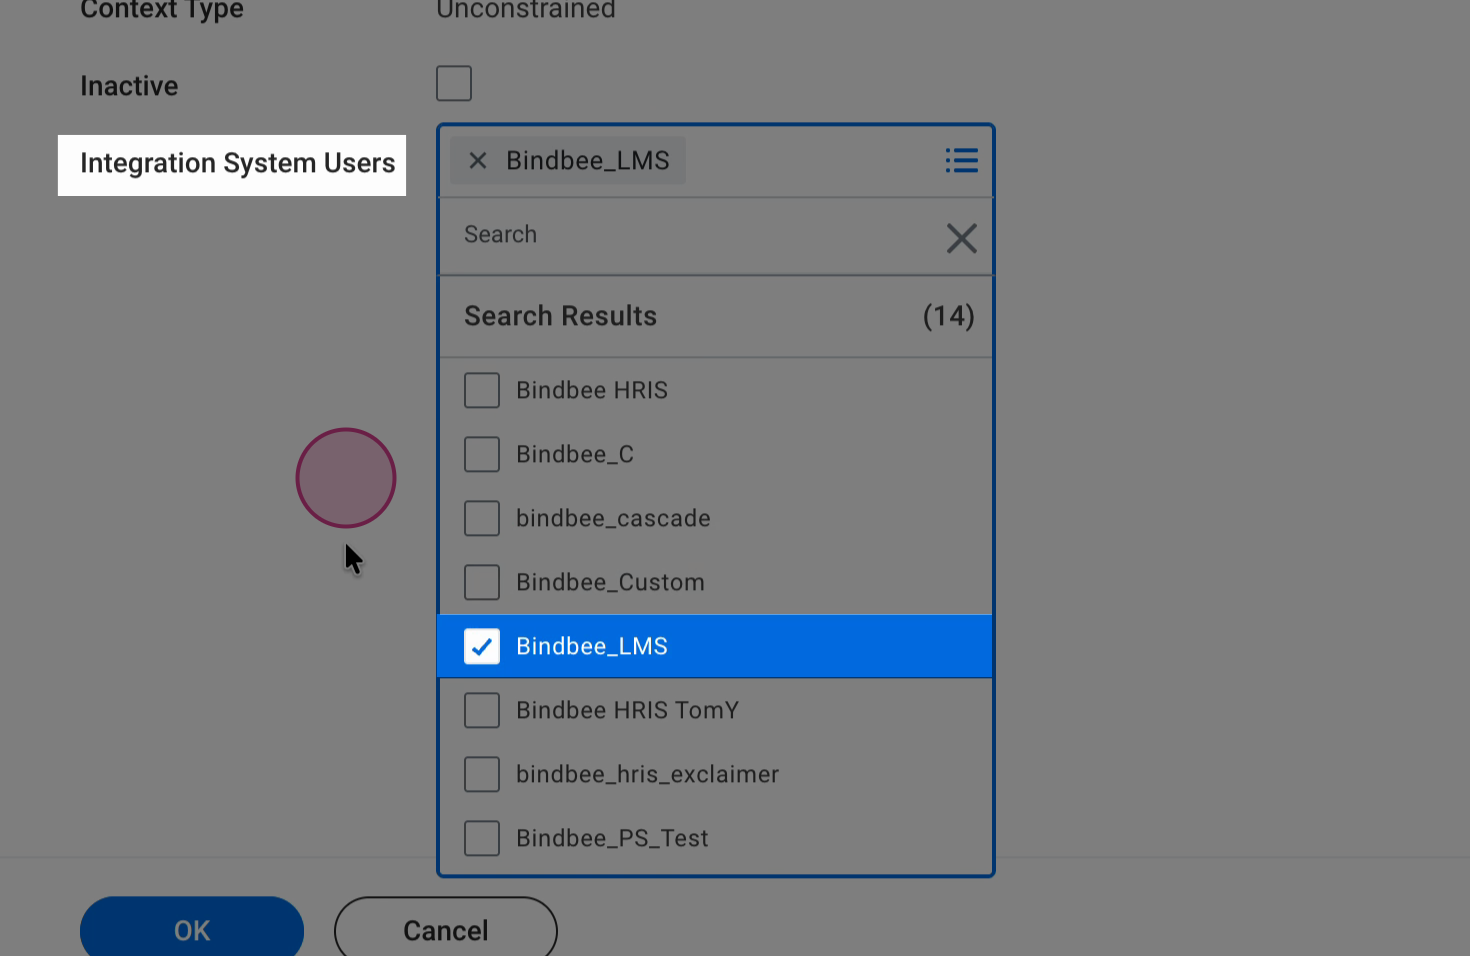
Step 4: Click OK and then Done.
Manage Authentication Policies:
Step 1: Navigate to manage authentication policies.
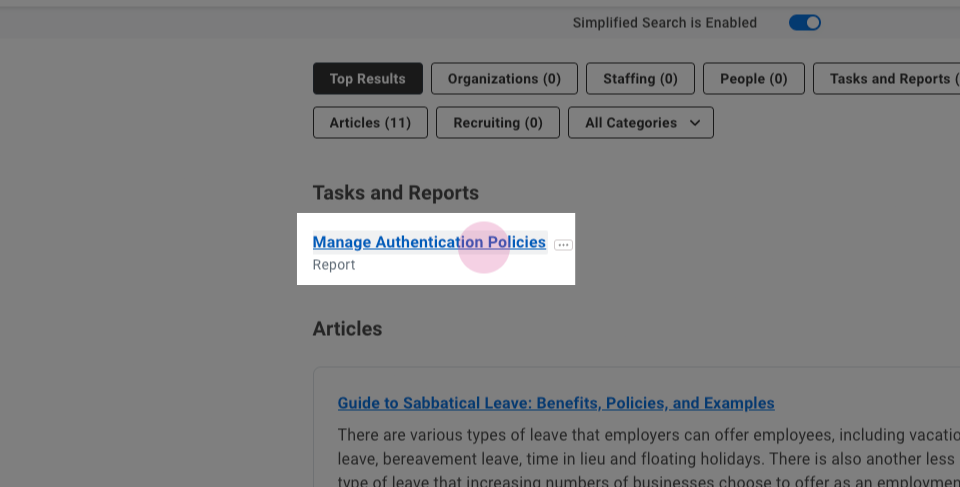
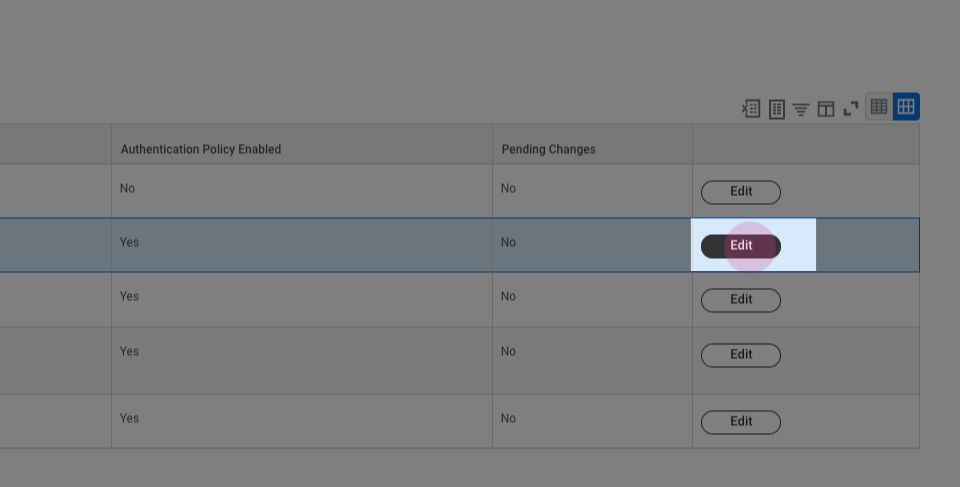
Step 2: Go to the current policy and press edit.
Step 3: Create a new rule and name it appropriately. Also add the newly created security group.
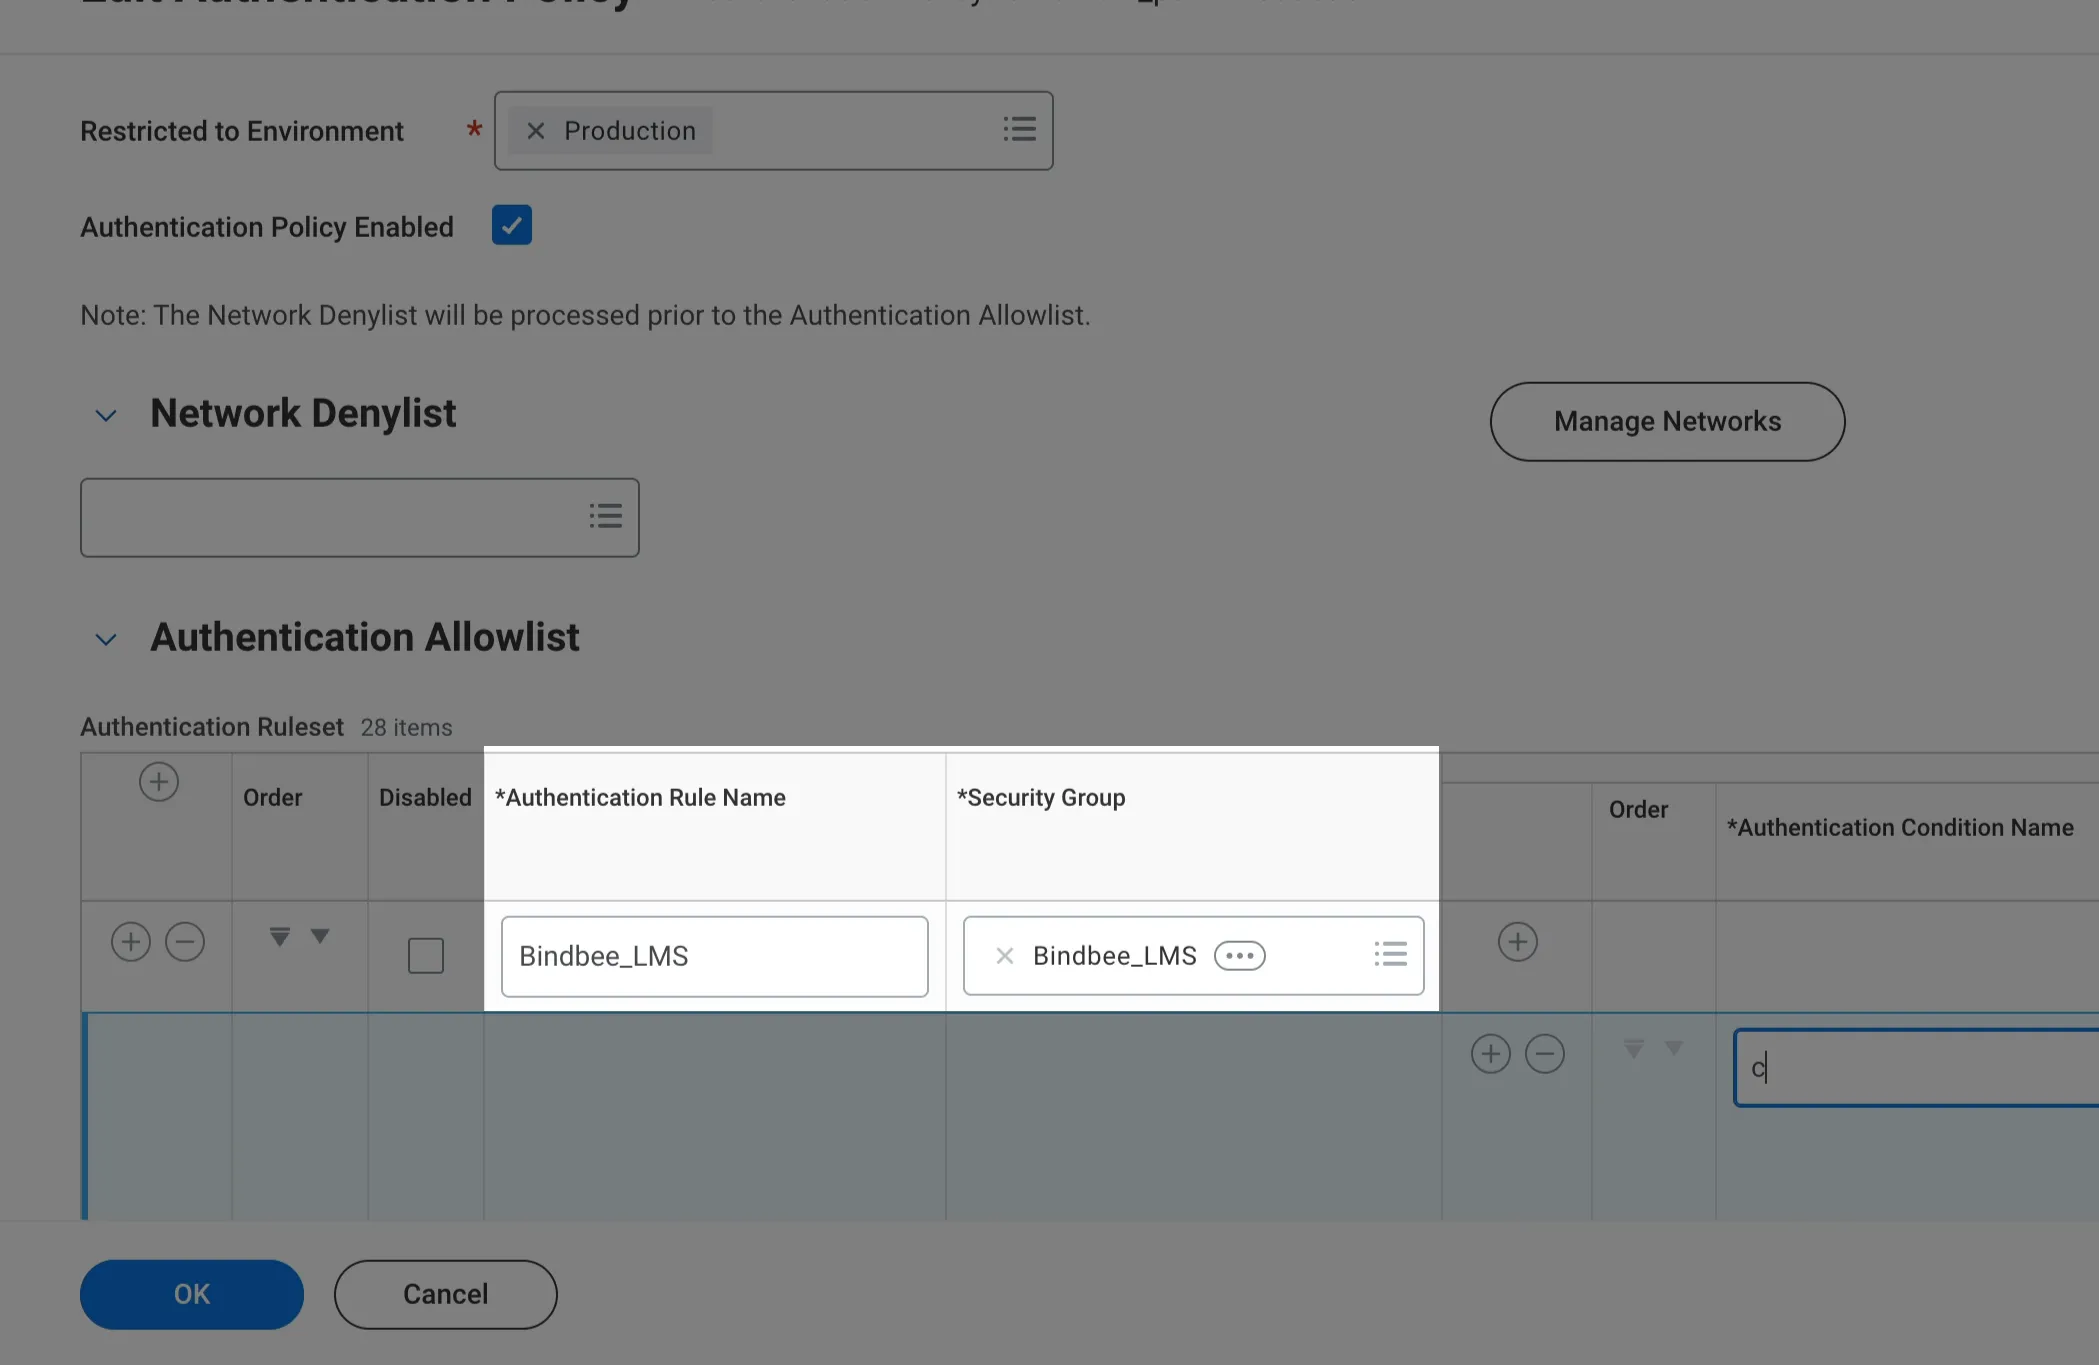
Step 4: Set the Authentication Condition Name to "credentials" and leave the rest unchanged.
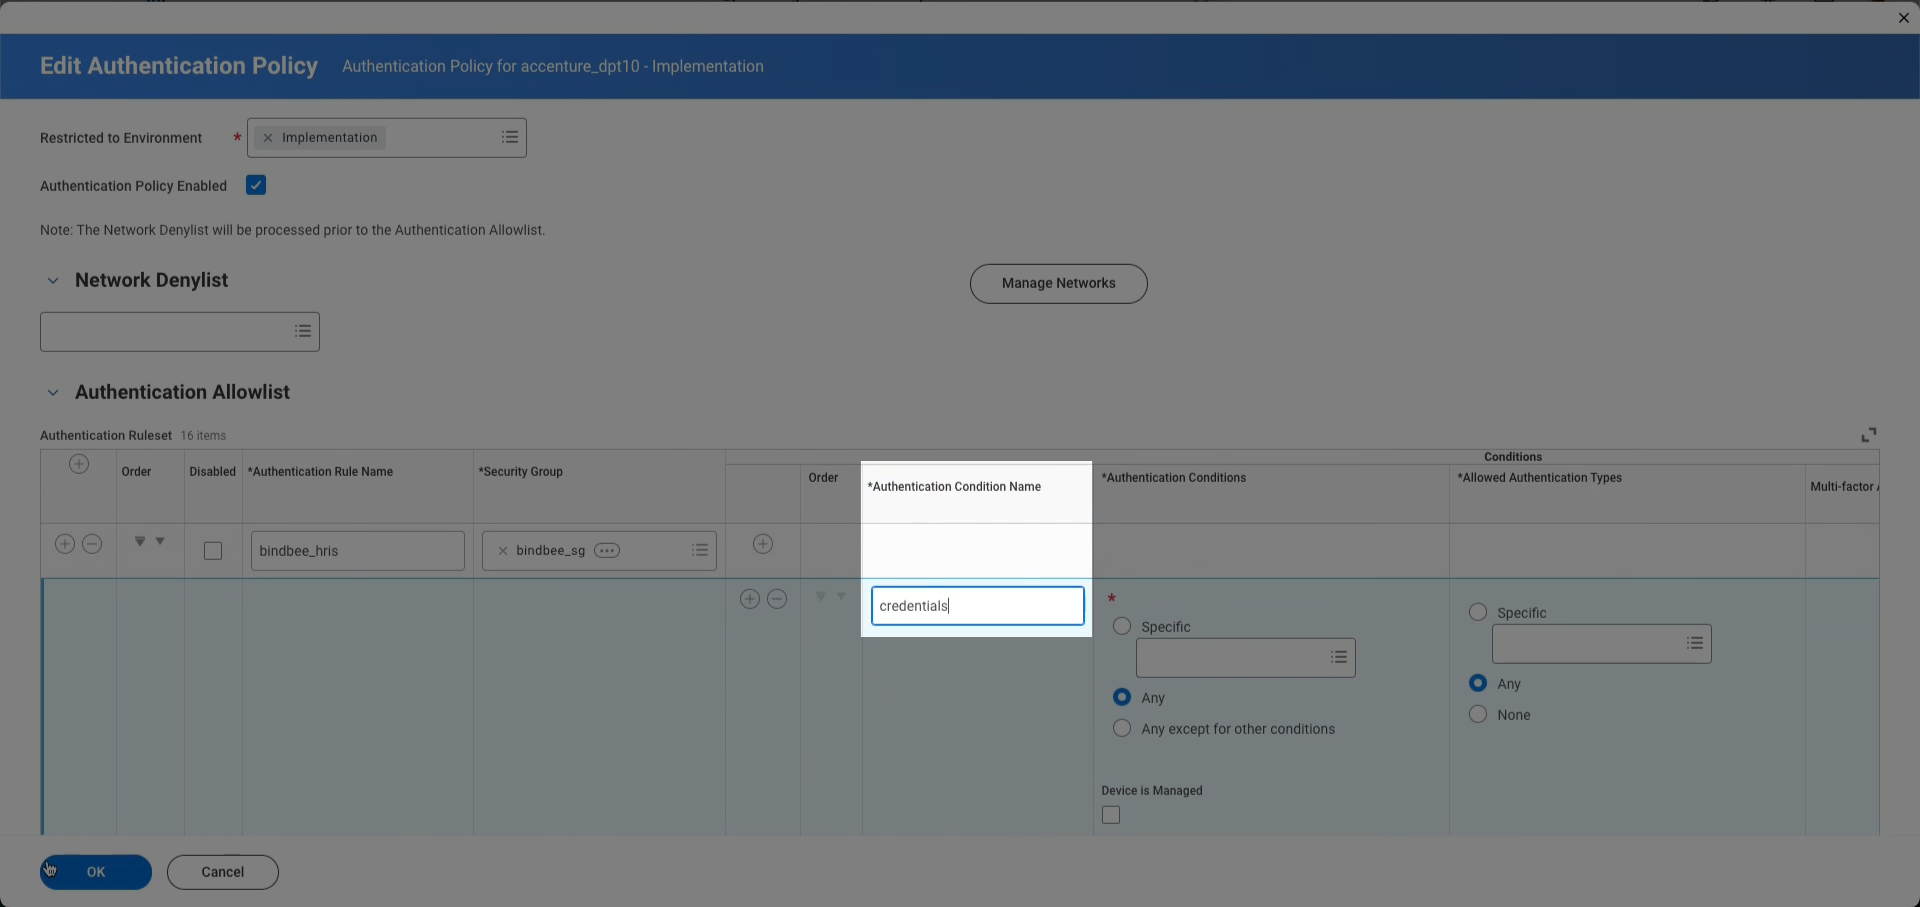
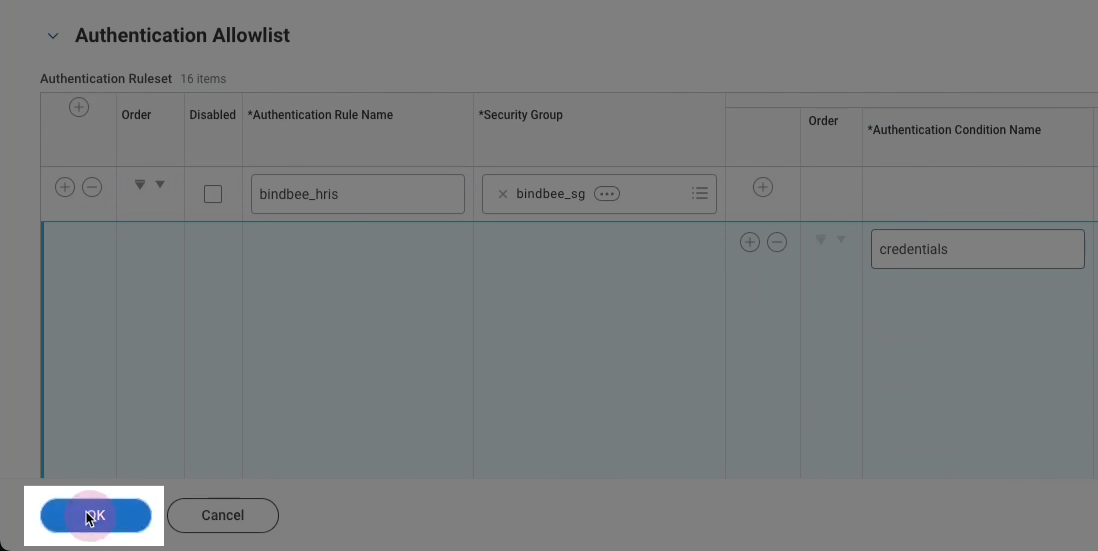
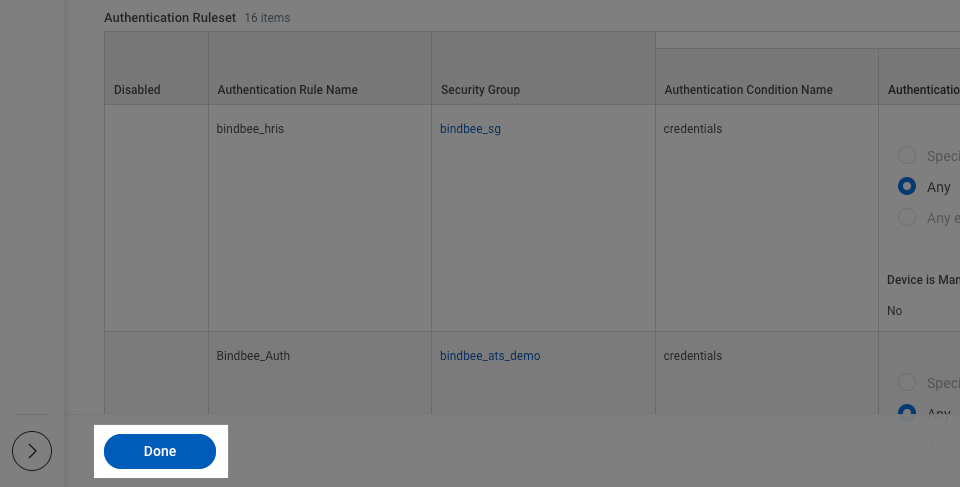
Step 5: Press "OK" and then "Done".
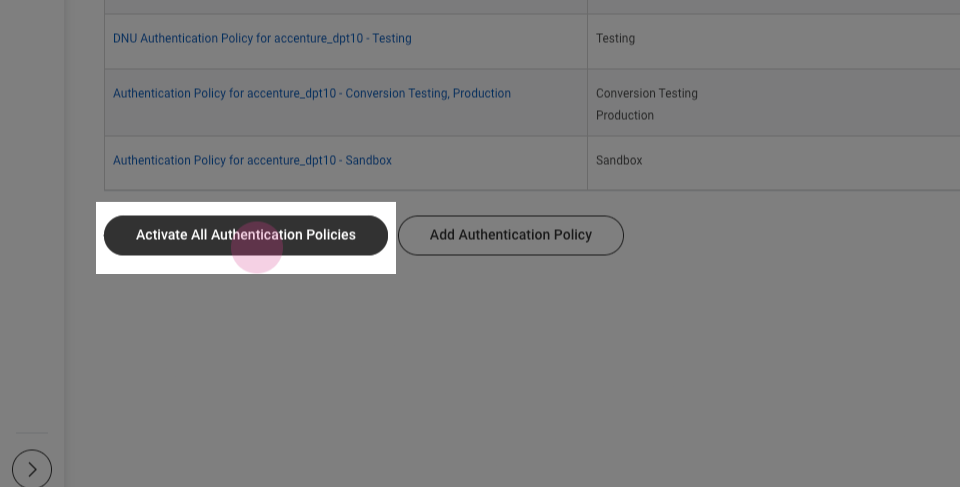
Step 6: Click on "Activate All Authentication Policies".
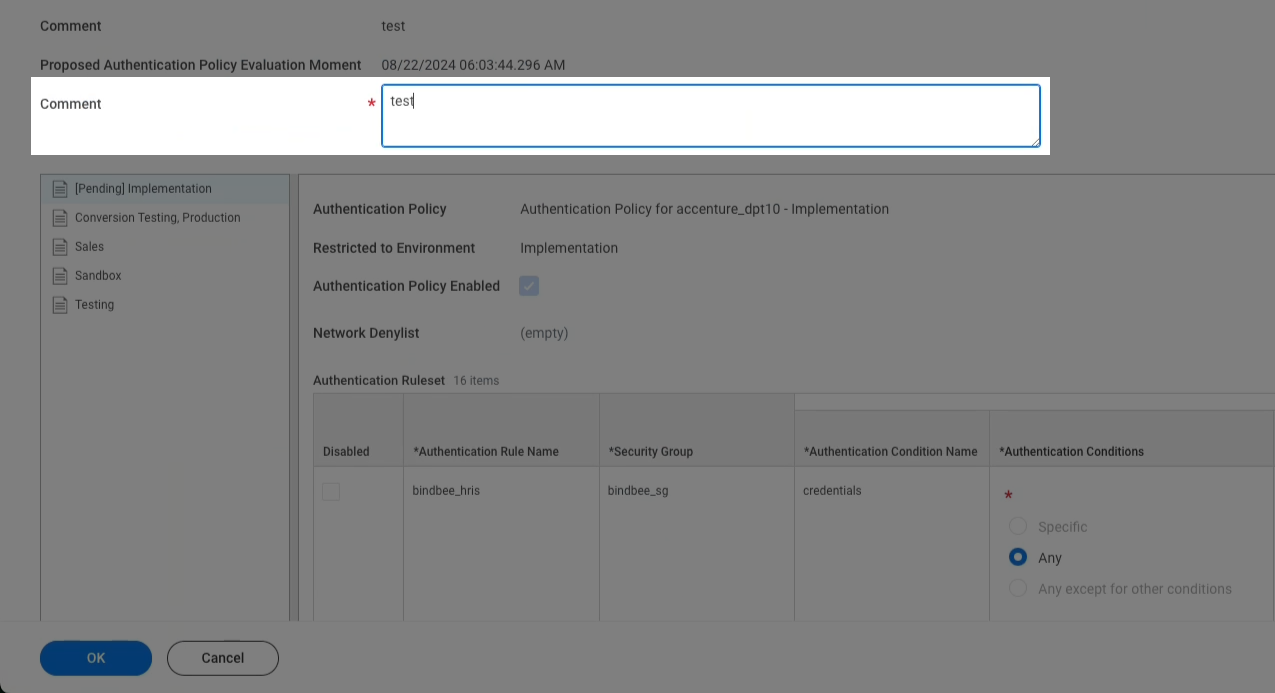
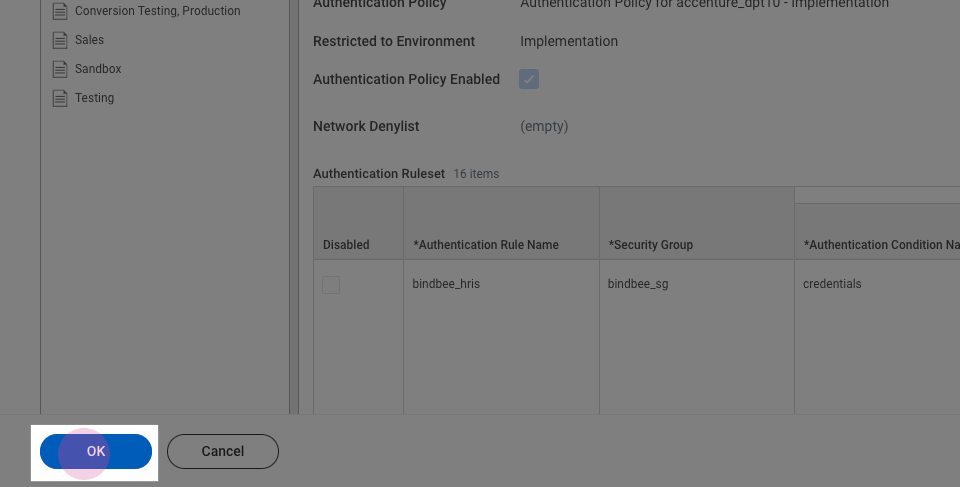
Step 7: Add a comment and press okay.
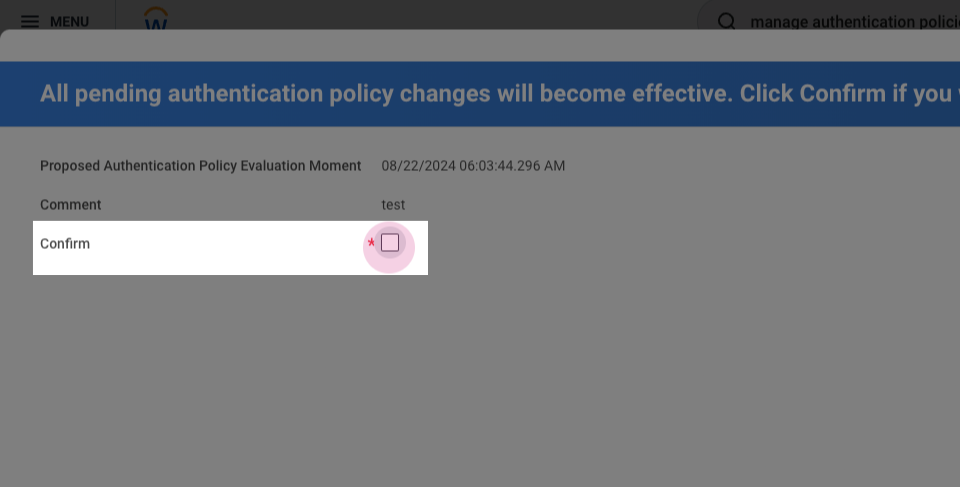
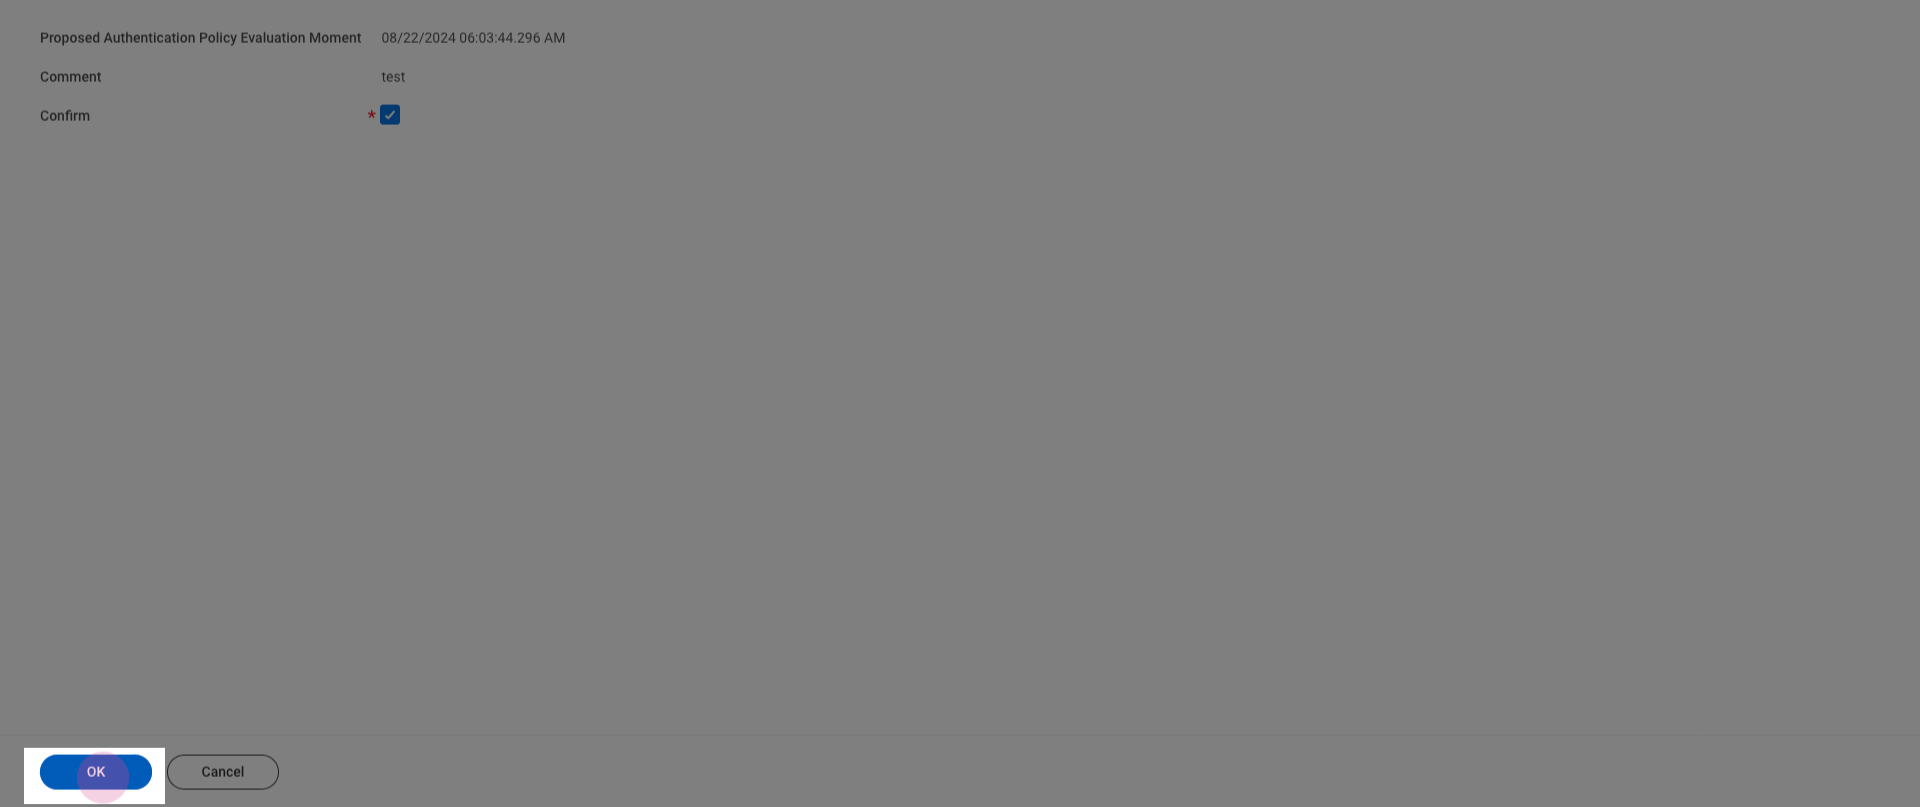
Step 8: Confirm the selection.
Maintain Permissions for Security Group
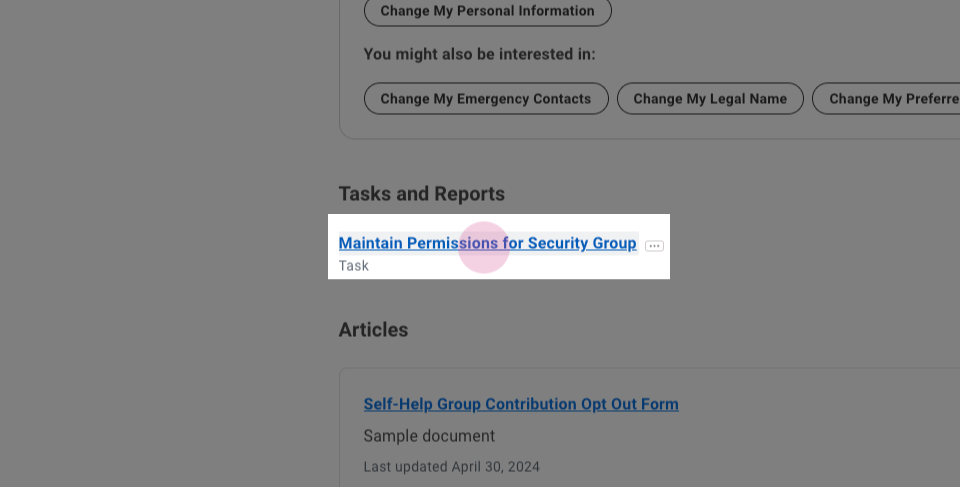
Step 1: Navigate to "Maintain Permissions for Security Group".
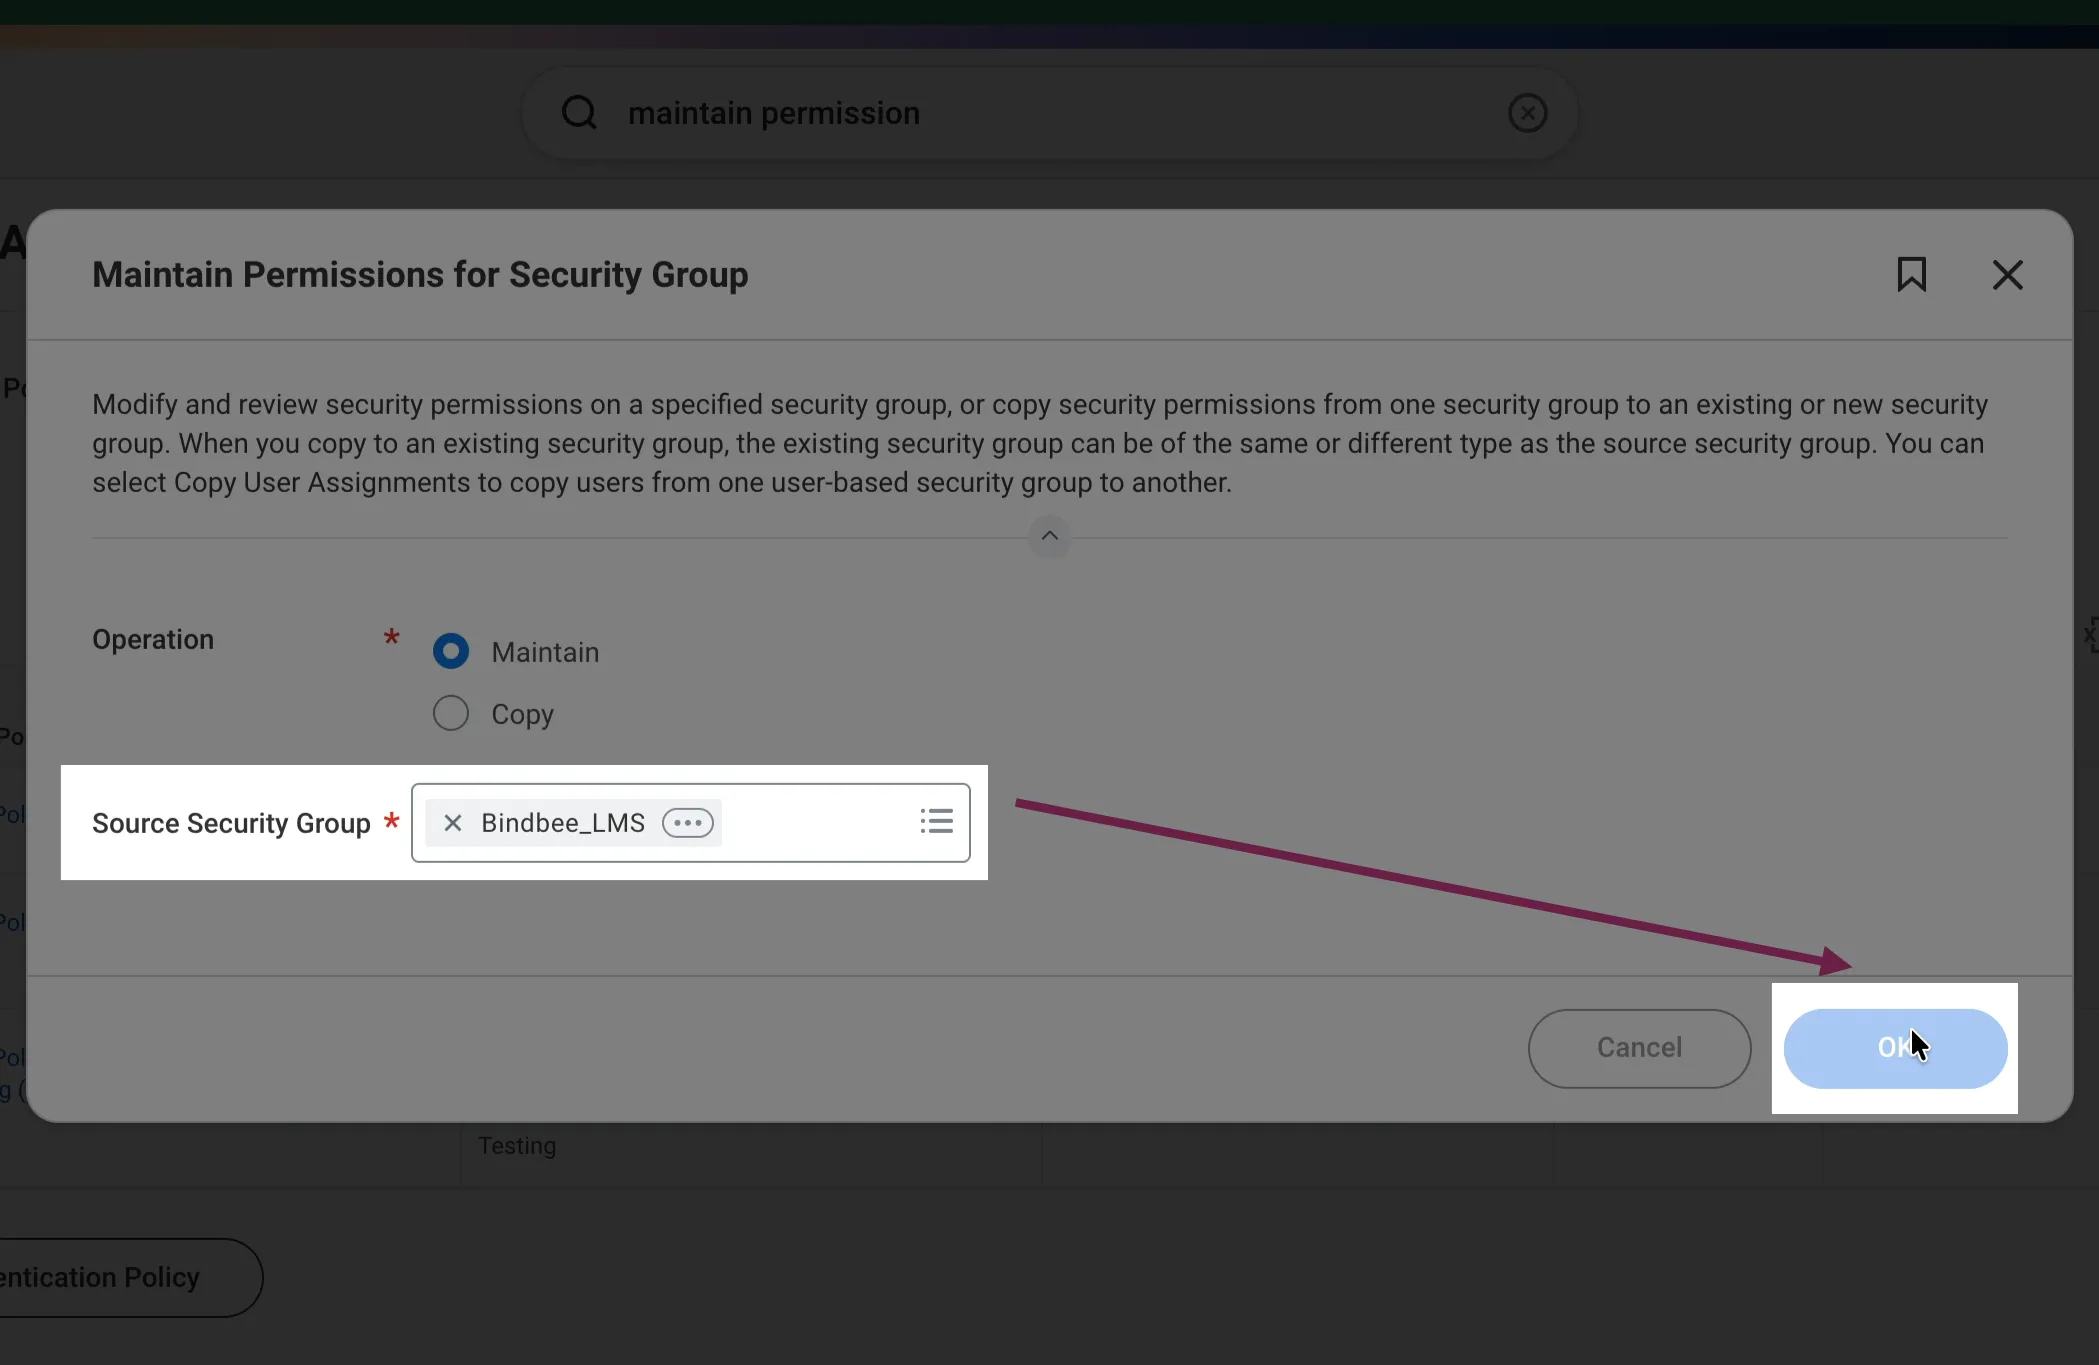
Step 2: Select the newly created group.
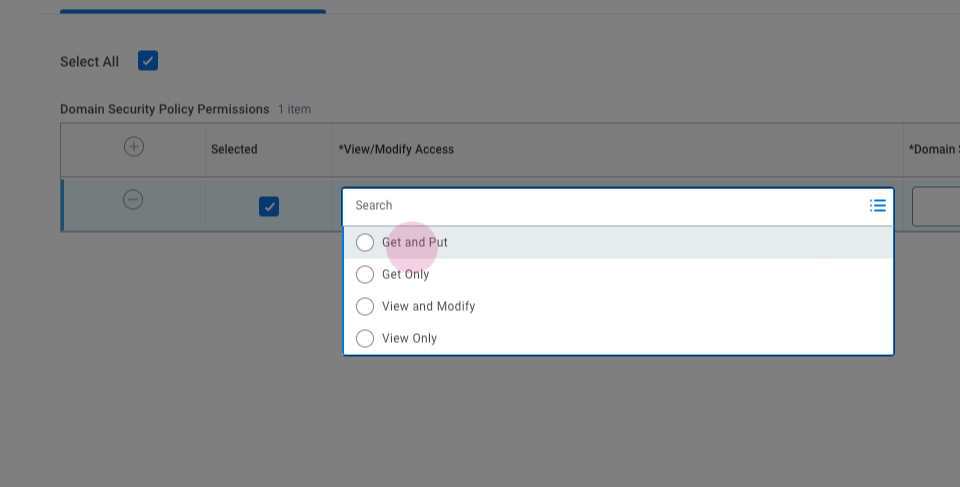
Step 3: Add the required permissions. For read-only access, select "Get Only". For read and write access, select "Get and Put".
Step 4: Select all the required permissions.
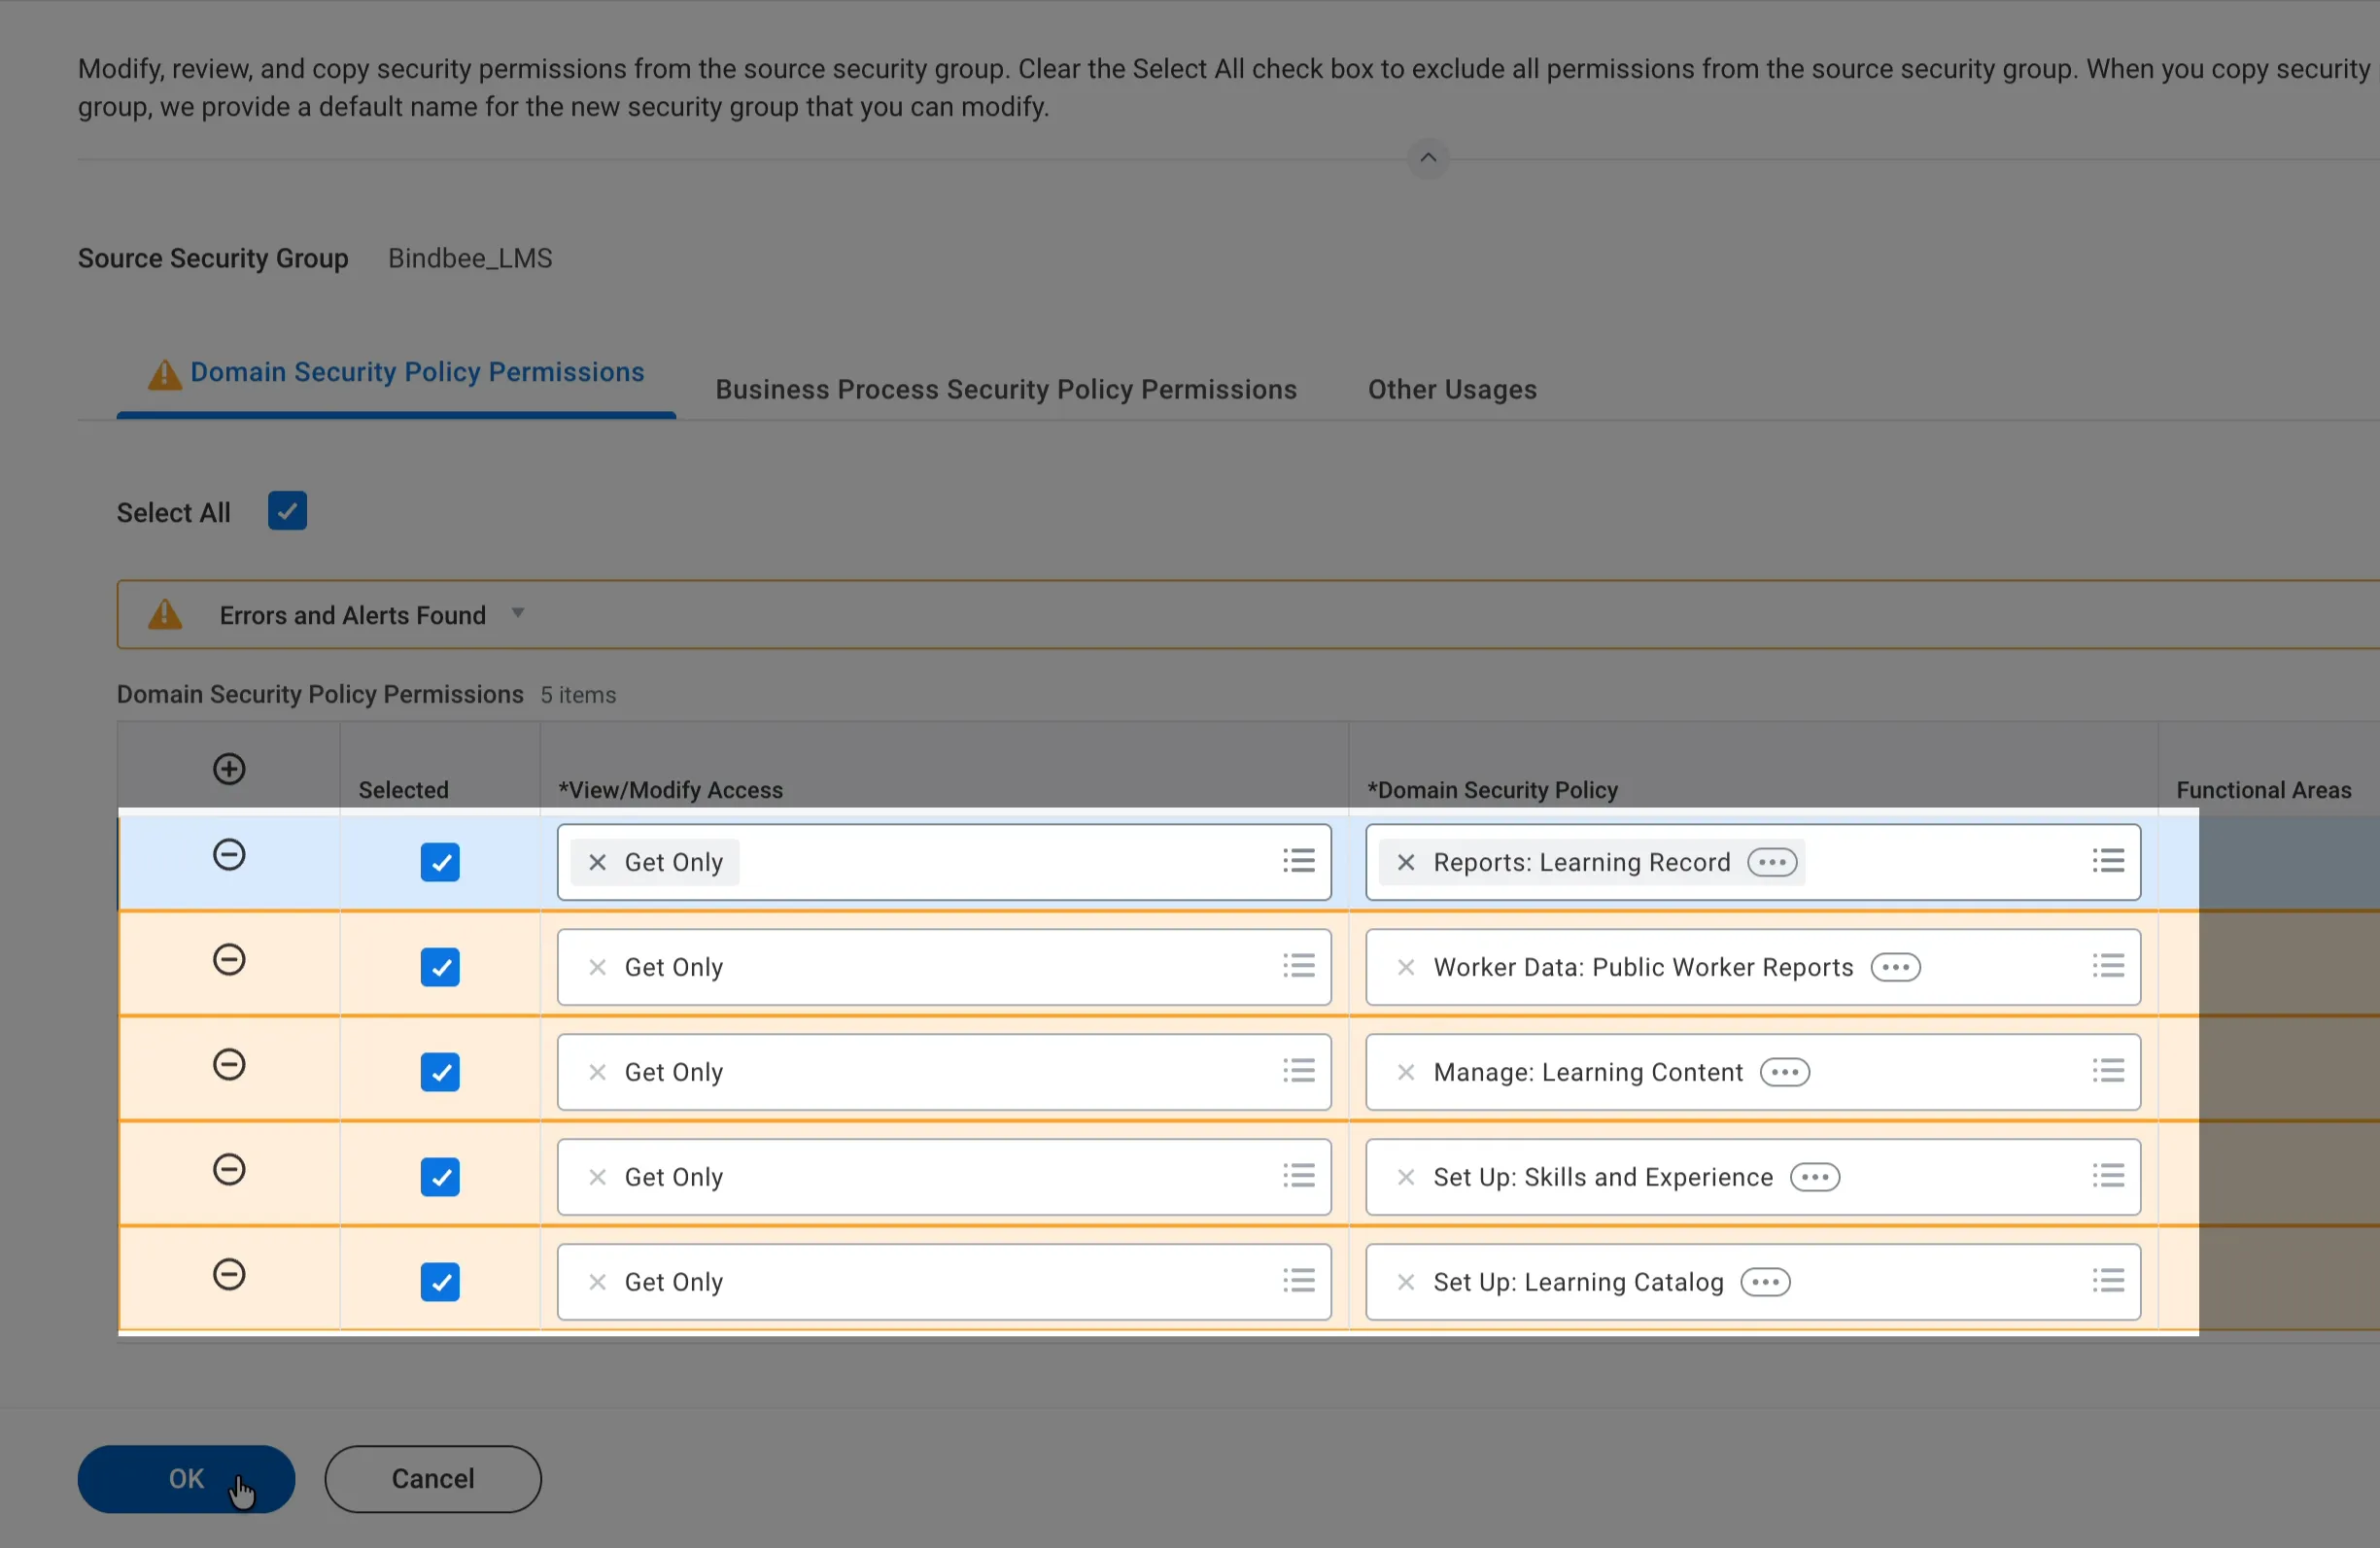
API Operation | Domain Security Policy |
|---|---|
Get Only | Set Up: Learning Catalog |
Get Only | Set Up: Skills and Experience |
Get Only | Manage: Learning Content |
Get Only | Worker Data: Public Worker Reports |
Get Only | Reports: Learning Record |
Step 5: Press "OK" and "Done".
Activate All Changes
Step 1: Navigate to "Activate Pending Security Policy Changes".
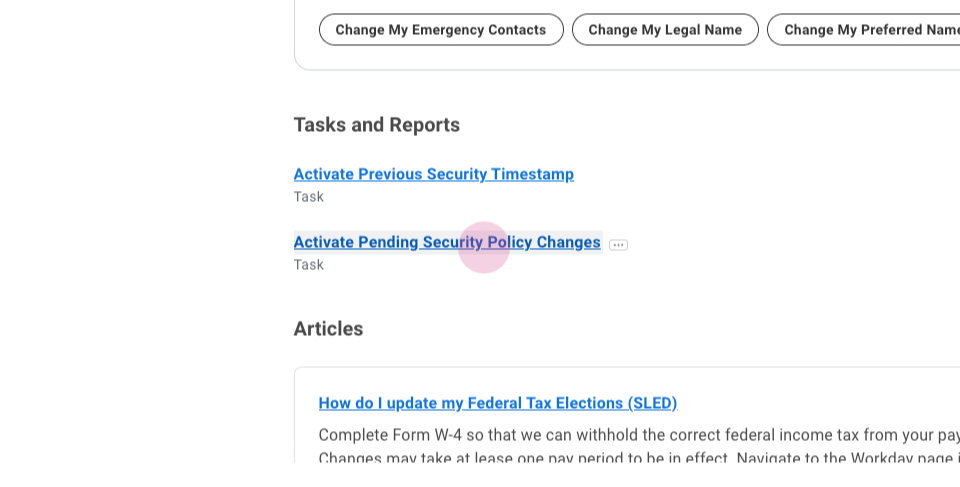
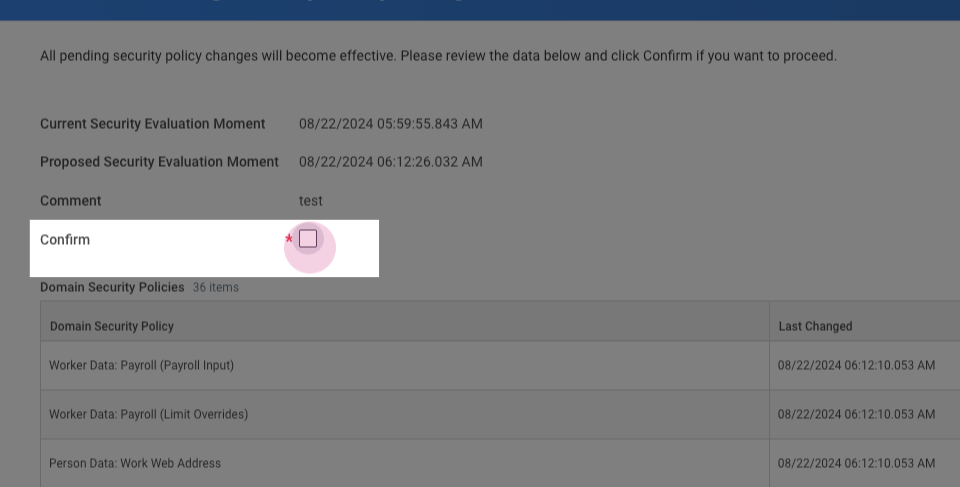
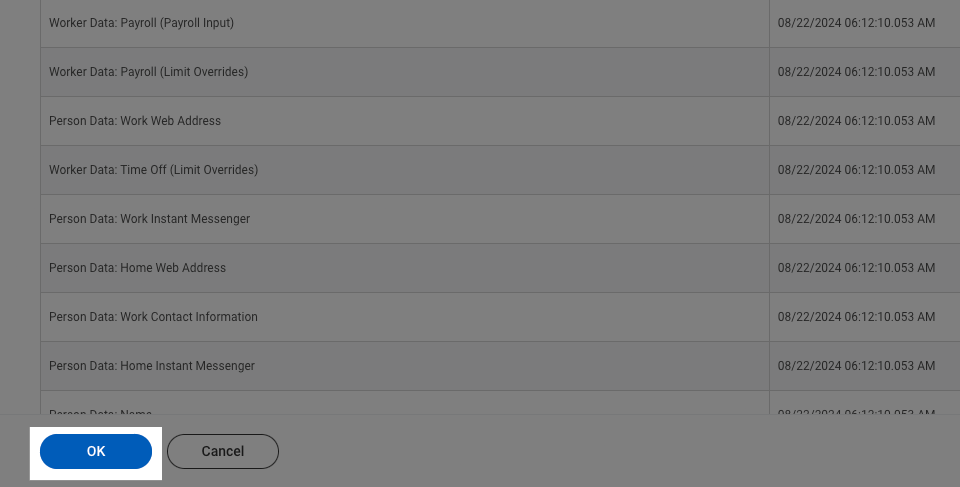
Step 2: Add a comment and then confirm.

Setting up the Connection
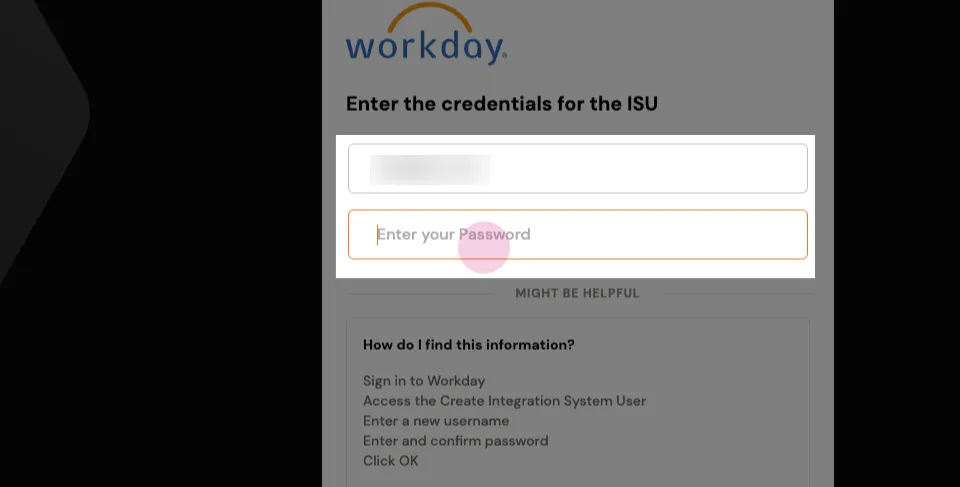
Step 1: Enter the User ID and Password created earlier and click Next.
Step 2: To find your Workday web services endpoint URL, return to your Workday dashboard. Search for Public Web Services.
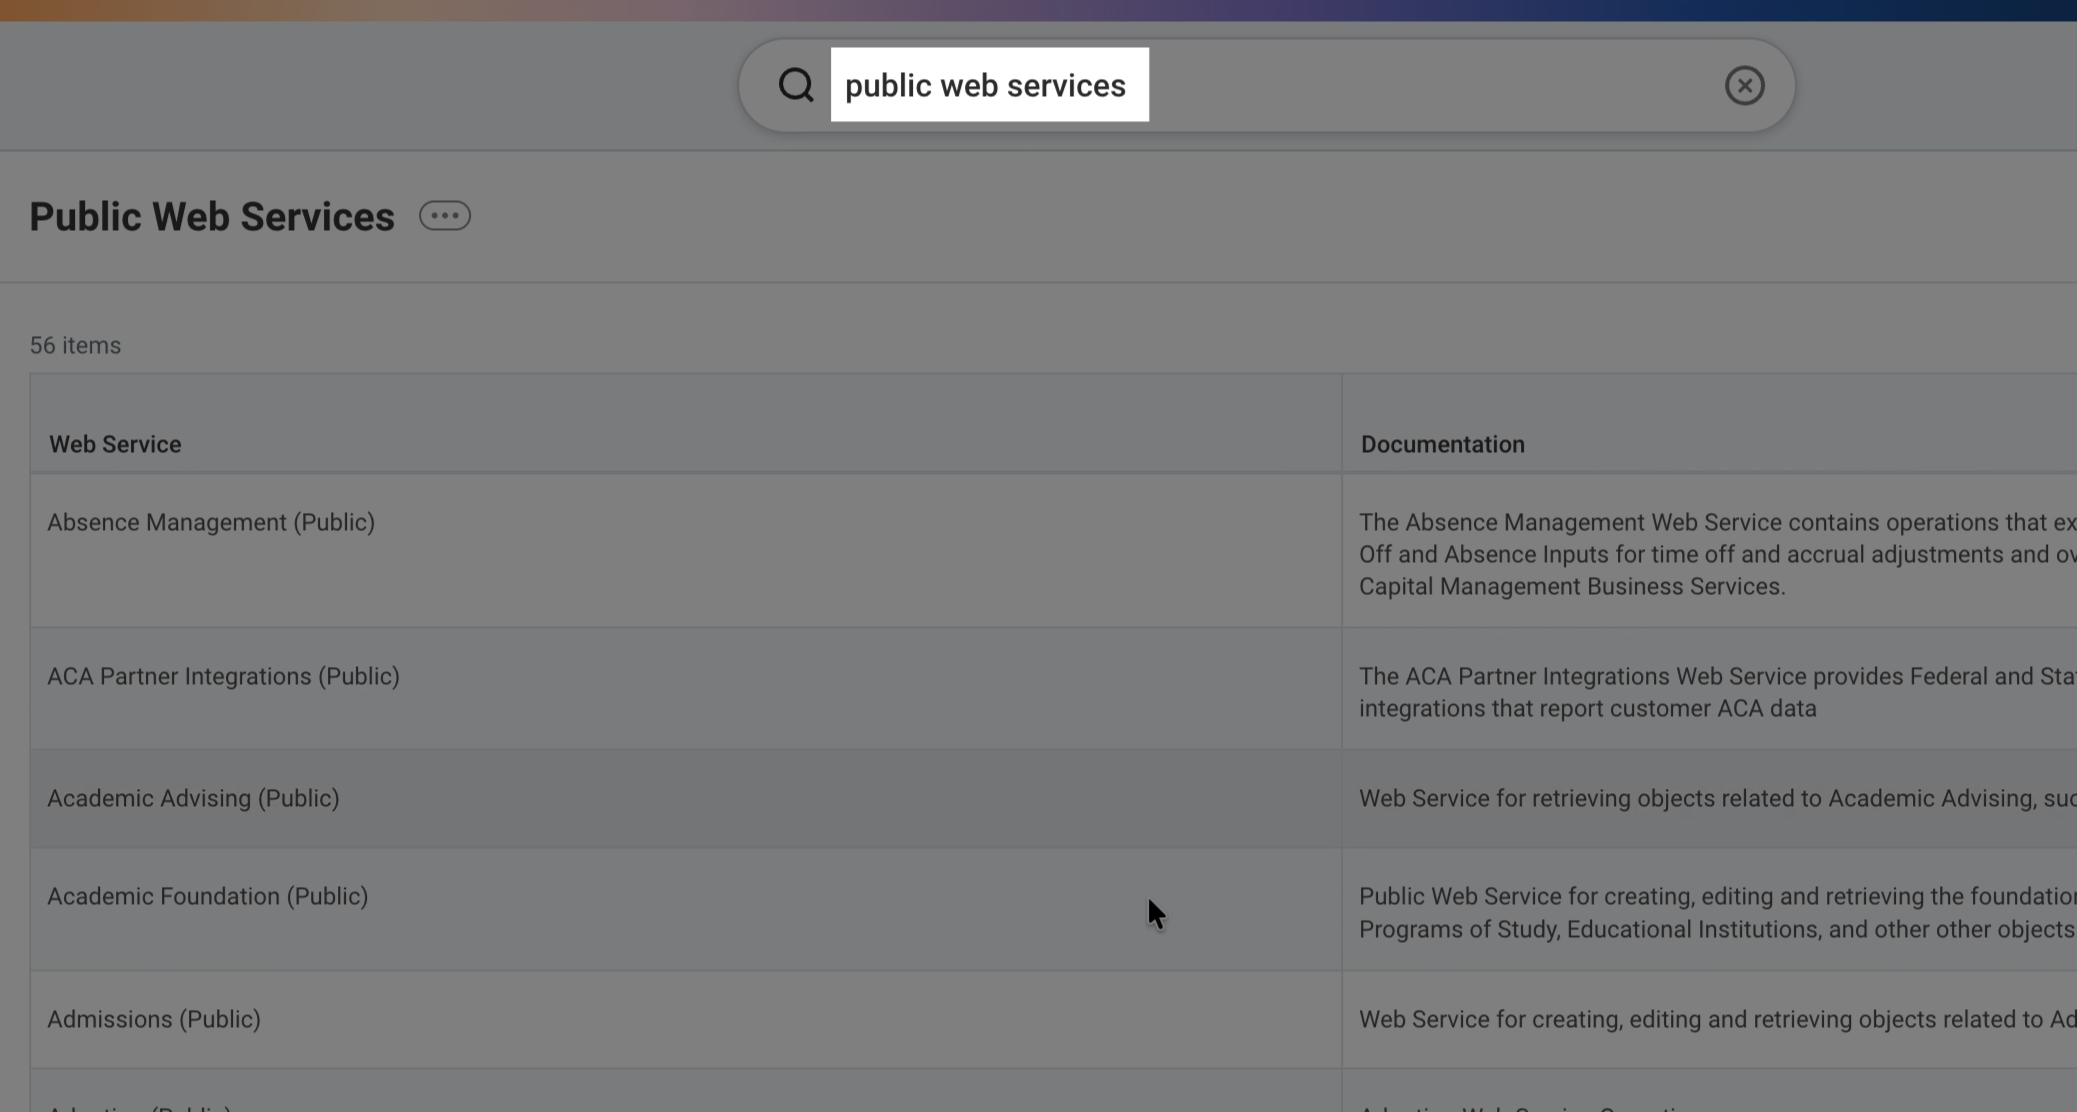
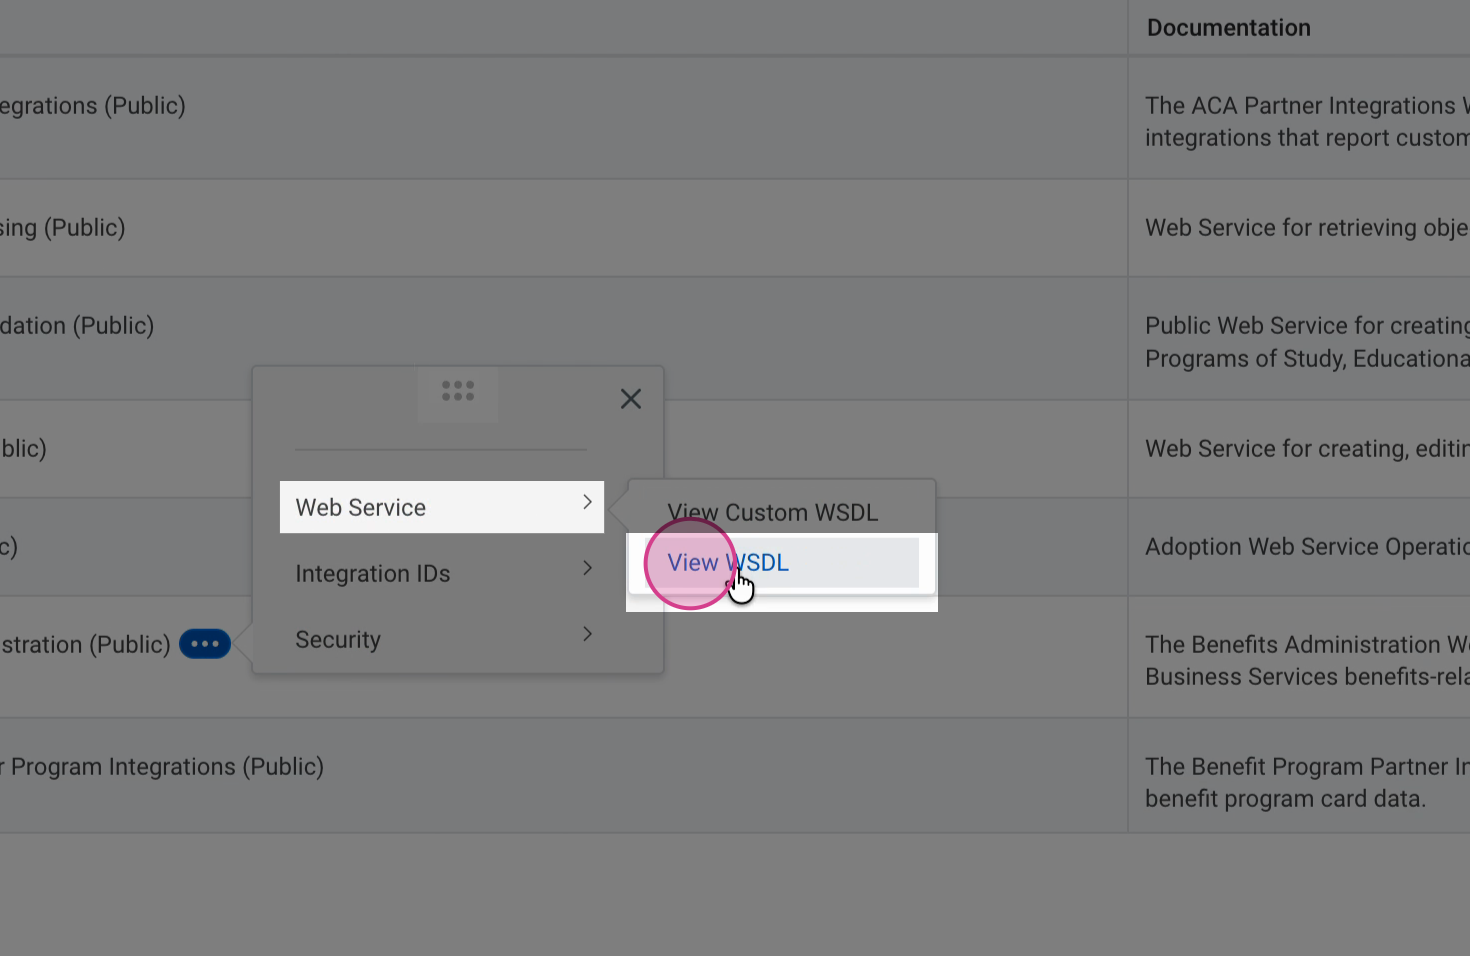
Step 3: Navigate to Benefit Administration > Web Service > View WSDL. Scroll to the bottom, and copy everything before "/service" in the URL.
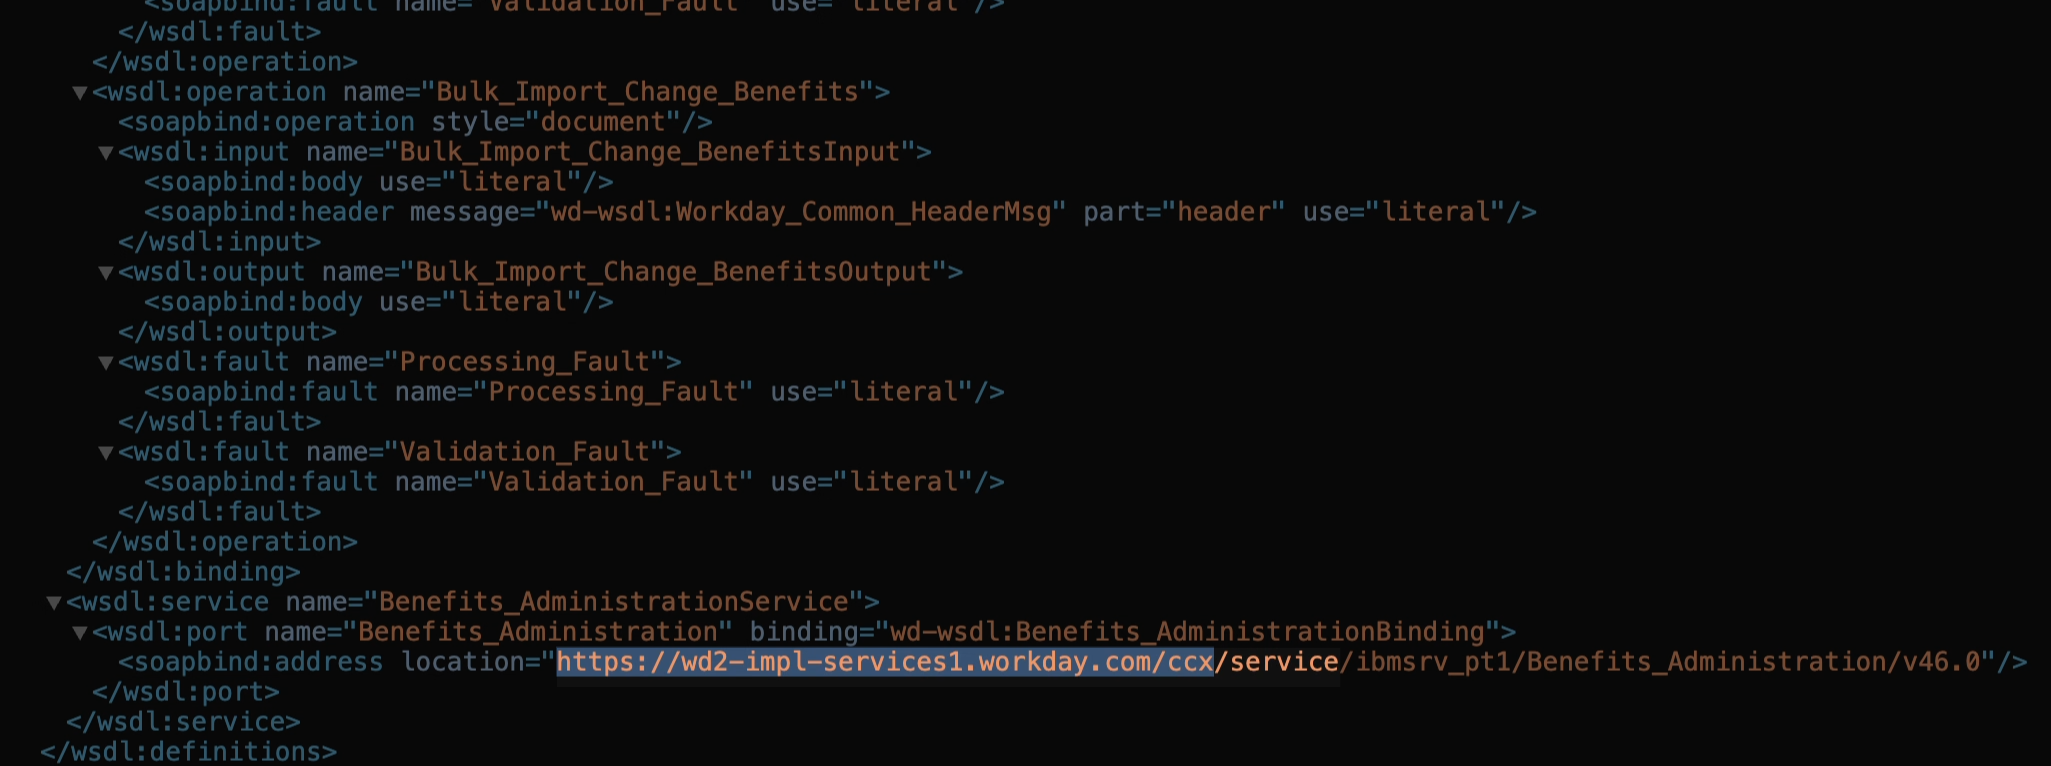
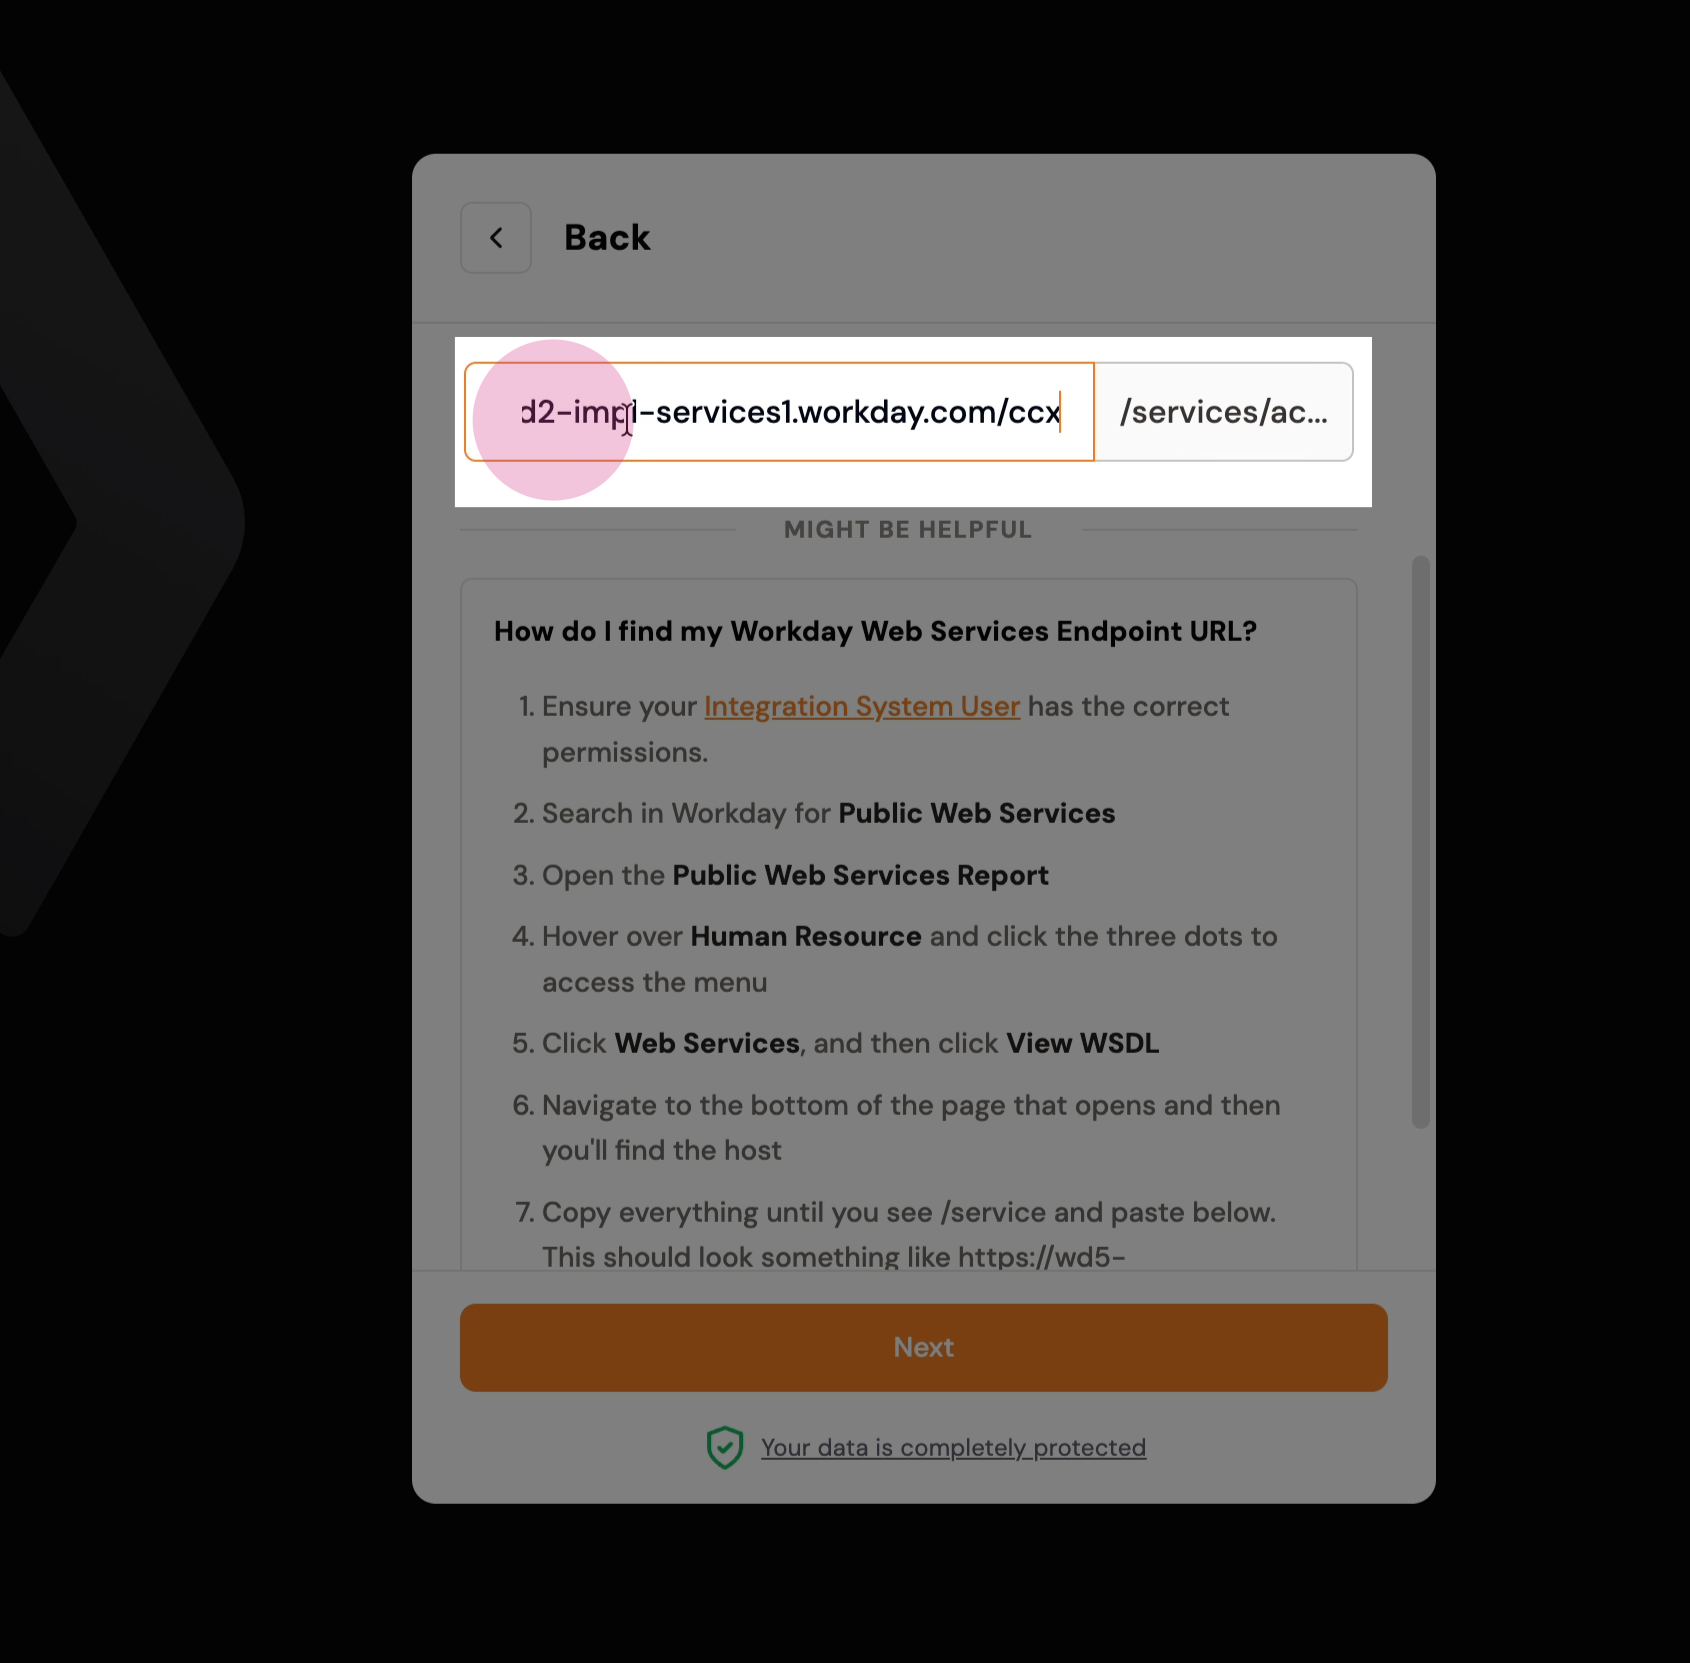
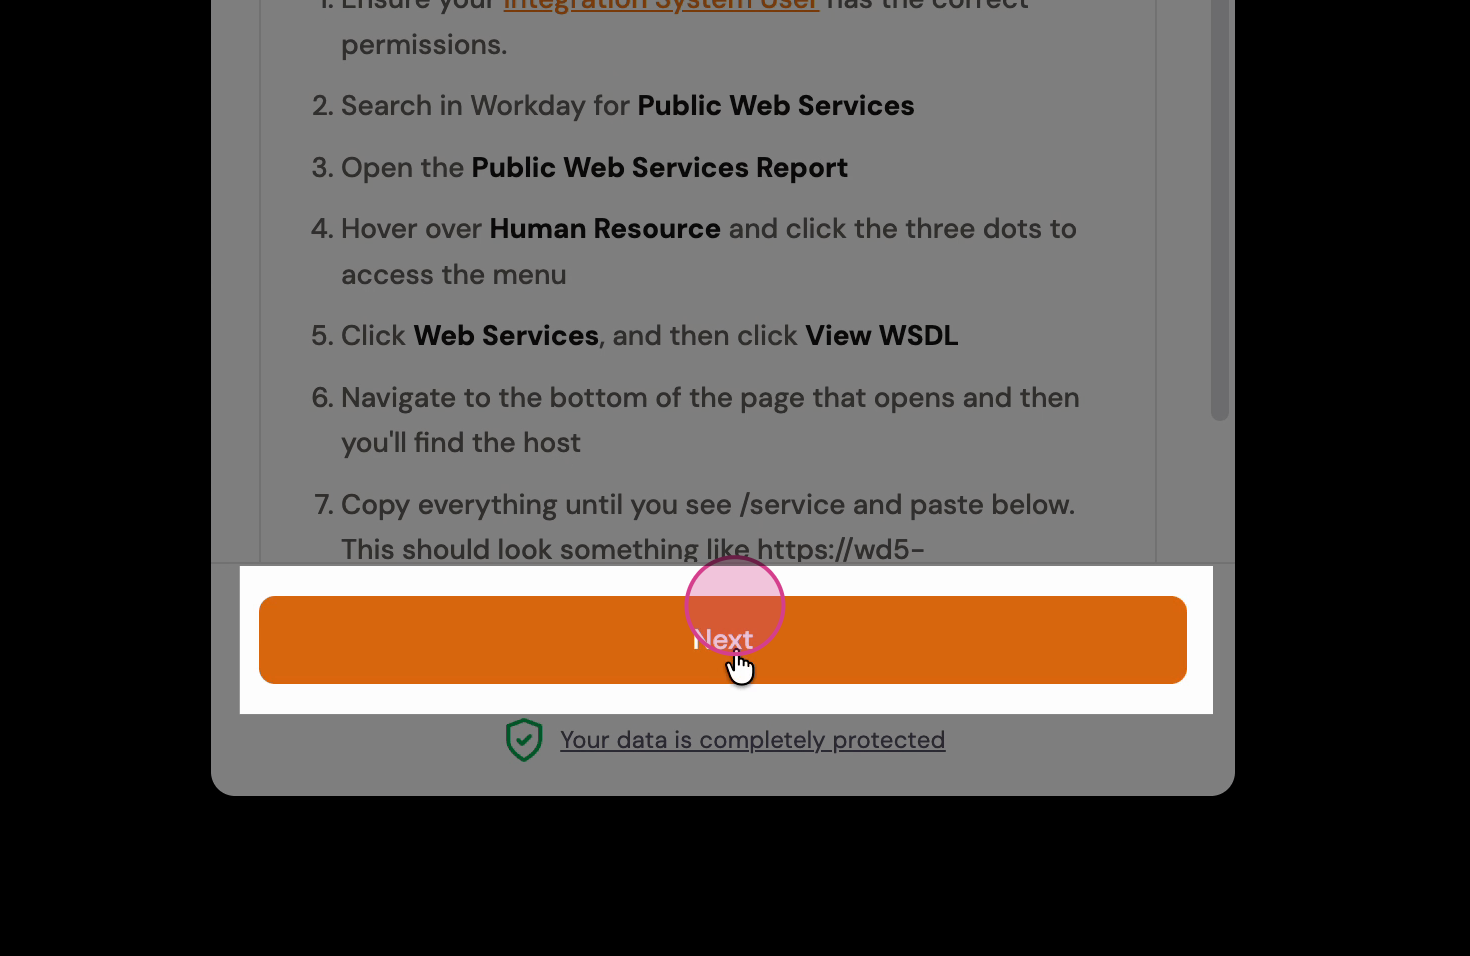
Step 4: Return to Magic Link, paste the copied URL, and click Next.
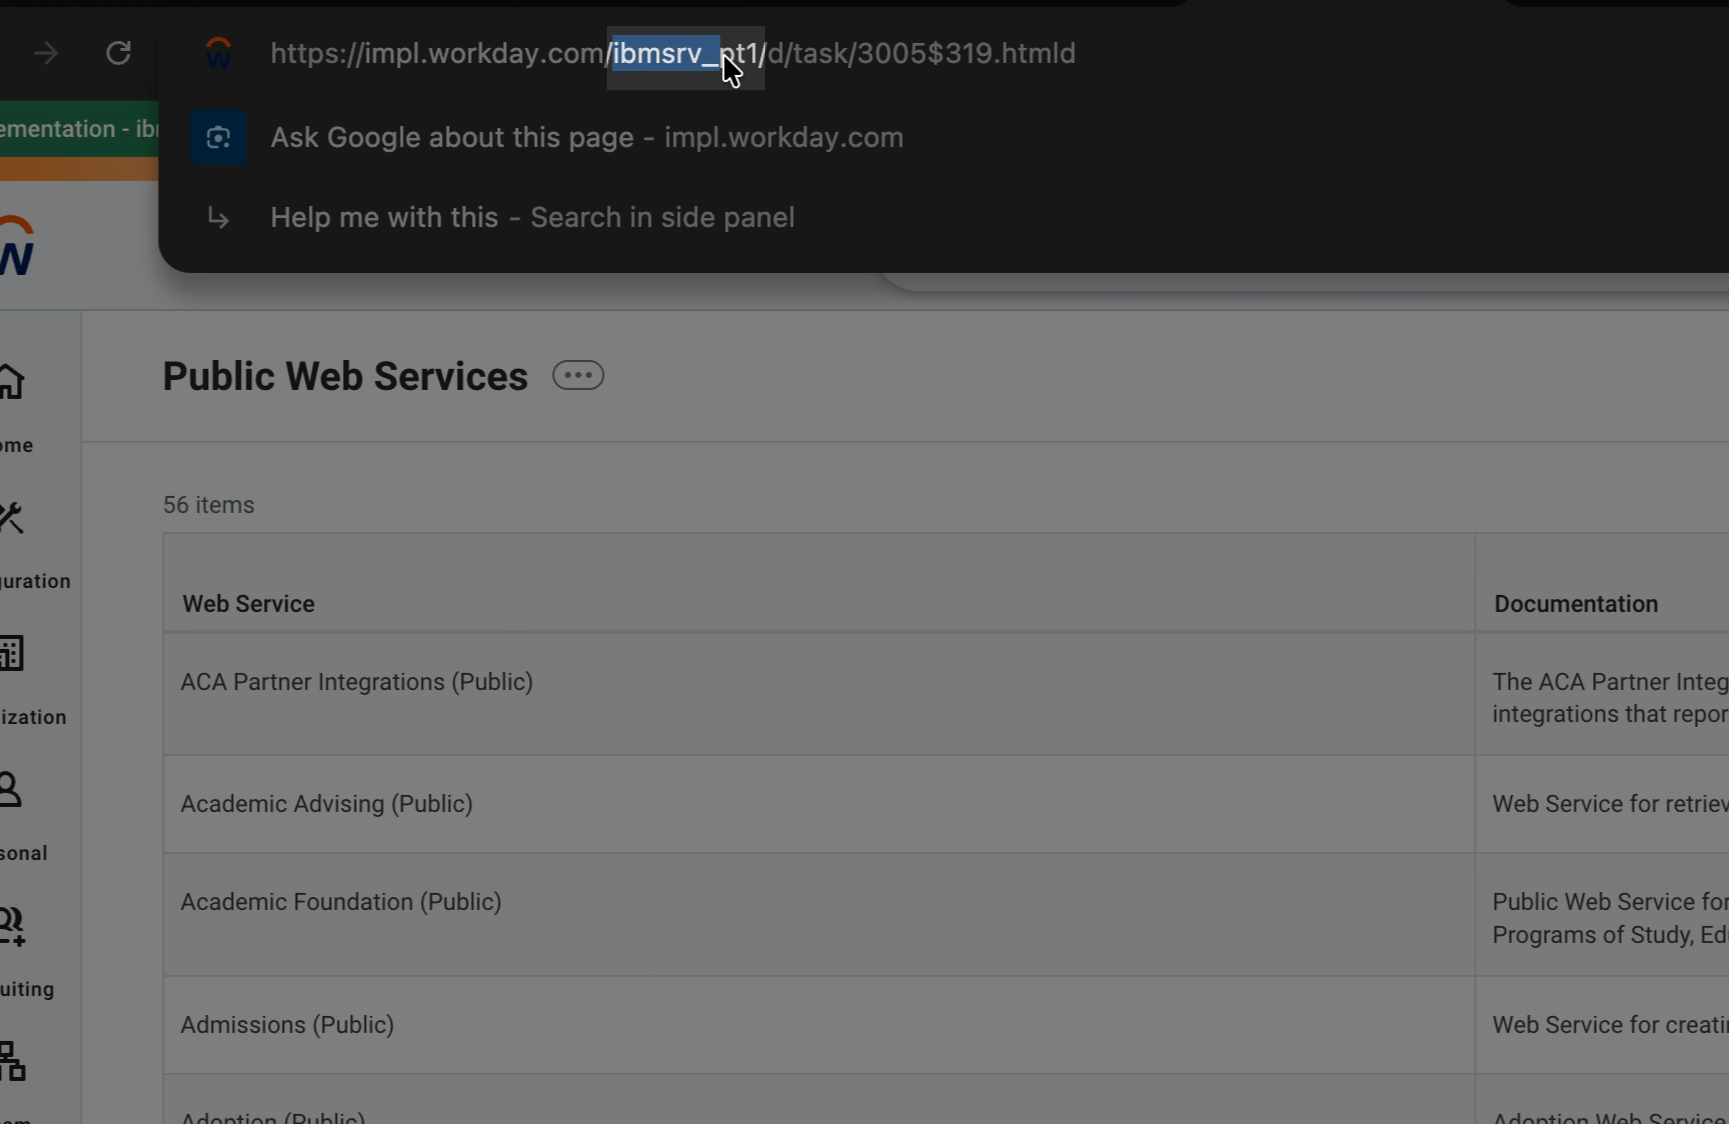
Step 5: To find your Workday tenant name, look at your dashboard’s URL, and copy the part after "workday.com."
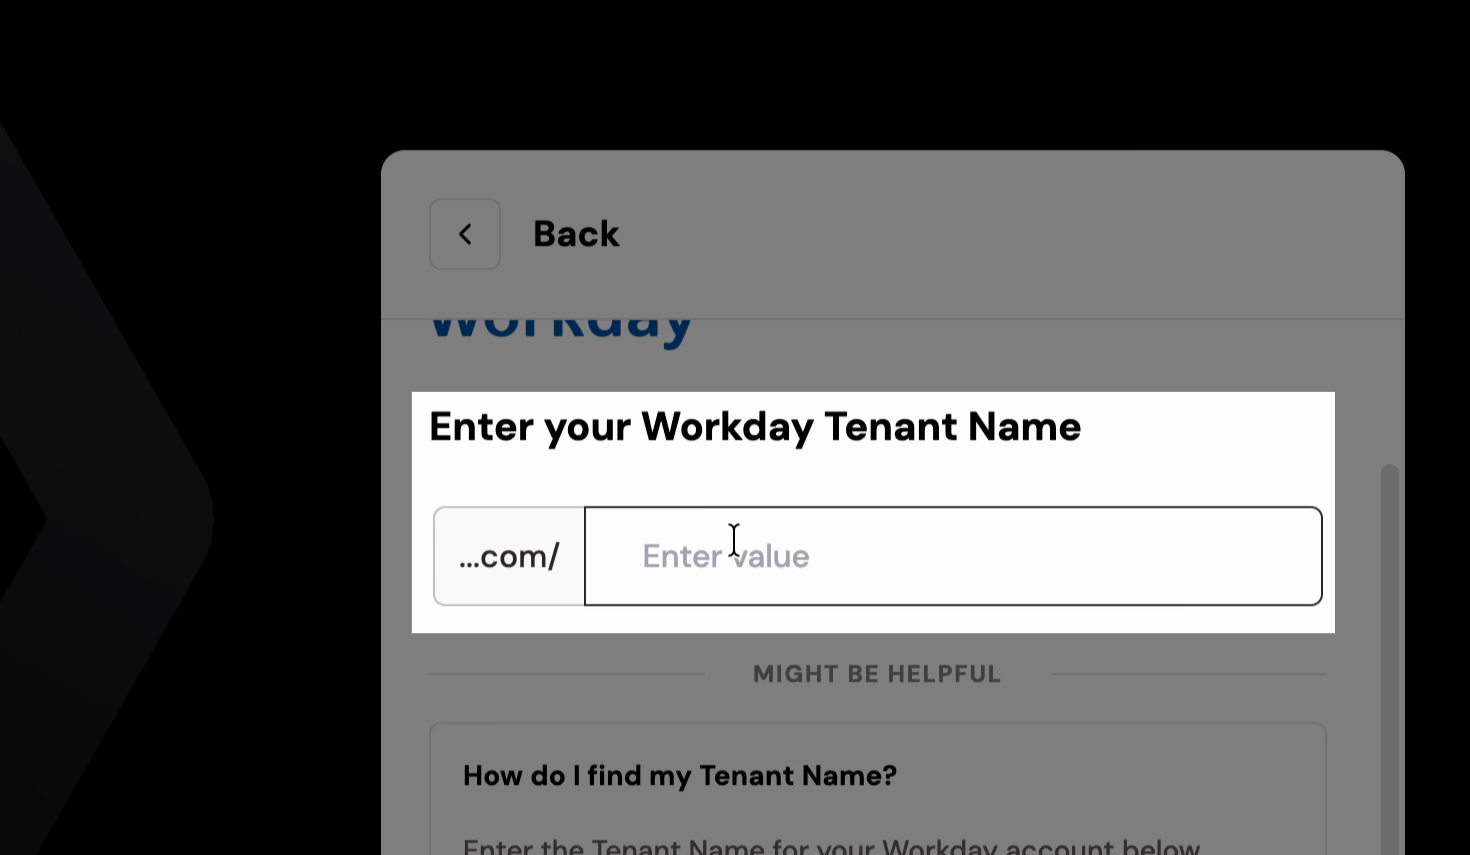
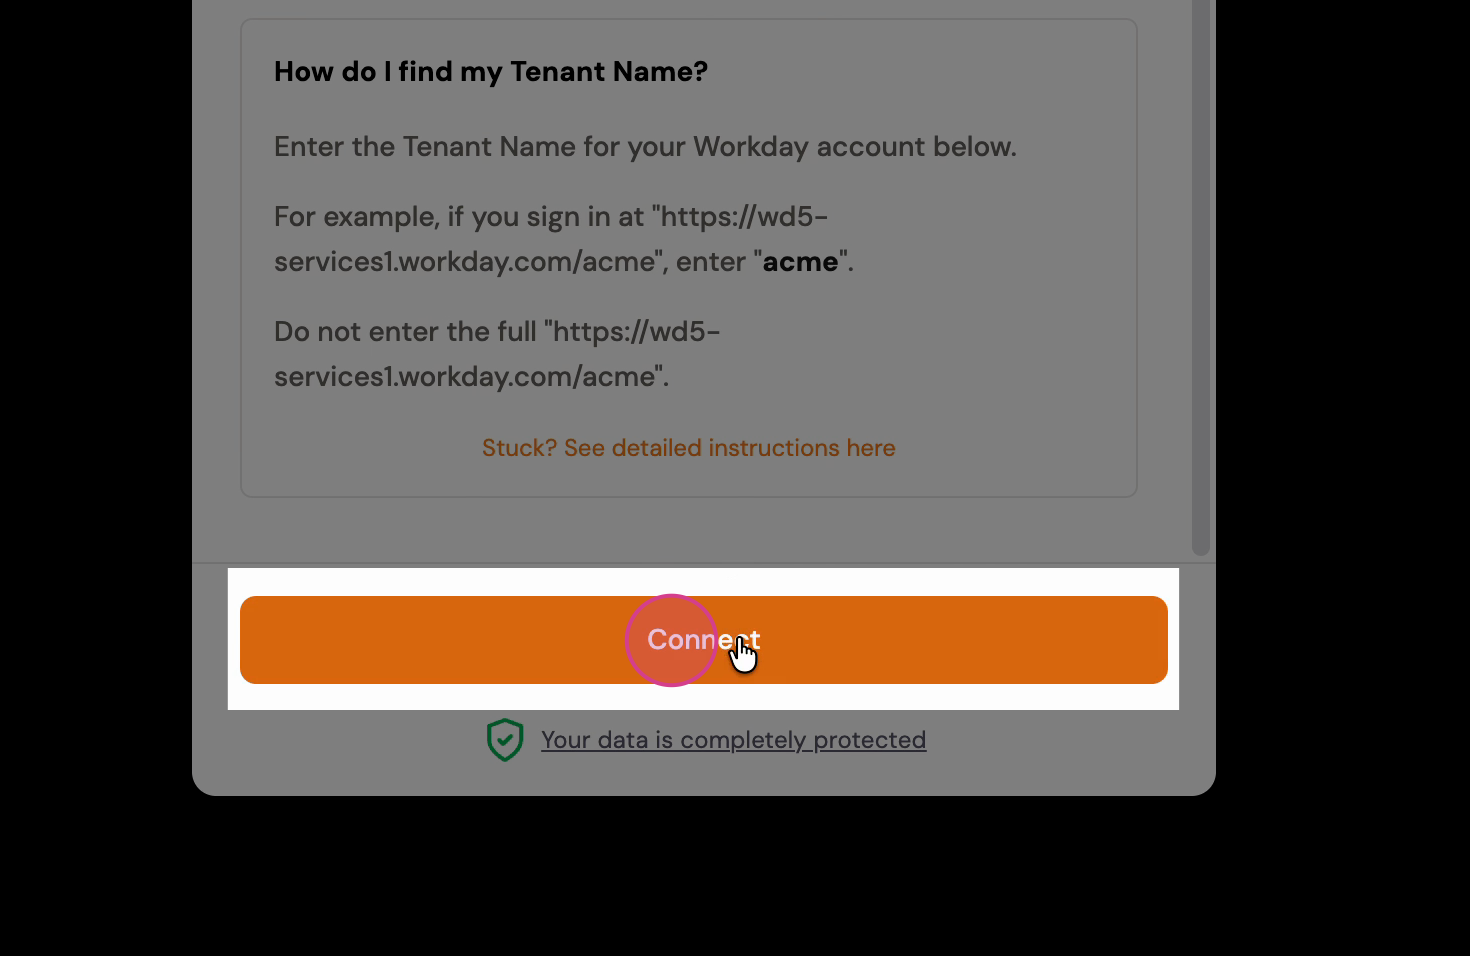
Step 6: Paste the tenant name in the provided field and click Connect.
You have successfully connected to Workday!