Using Meta APIs (Workday)
Bindbee’s Meta APIs retrieve the metadata required for write-back operations, such as creating payroll runs and time-off entries.
In Workday integrations, certain metadata used by the Meta APIs is sourced through custom reports. To expose this metadata in Bindbee’s Meta API responses, you must create the required custom reports in Workday and transfer ownership of those reports to the authorized Integration System User (ISU).
This guide explains how to configure the necessary Workday custom reports for the Meta APIs you intend to use.
Required Custom Reports
The custom reports you need to create depend on the Workday action you want to perform through Bindbee. You do not need to create all the reports listed below. Create only the reports required for the Meta API you plan to use.
Employee Payroll Run Metadata
To create employee payroll runs, set up the following reports.
Field | Column Heading Override |
|---|---|
Workday ID | wid |
Calculation Name | code |
Field | Column Heading Override |
|---|---|
Workday ID | wid |
Calculation Name | code |
Time Off Metadata
To create time off entries, set up the following reports.
Field | Column Heading Override |
|---|---|
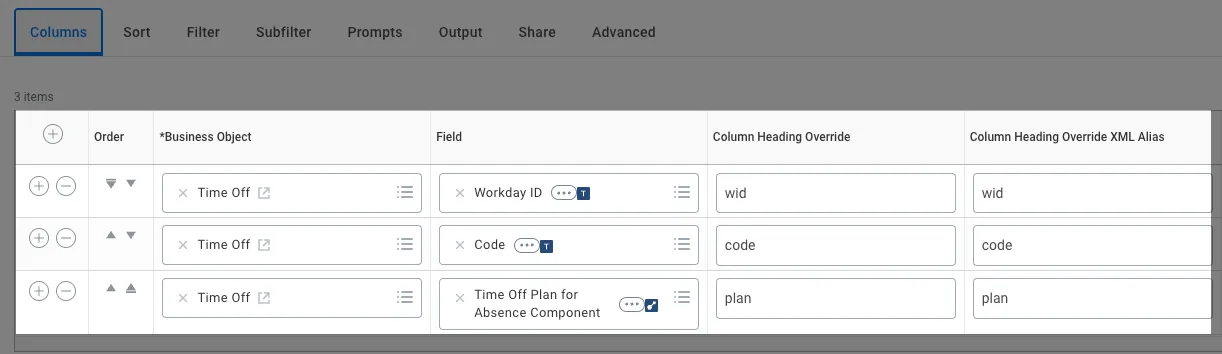
Workday ID | wid |
Code | code |
Time Off Plan for Absence Component | plan |
Field | Column Heading Override |
|---|---|
Workday ID | wid |
Code | code |
Time Off Plan for Absence Component | plan |
Create the Custom Reports in Workday
Follow these steps for each report listed above.
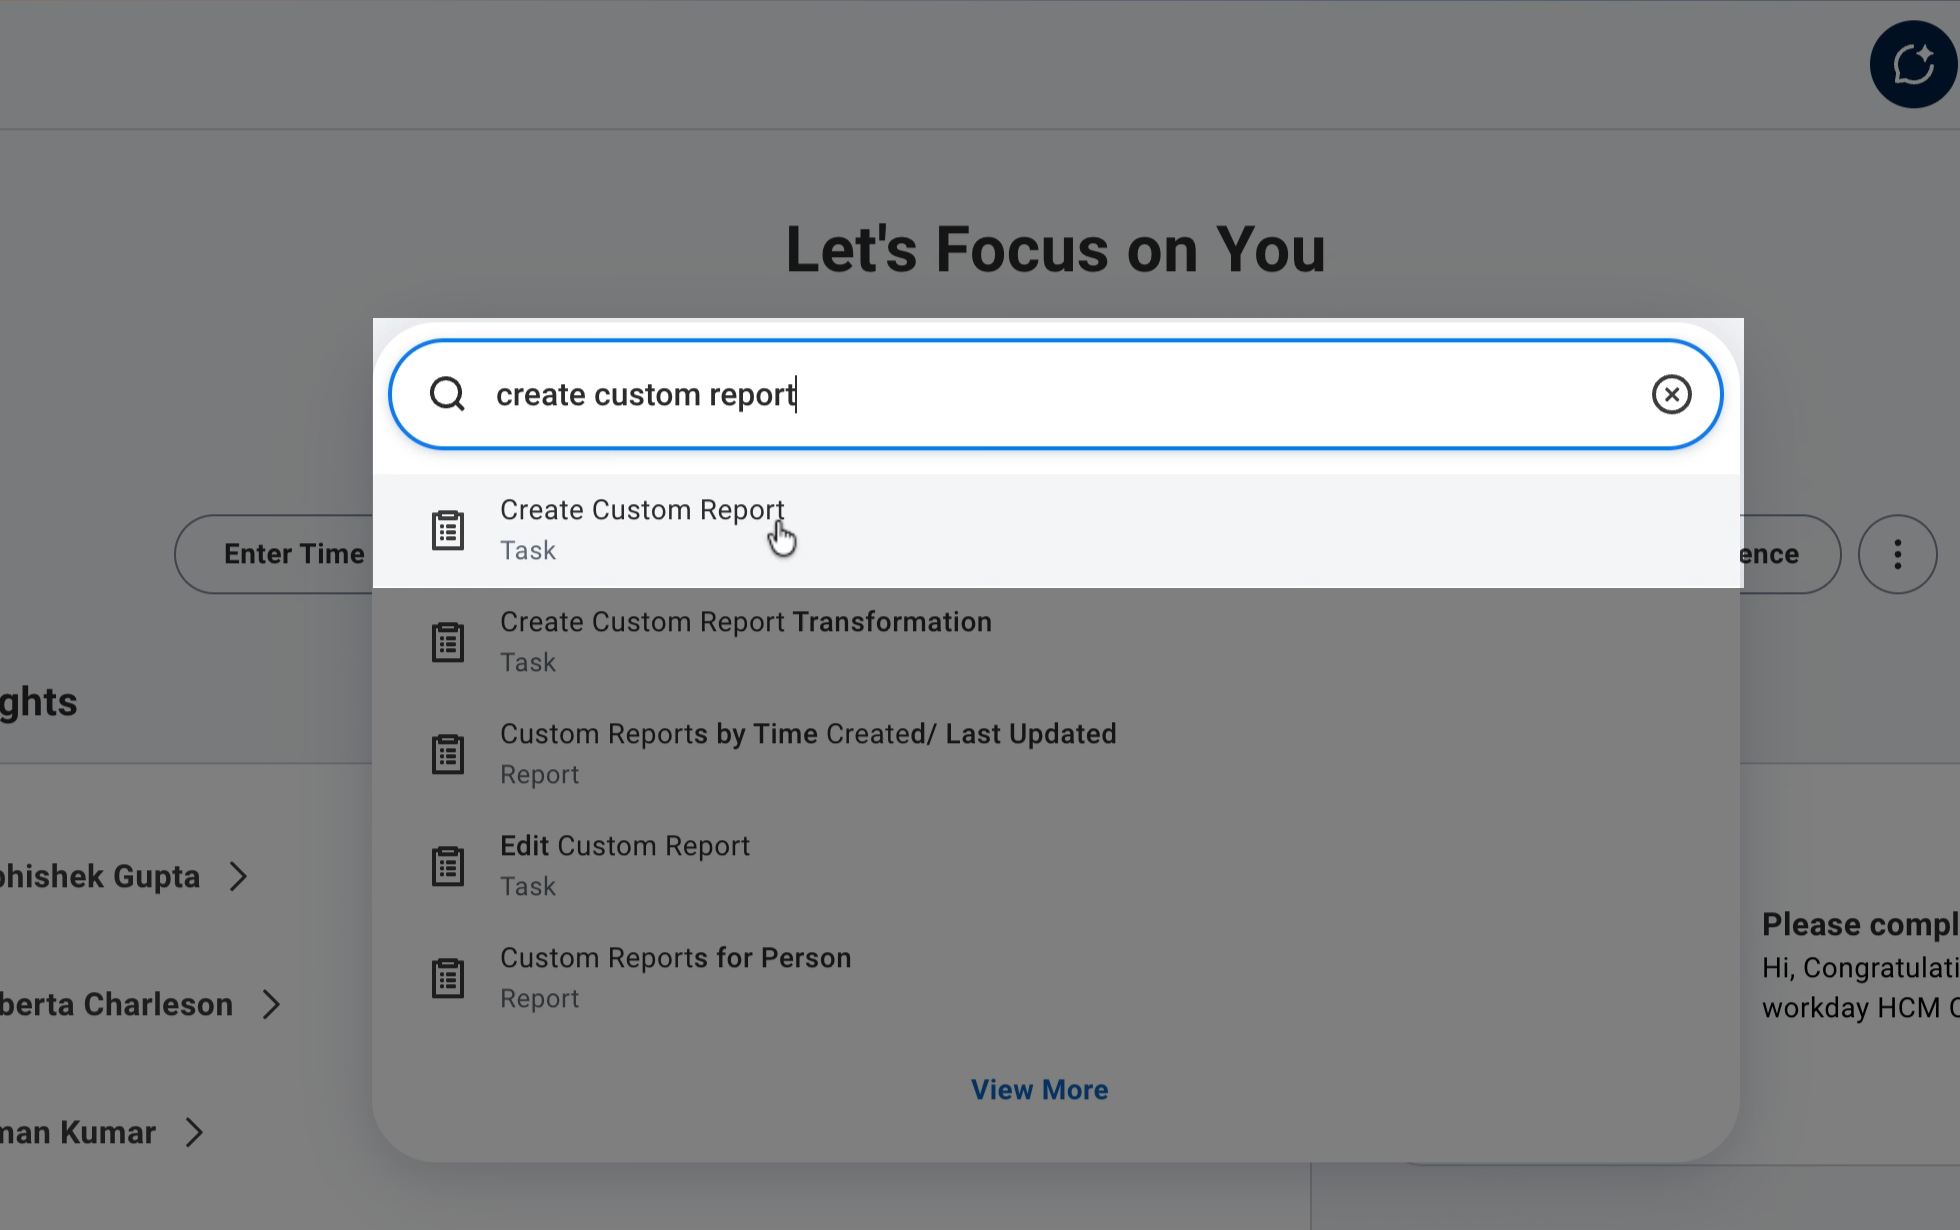
Step 1: Search for Create Custom Report in Workday.
Step 2: Enter the report name from the Required Custom Reports section above.
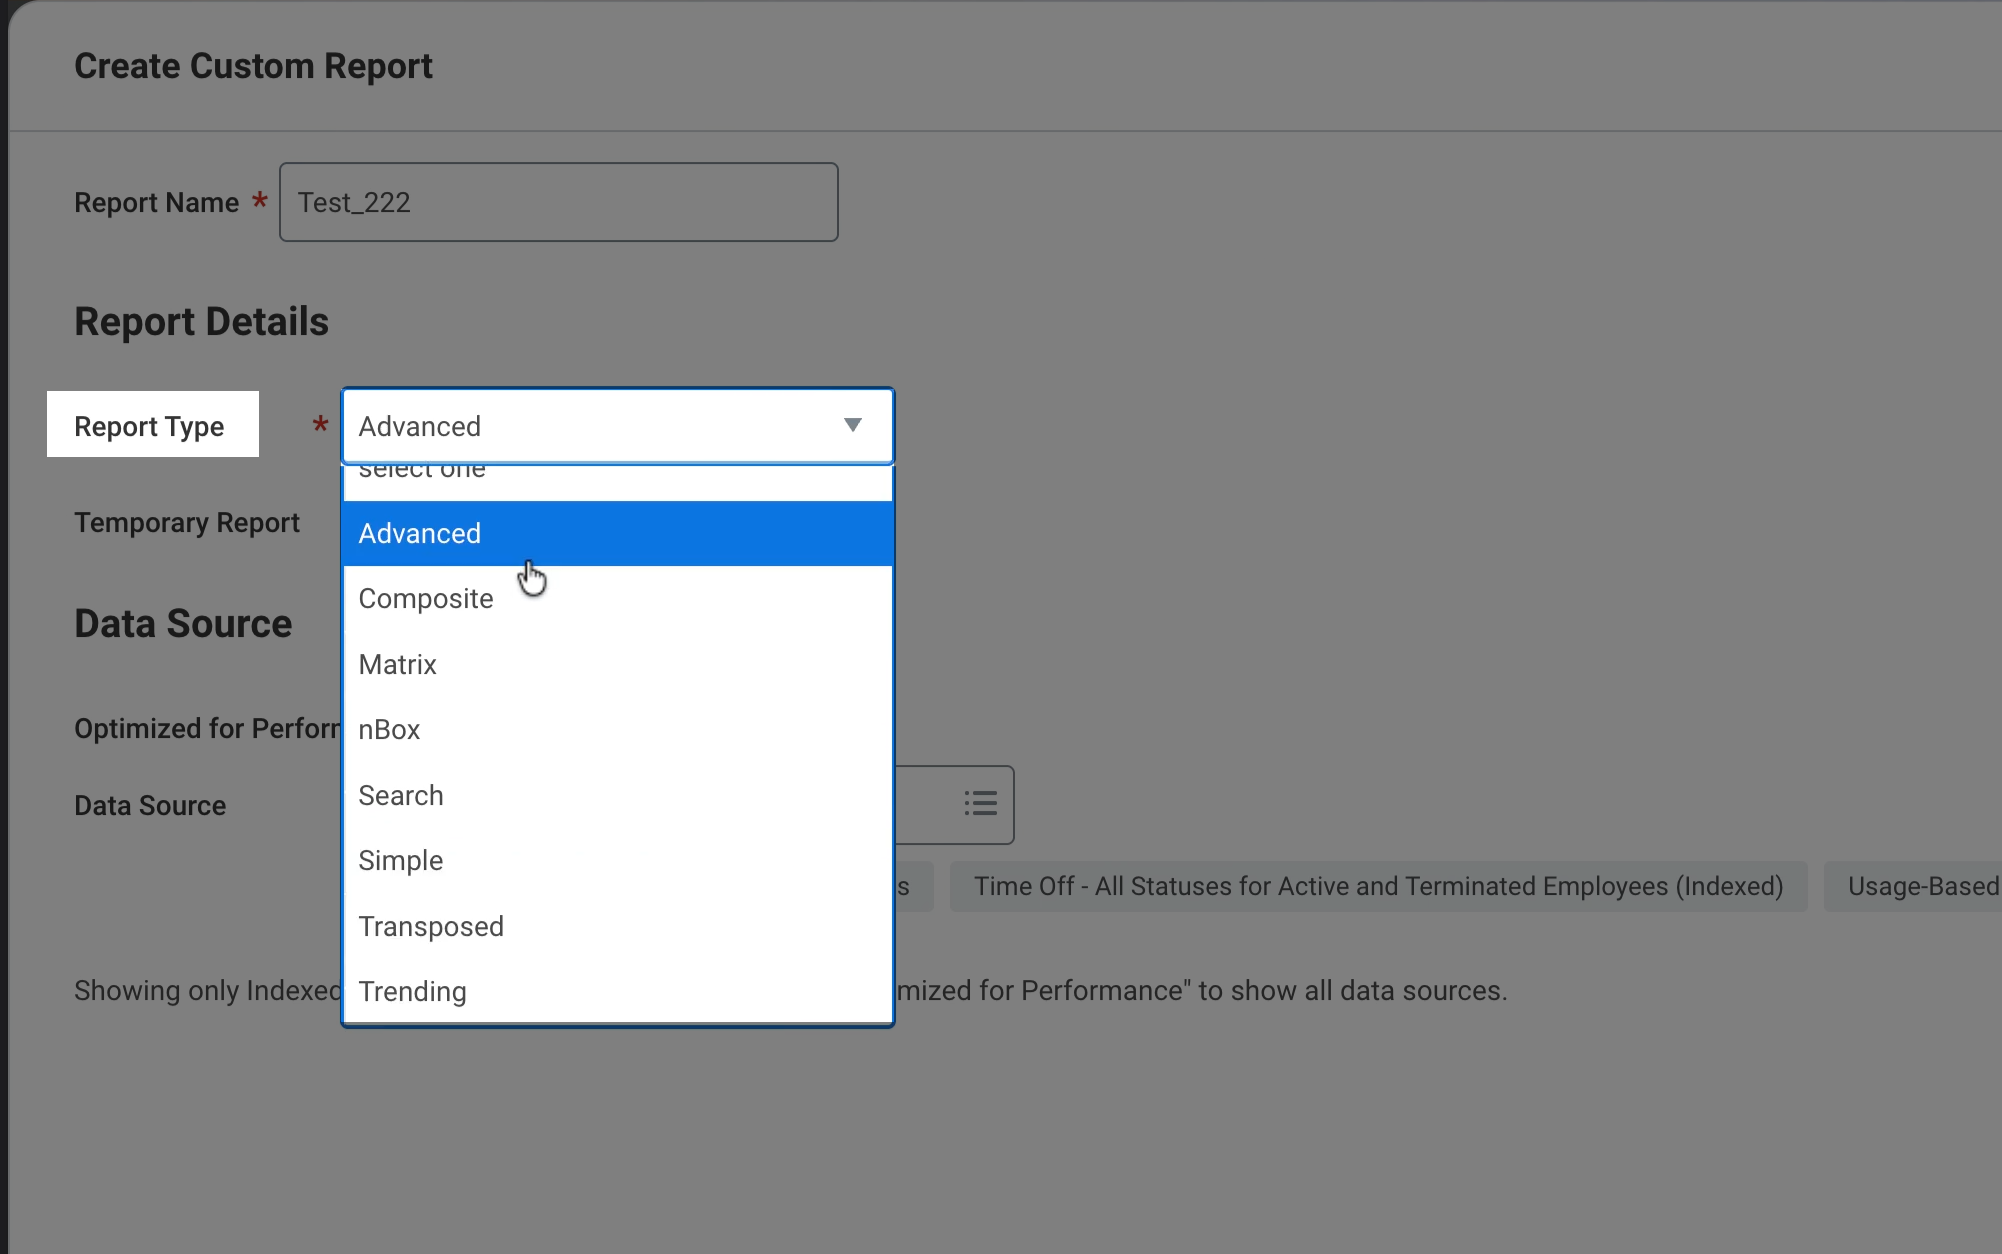
Step 3: Set the Report Type to Advanced.
Step 4: Select Enable As Web Service.
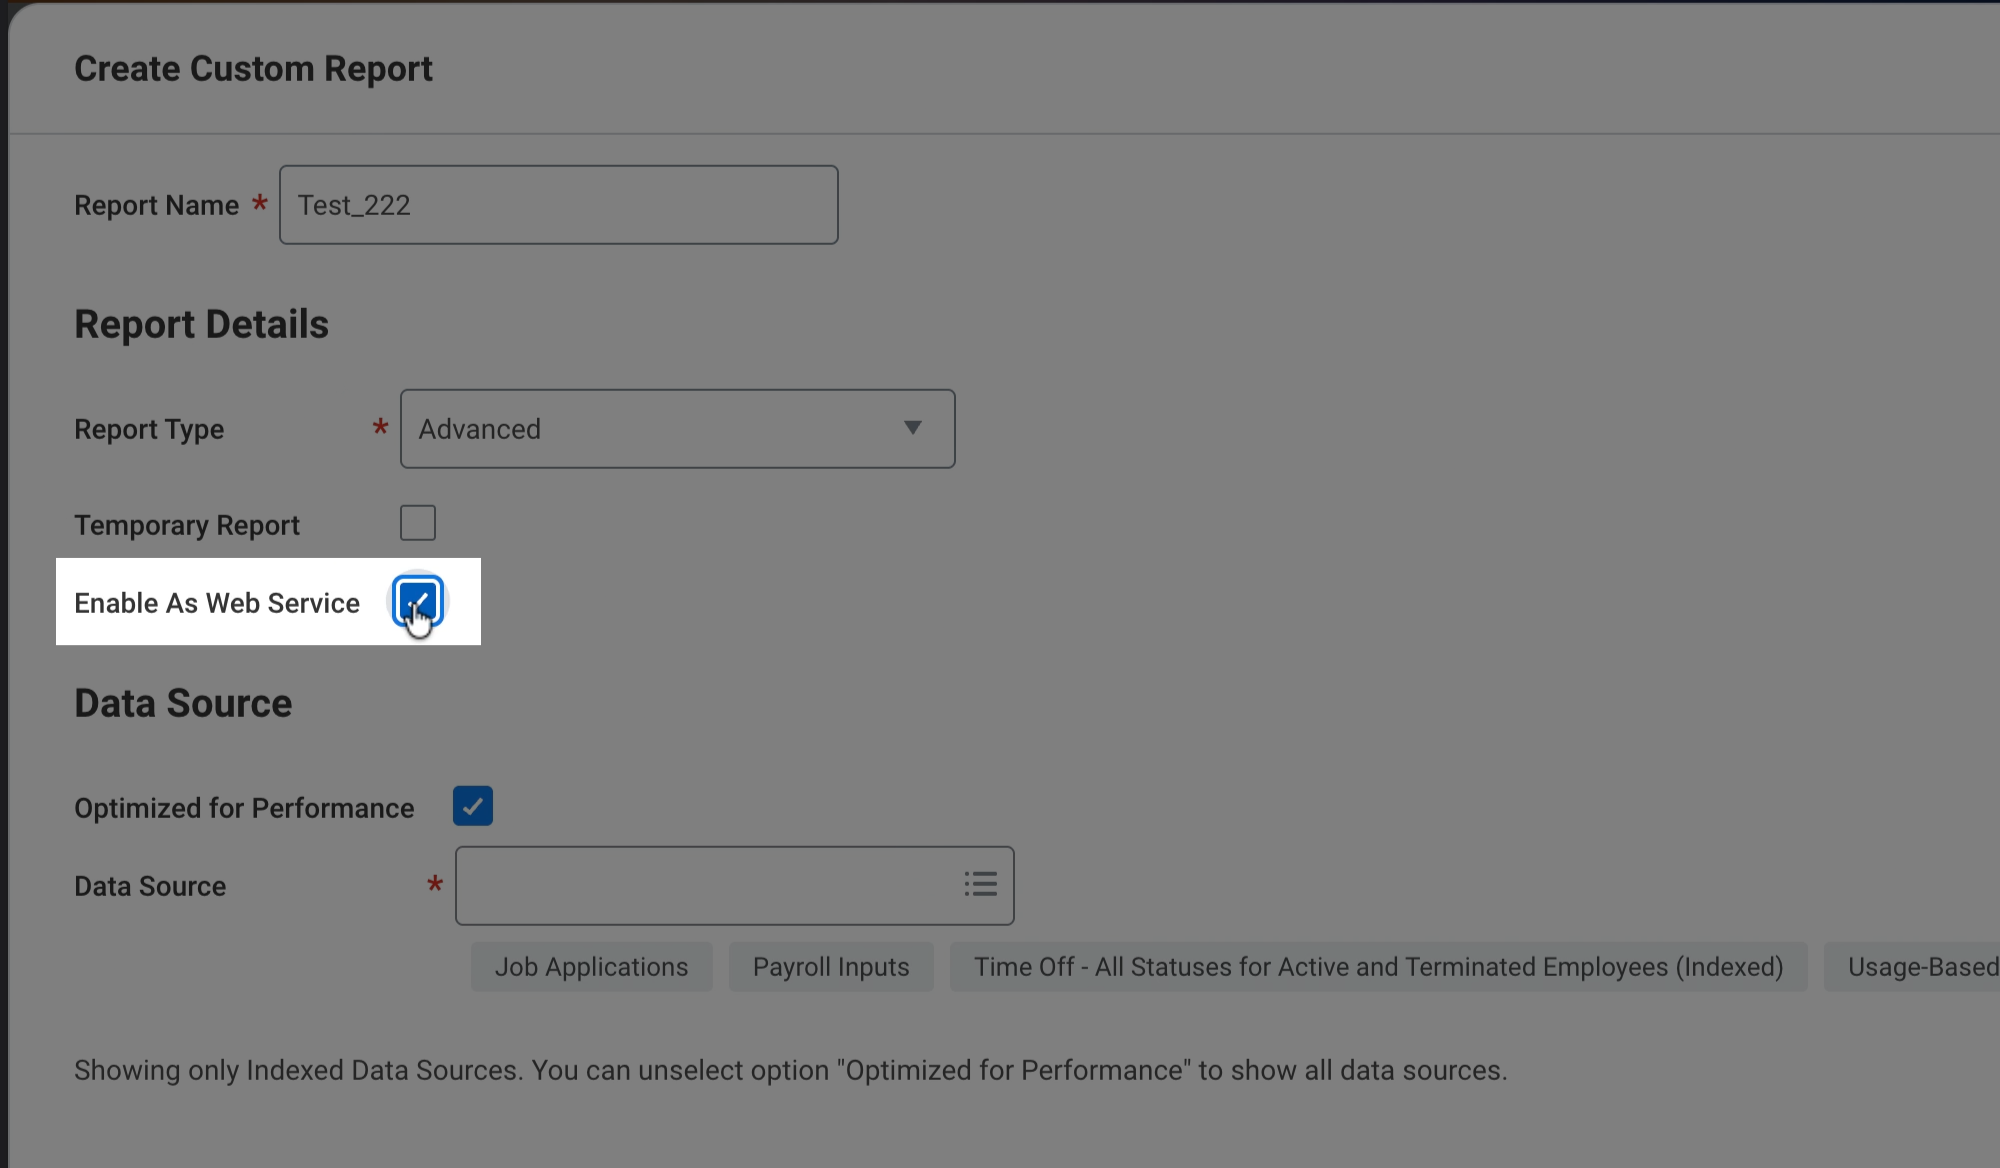
Step 5: Clear the Optimized for Performance checkbox.
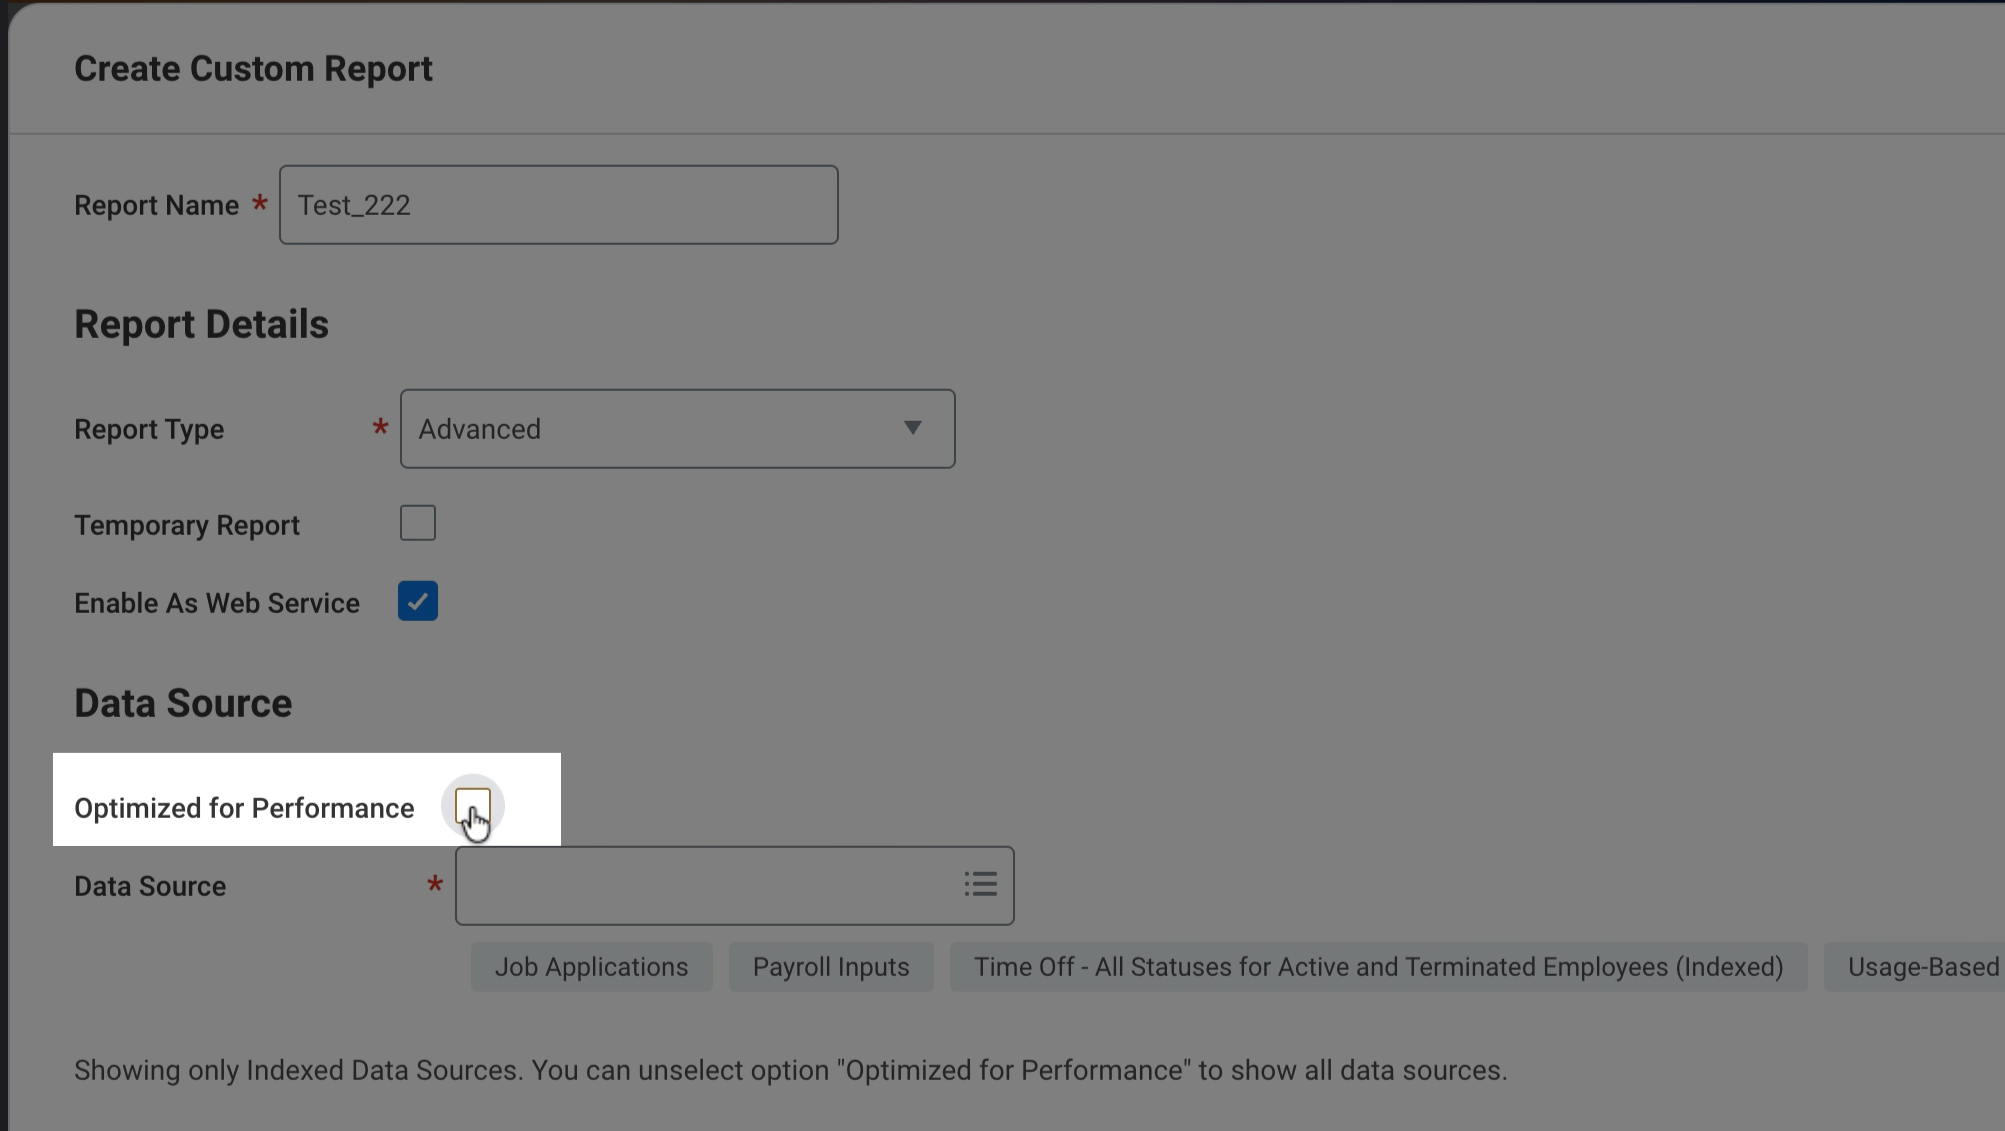
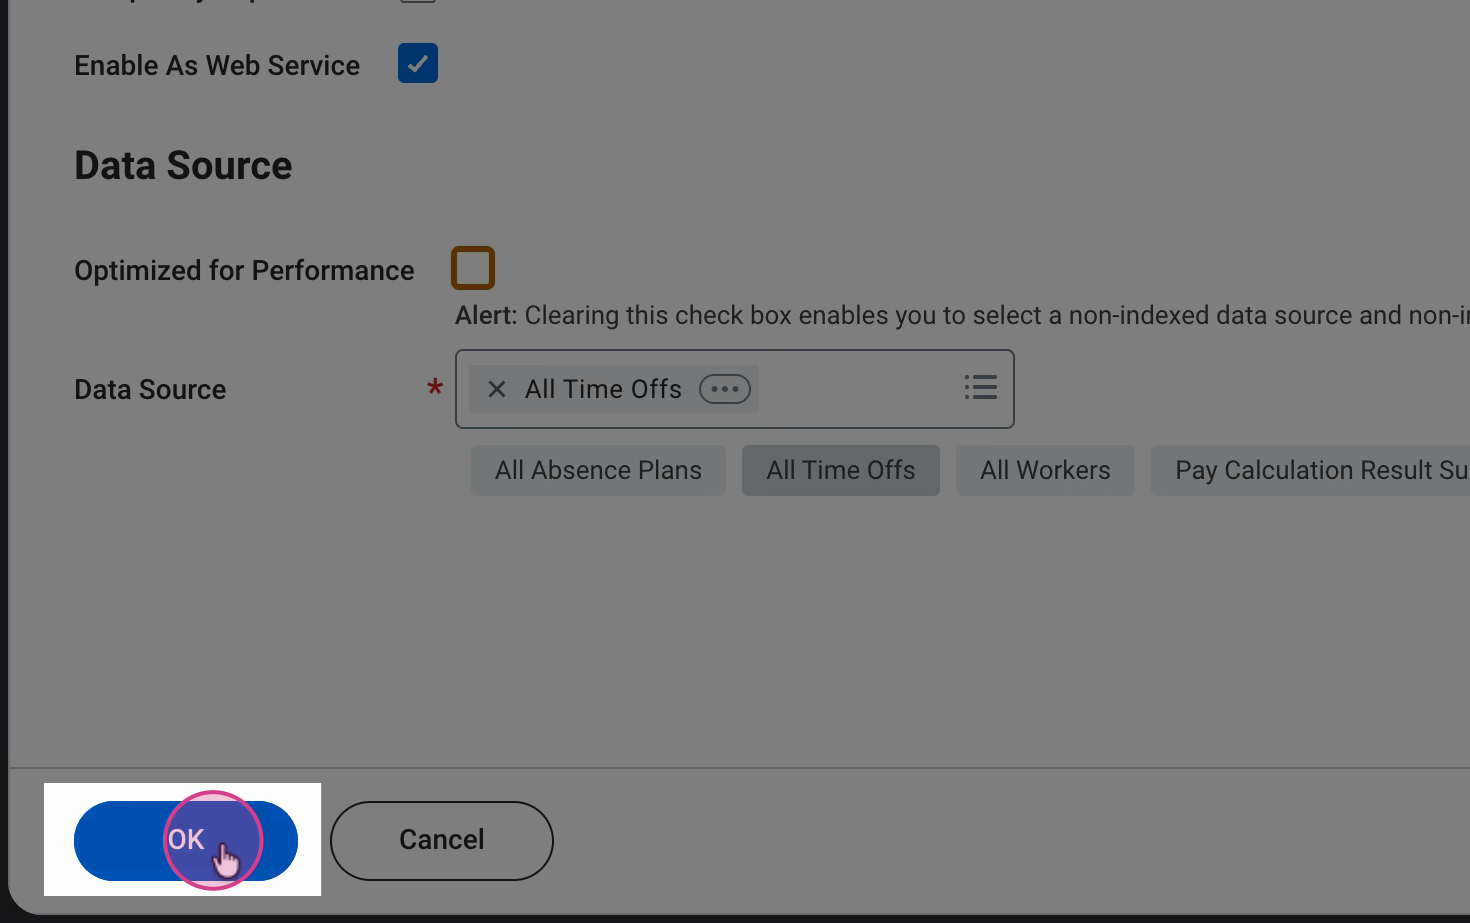
Step 6: Select the data source listed for that report.
Step 7: Click OK to continue.
Step 8: Add the required fields and update the column heading overrides for the specific report you are setting up.
The screenshot below is only for reference. Refer to the Required Custom Reports section above to confirm which fields and column heading overrides are required for each report.
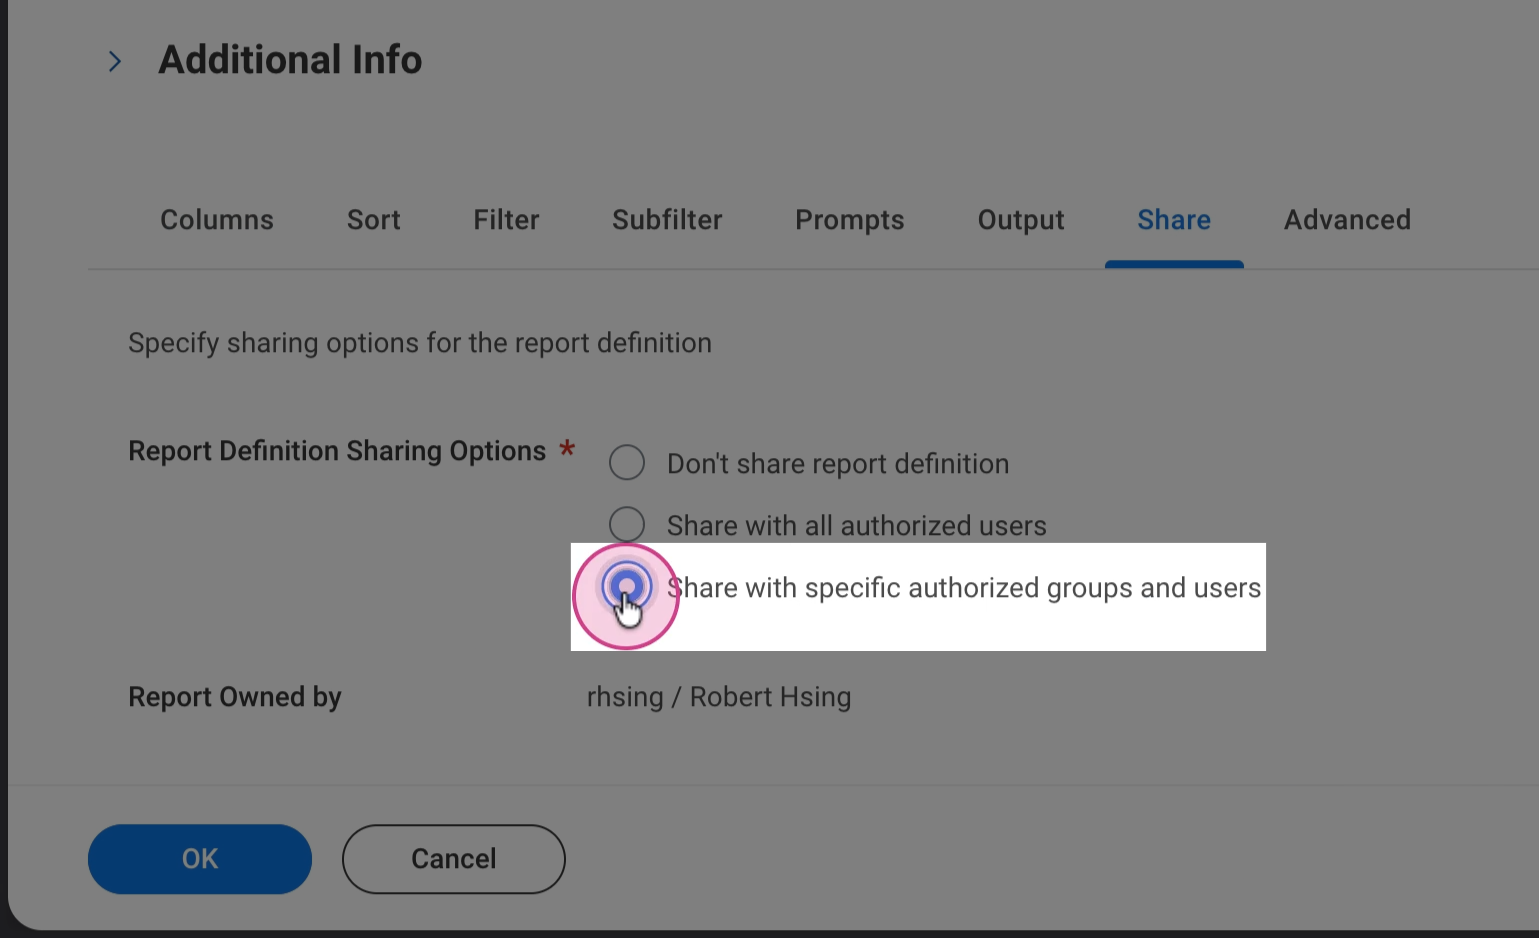
Step 9: Open the Share tab.
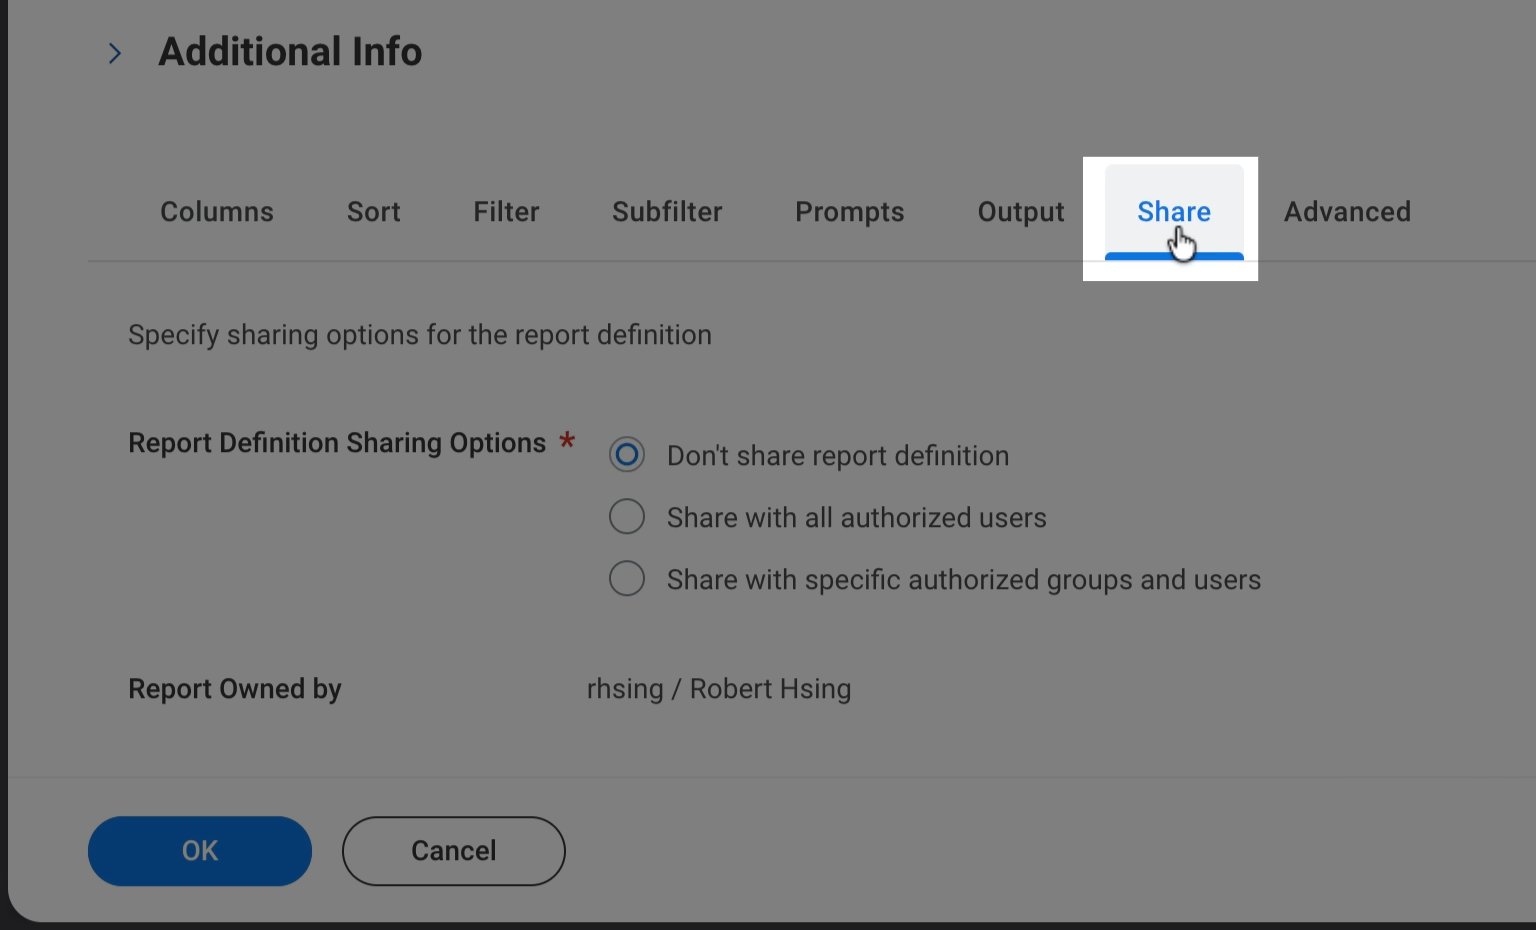
Step 10: Select Share with specific authorized groups and users.
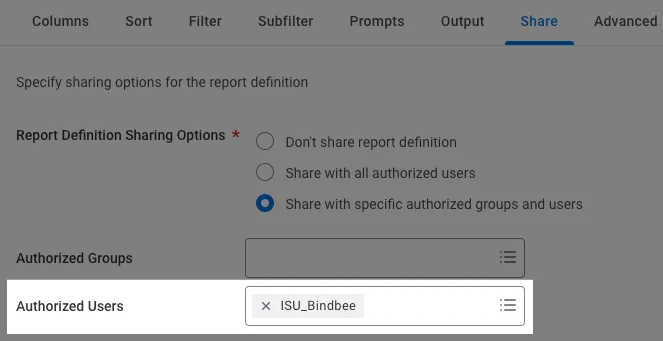
Step 11: Enter the authorized Integration System User.
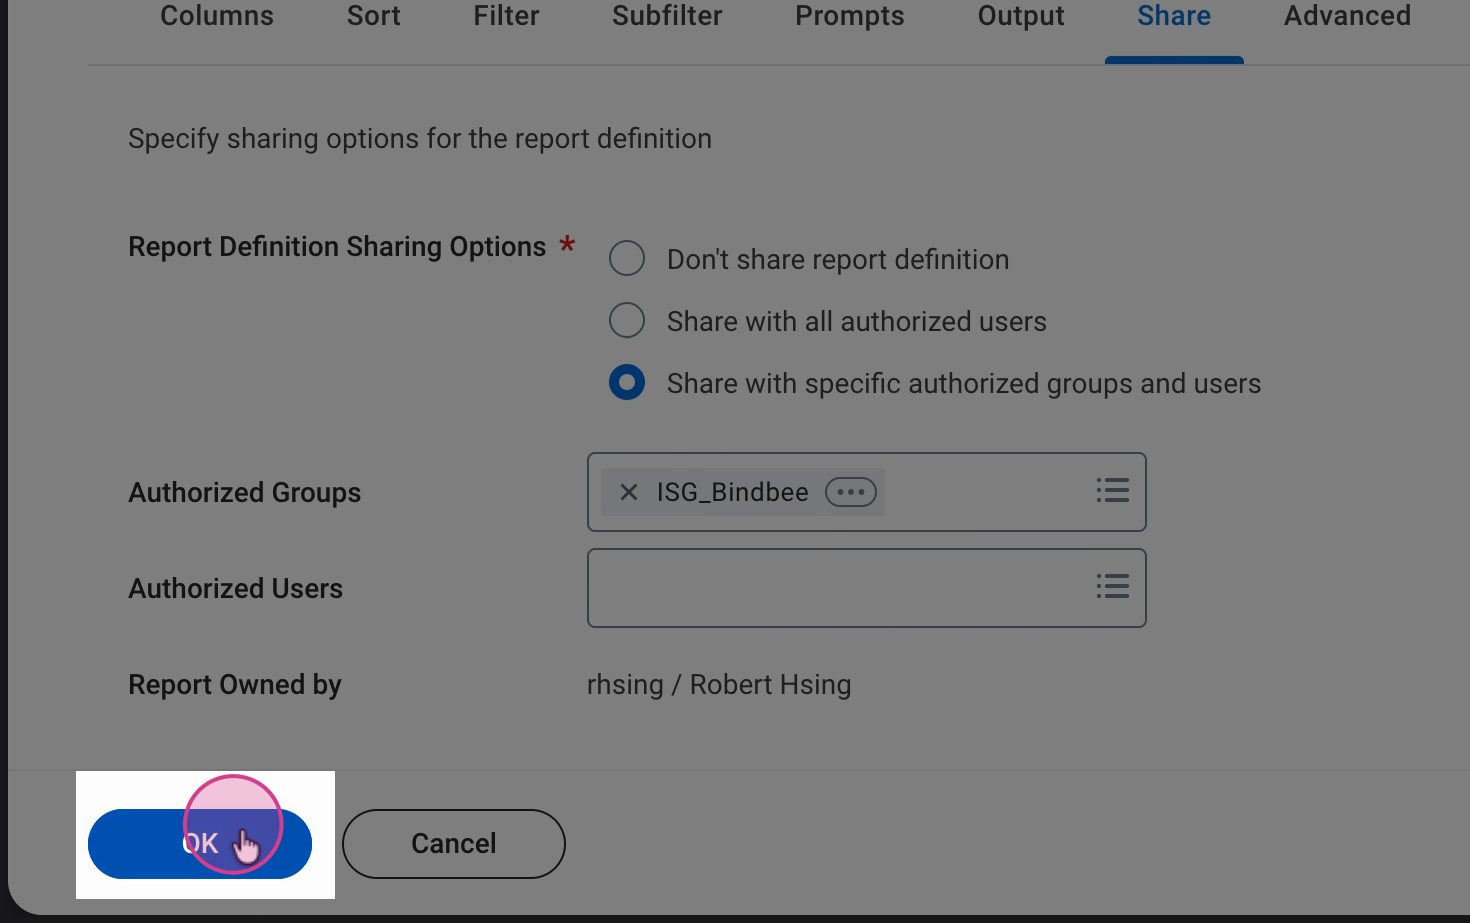
Step 12: Click OK to save the report.
Transfer Ownership of the Custom Report
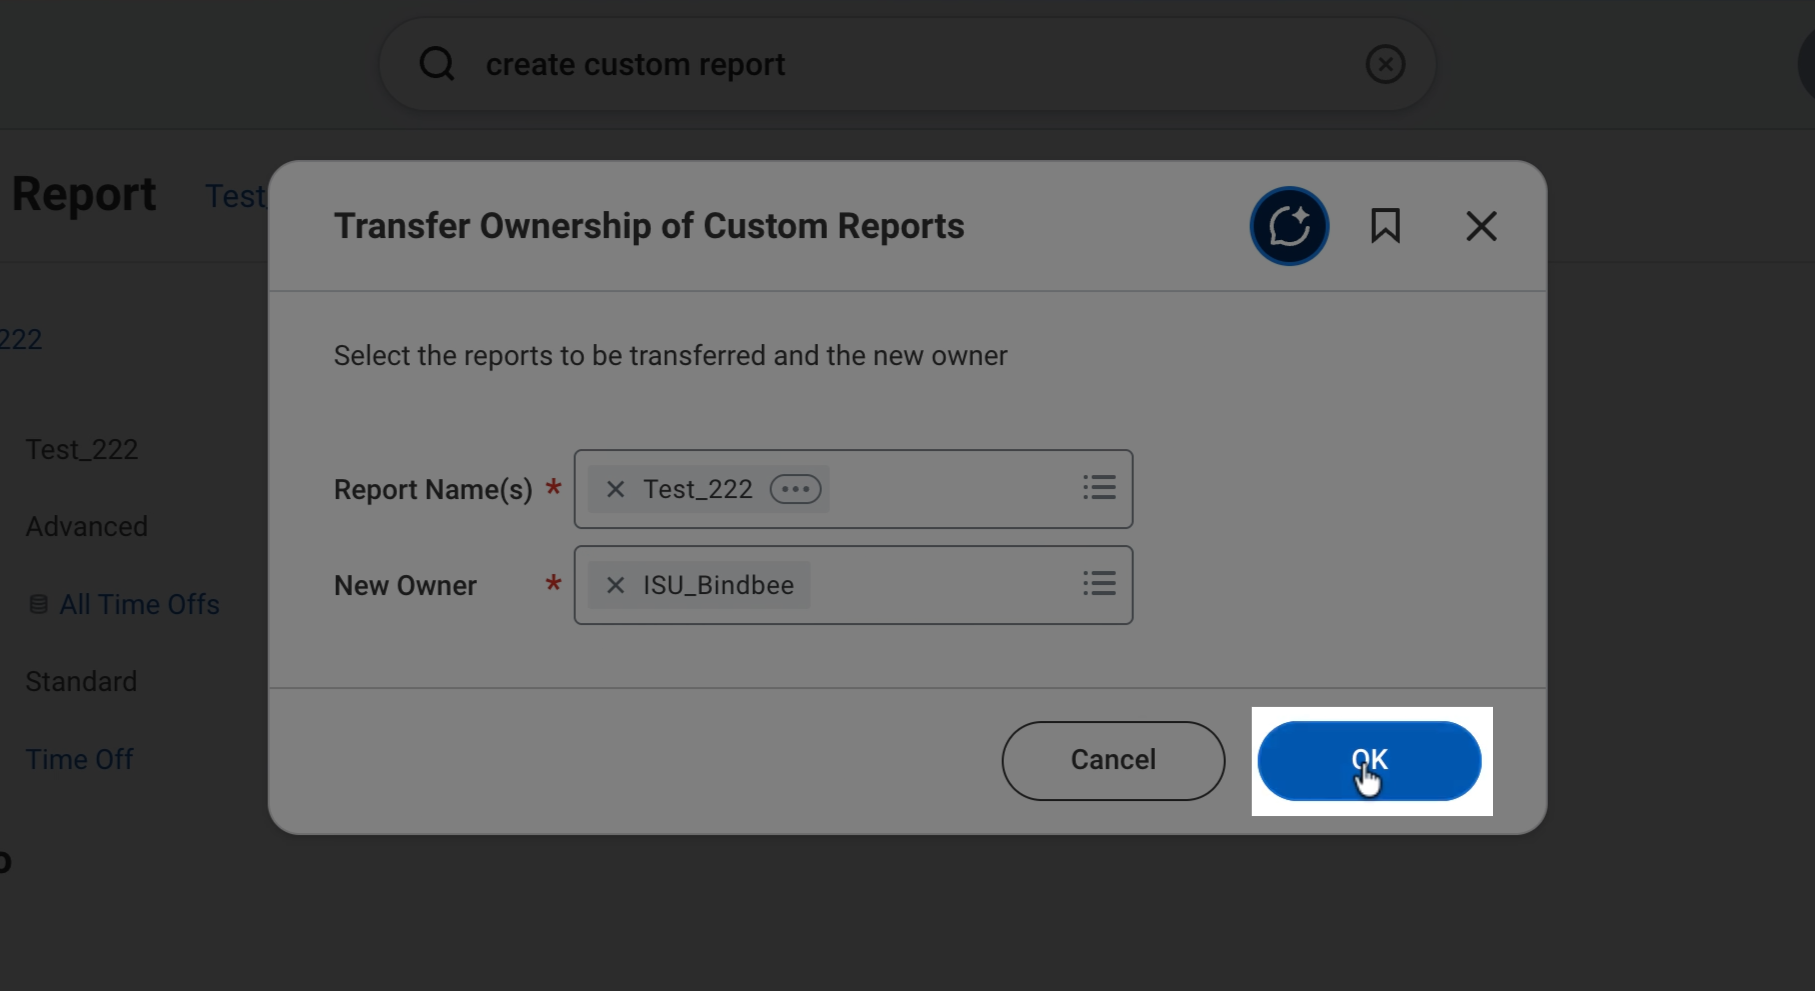
Once the report has been created, transfer ownership to the authorized Integration System User (ISU).
The ISU must have the following Domain Security Policy enabled:
If this permission is not enabled, update the Domain Security Policy for the ISU's security group and activate the pending security policy changes in Workday.
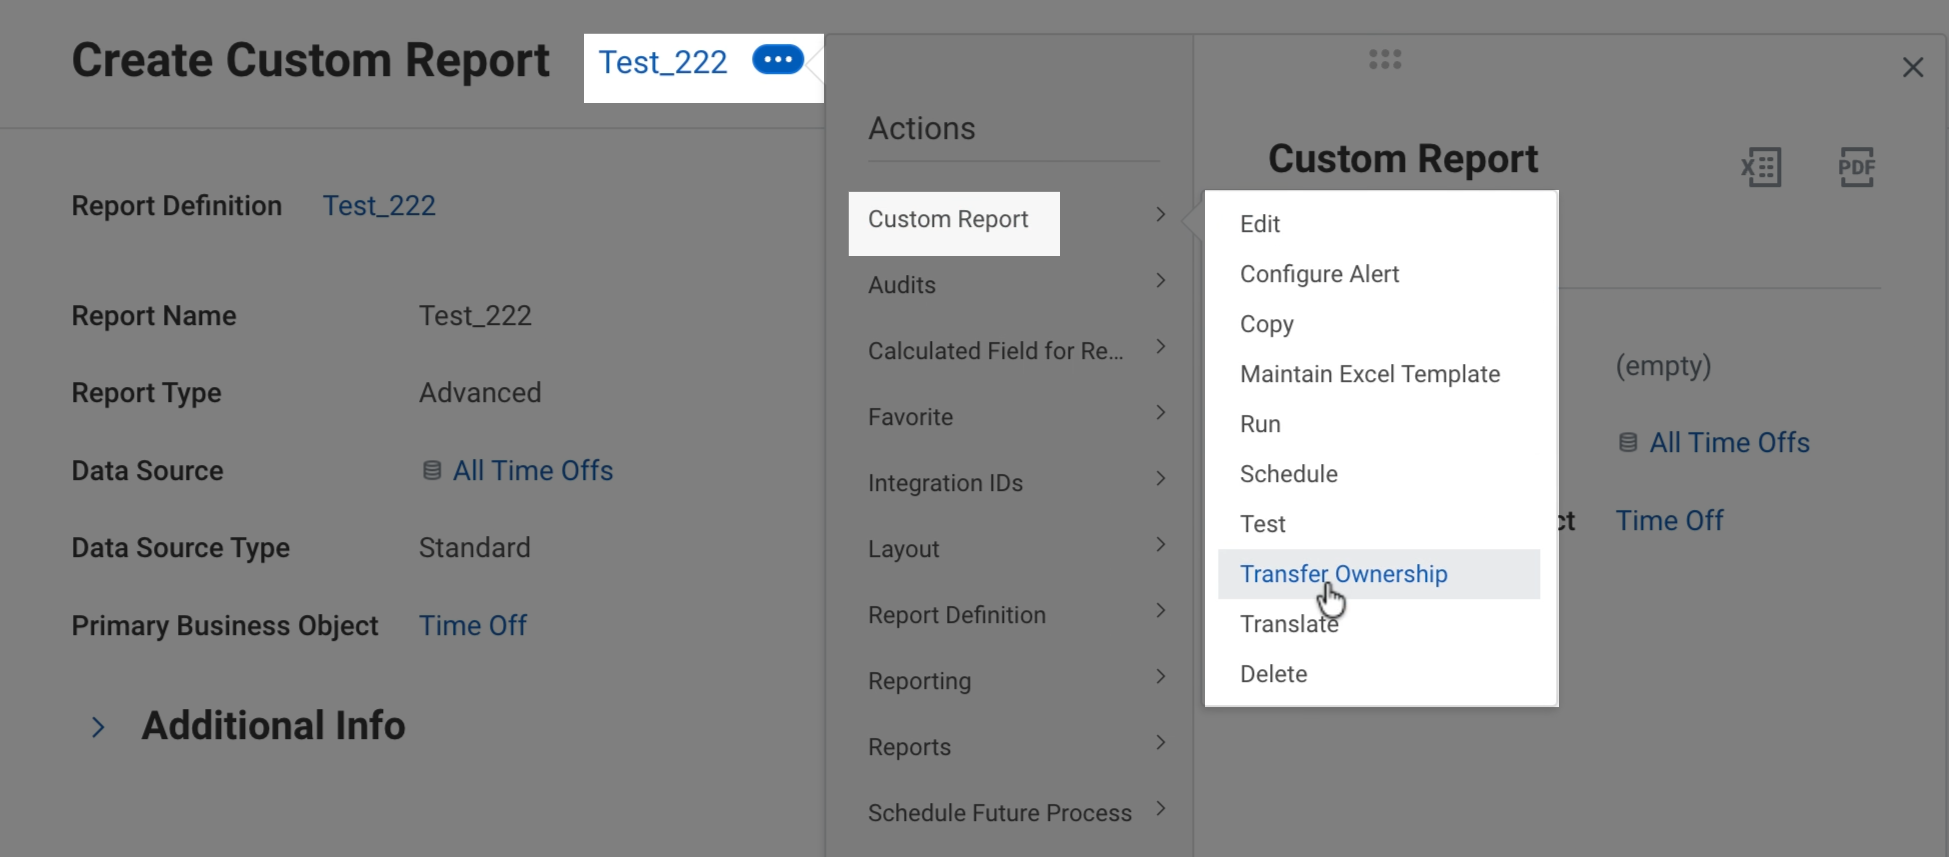
Step 1: Click the three dots next to your report, select Custom Report, then choose Transfer Ownership.
Step 2: Assign the Integration System User (ISU) as the new owner.
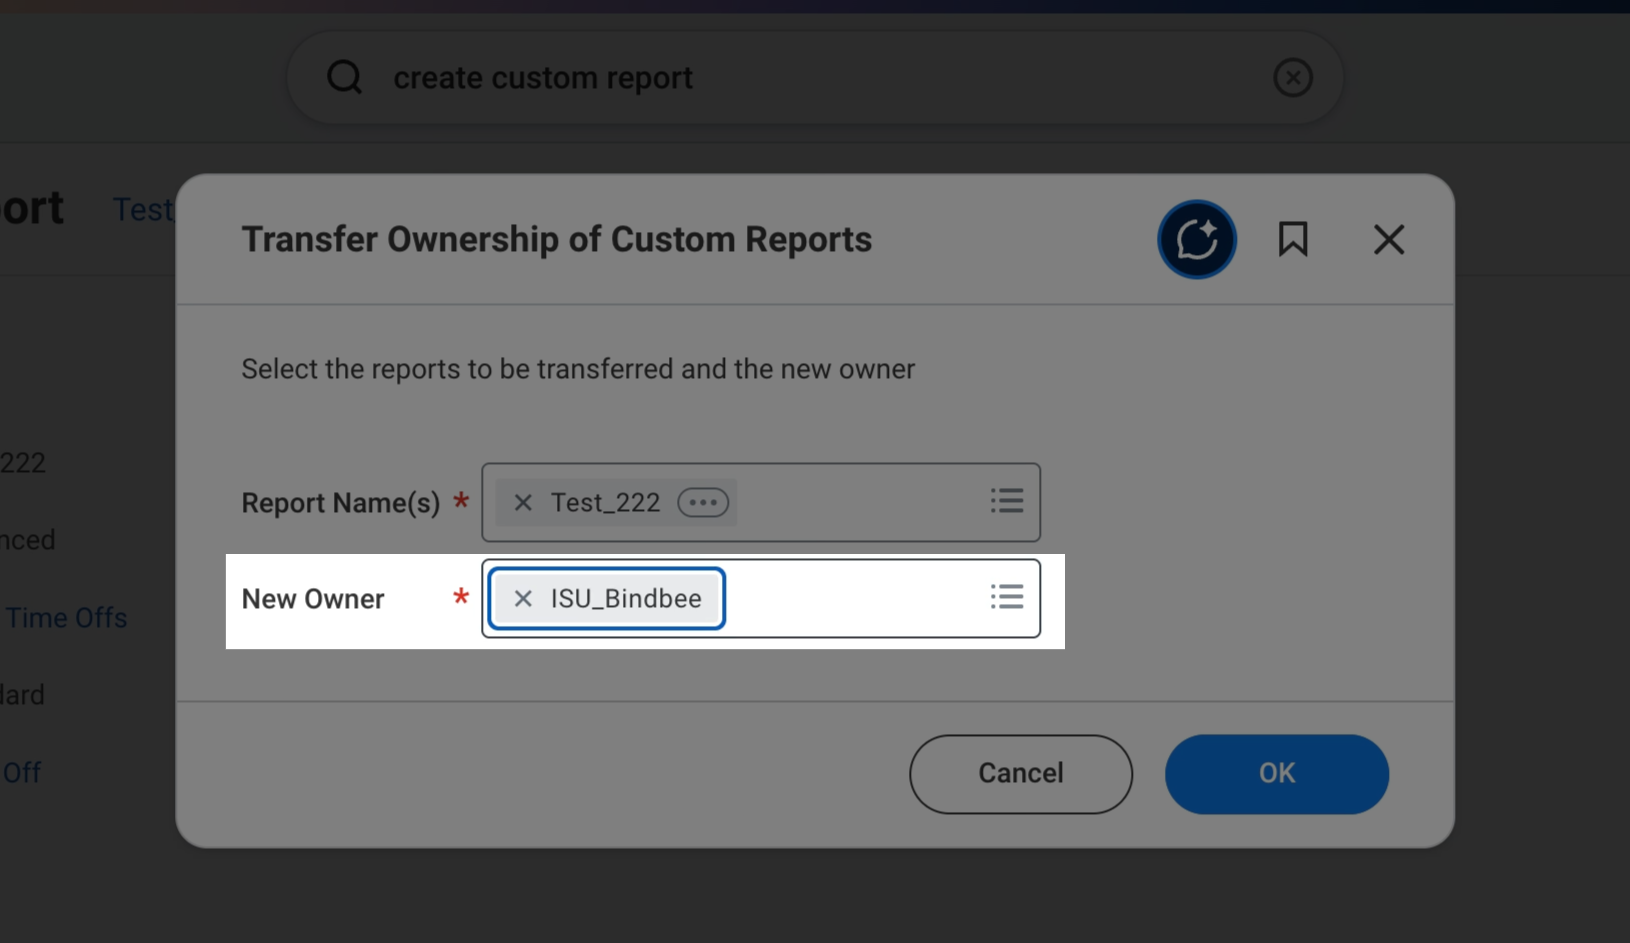
Step 3: Click OK and then Done.