

Workday – How do I create an employee?
Updated 2 weeks ago
In this article, you'll learn how to create an employee in Workday using an existing job requisition and a Workday connector in Bindbee.
Prerequisites : You will need an access to Workday Job requisition Id against which an employee will be created
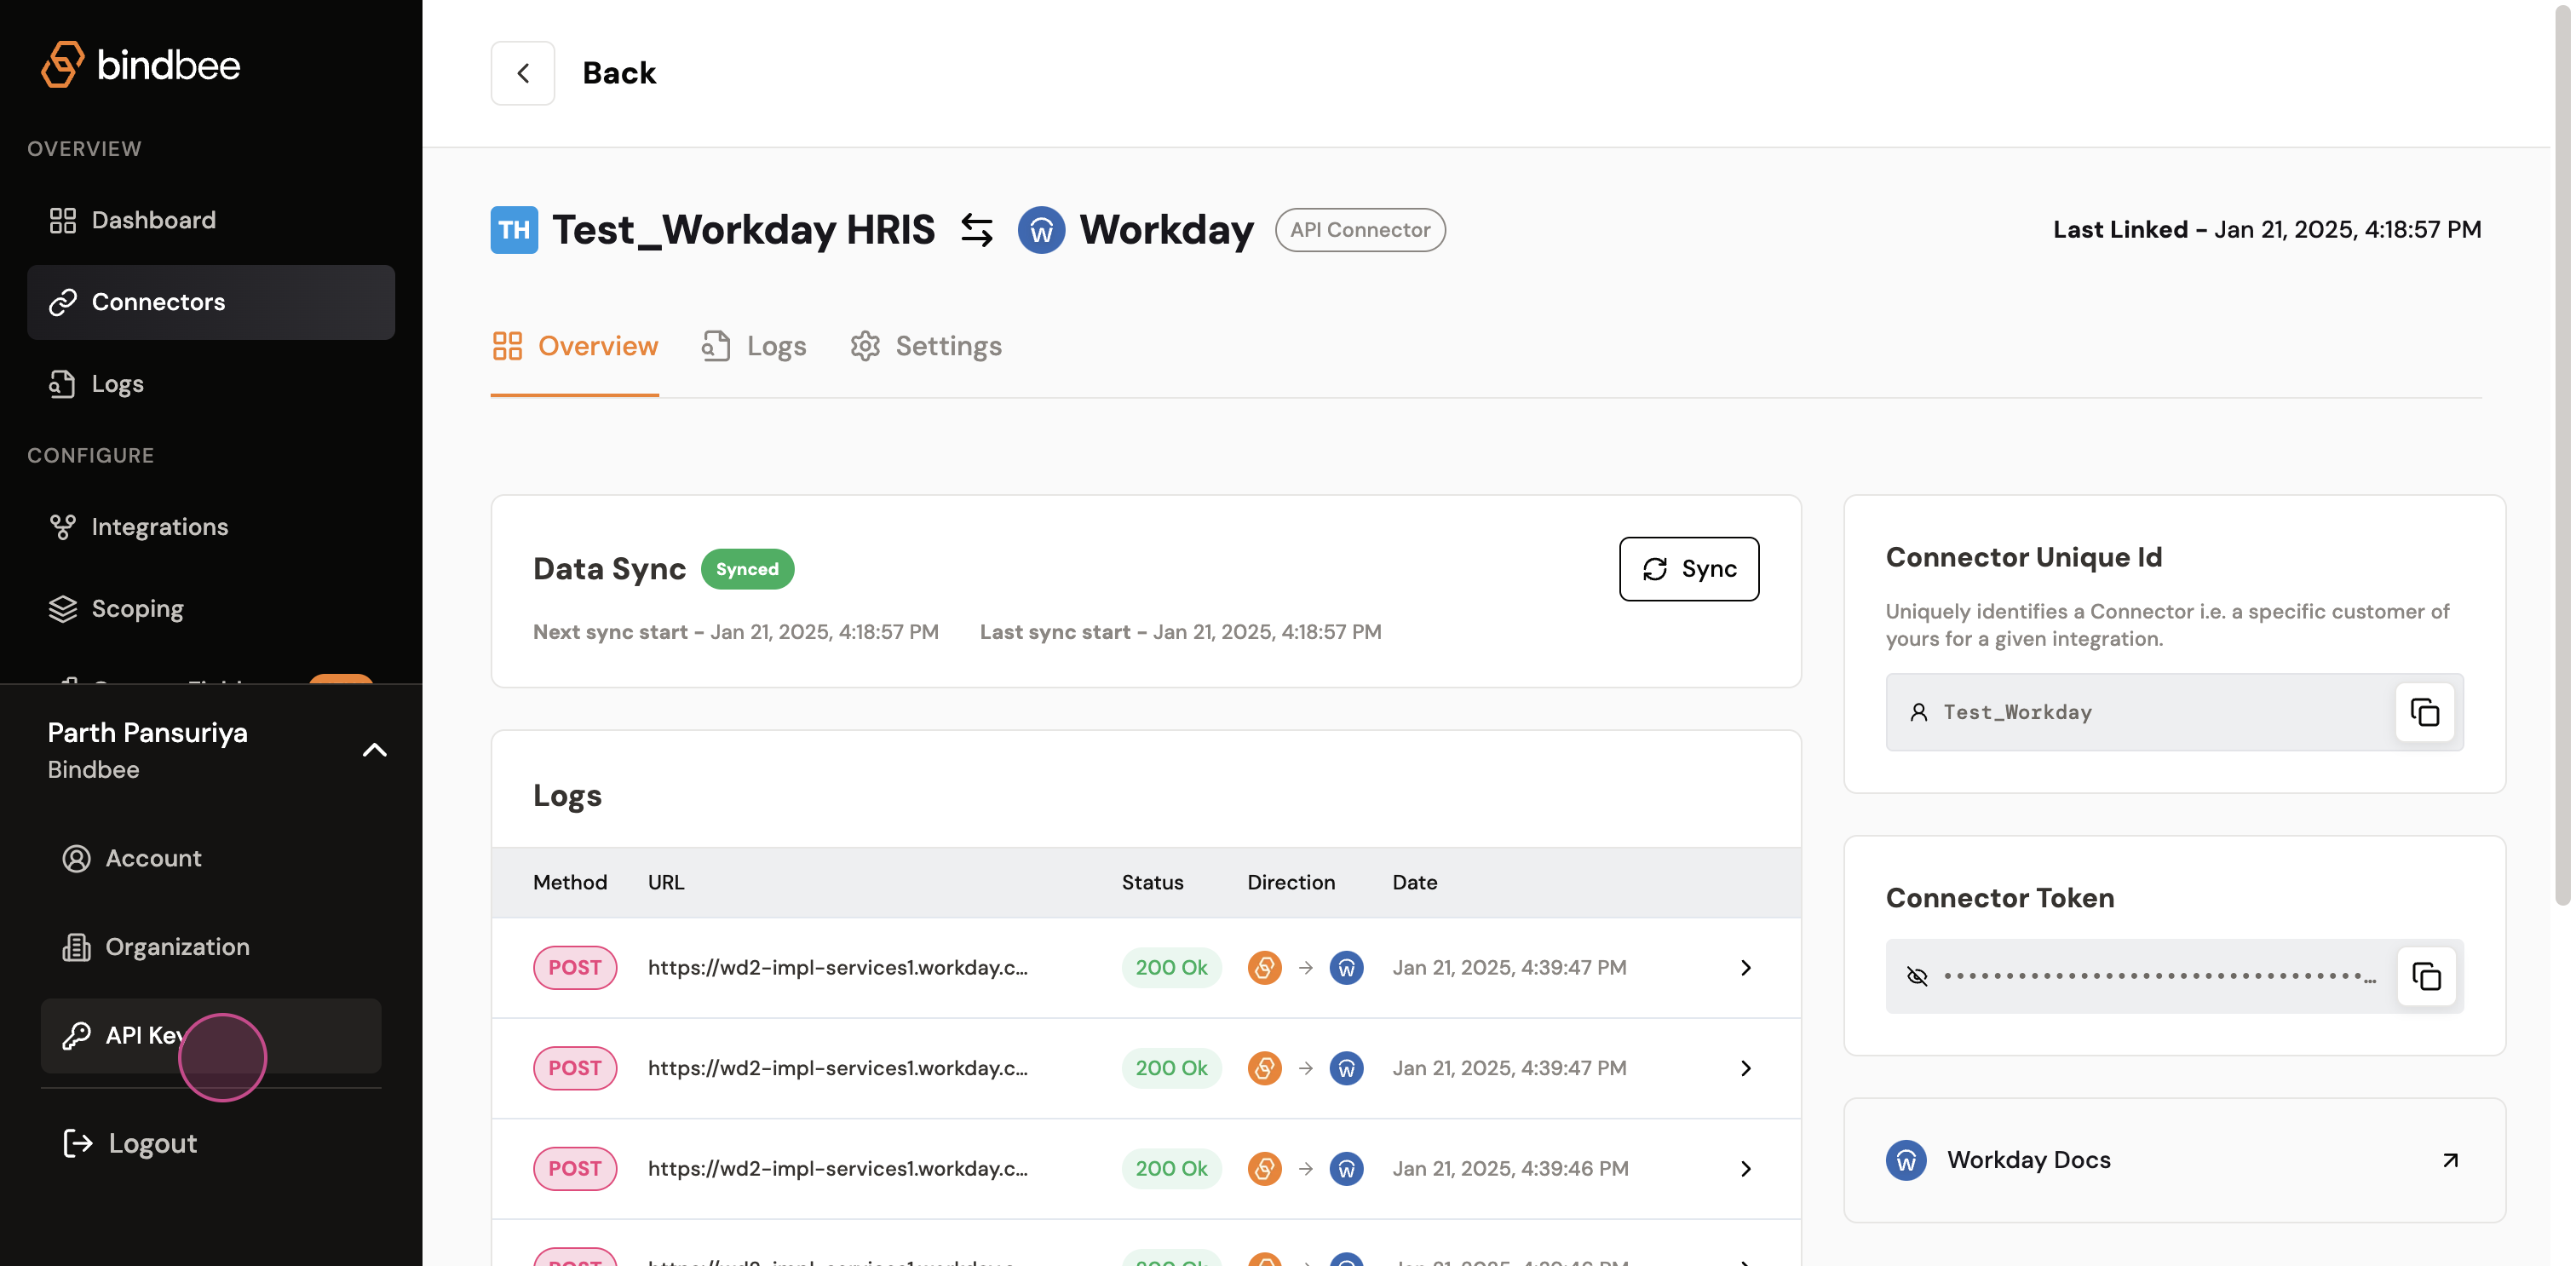
Step 1: Start by navigating to the existing workday connector in Bindbee in which you want to create an employee.
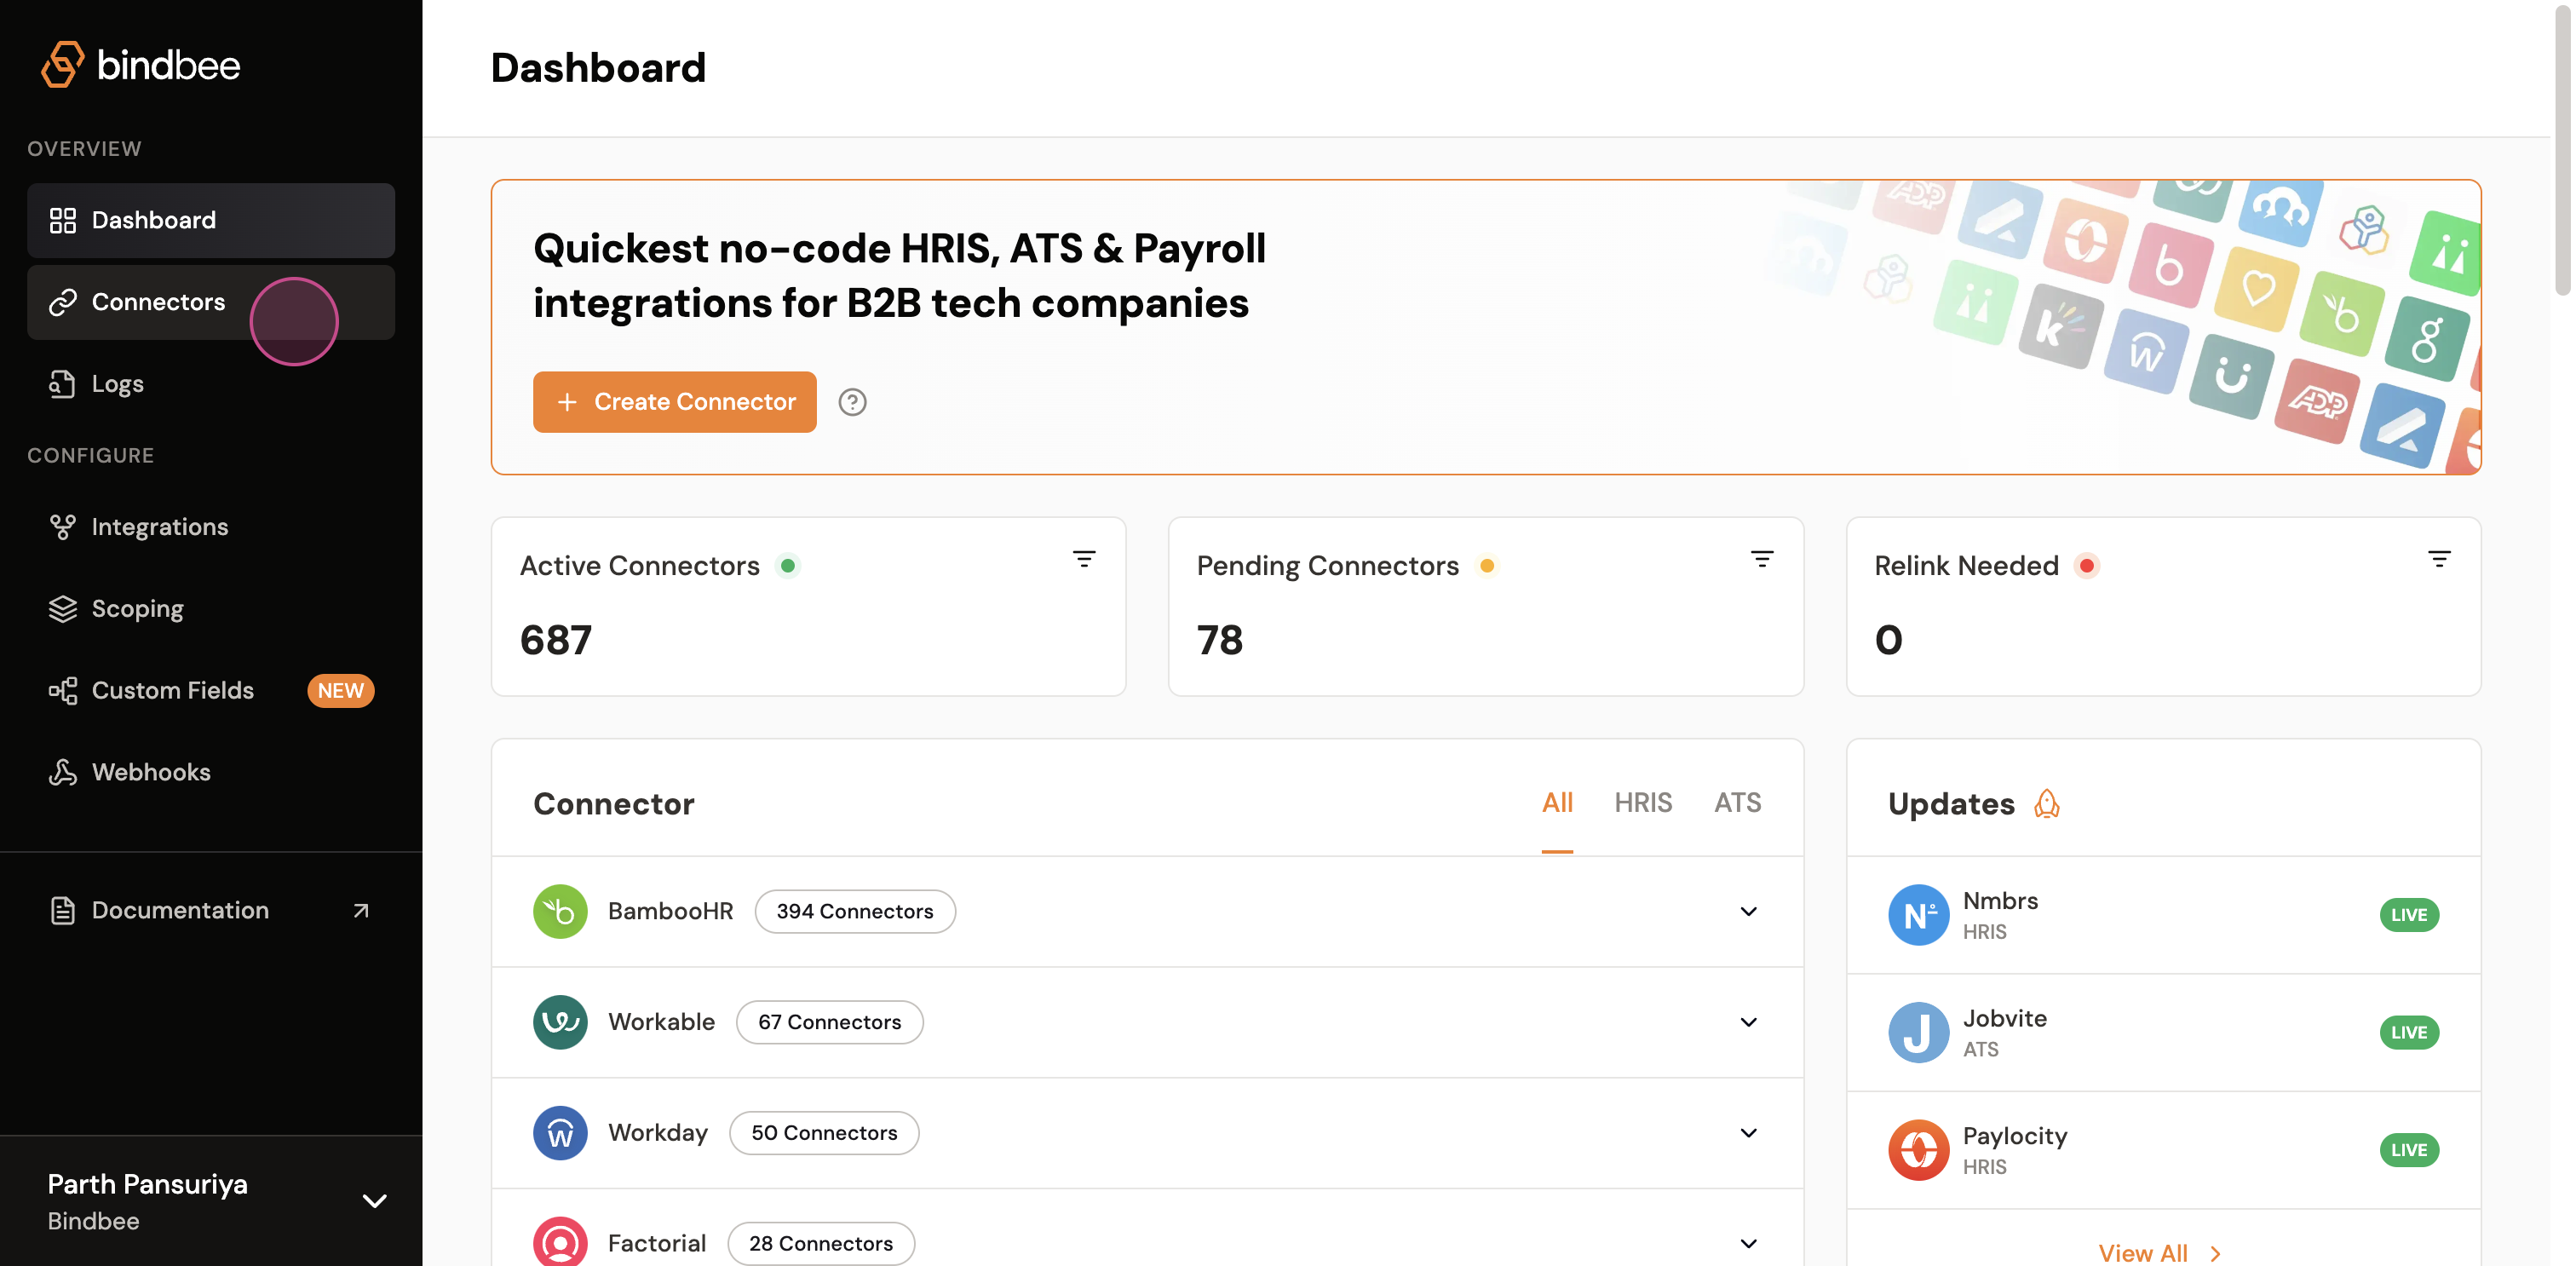
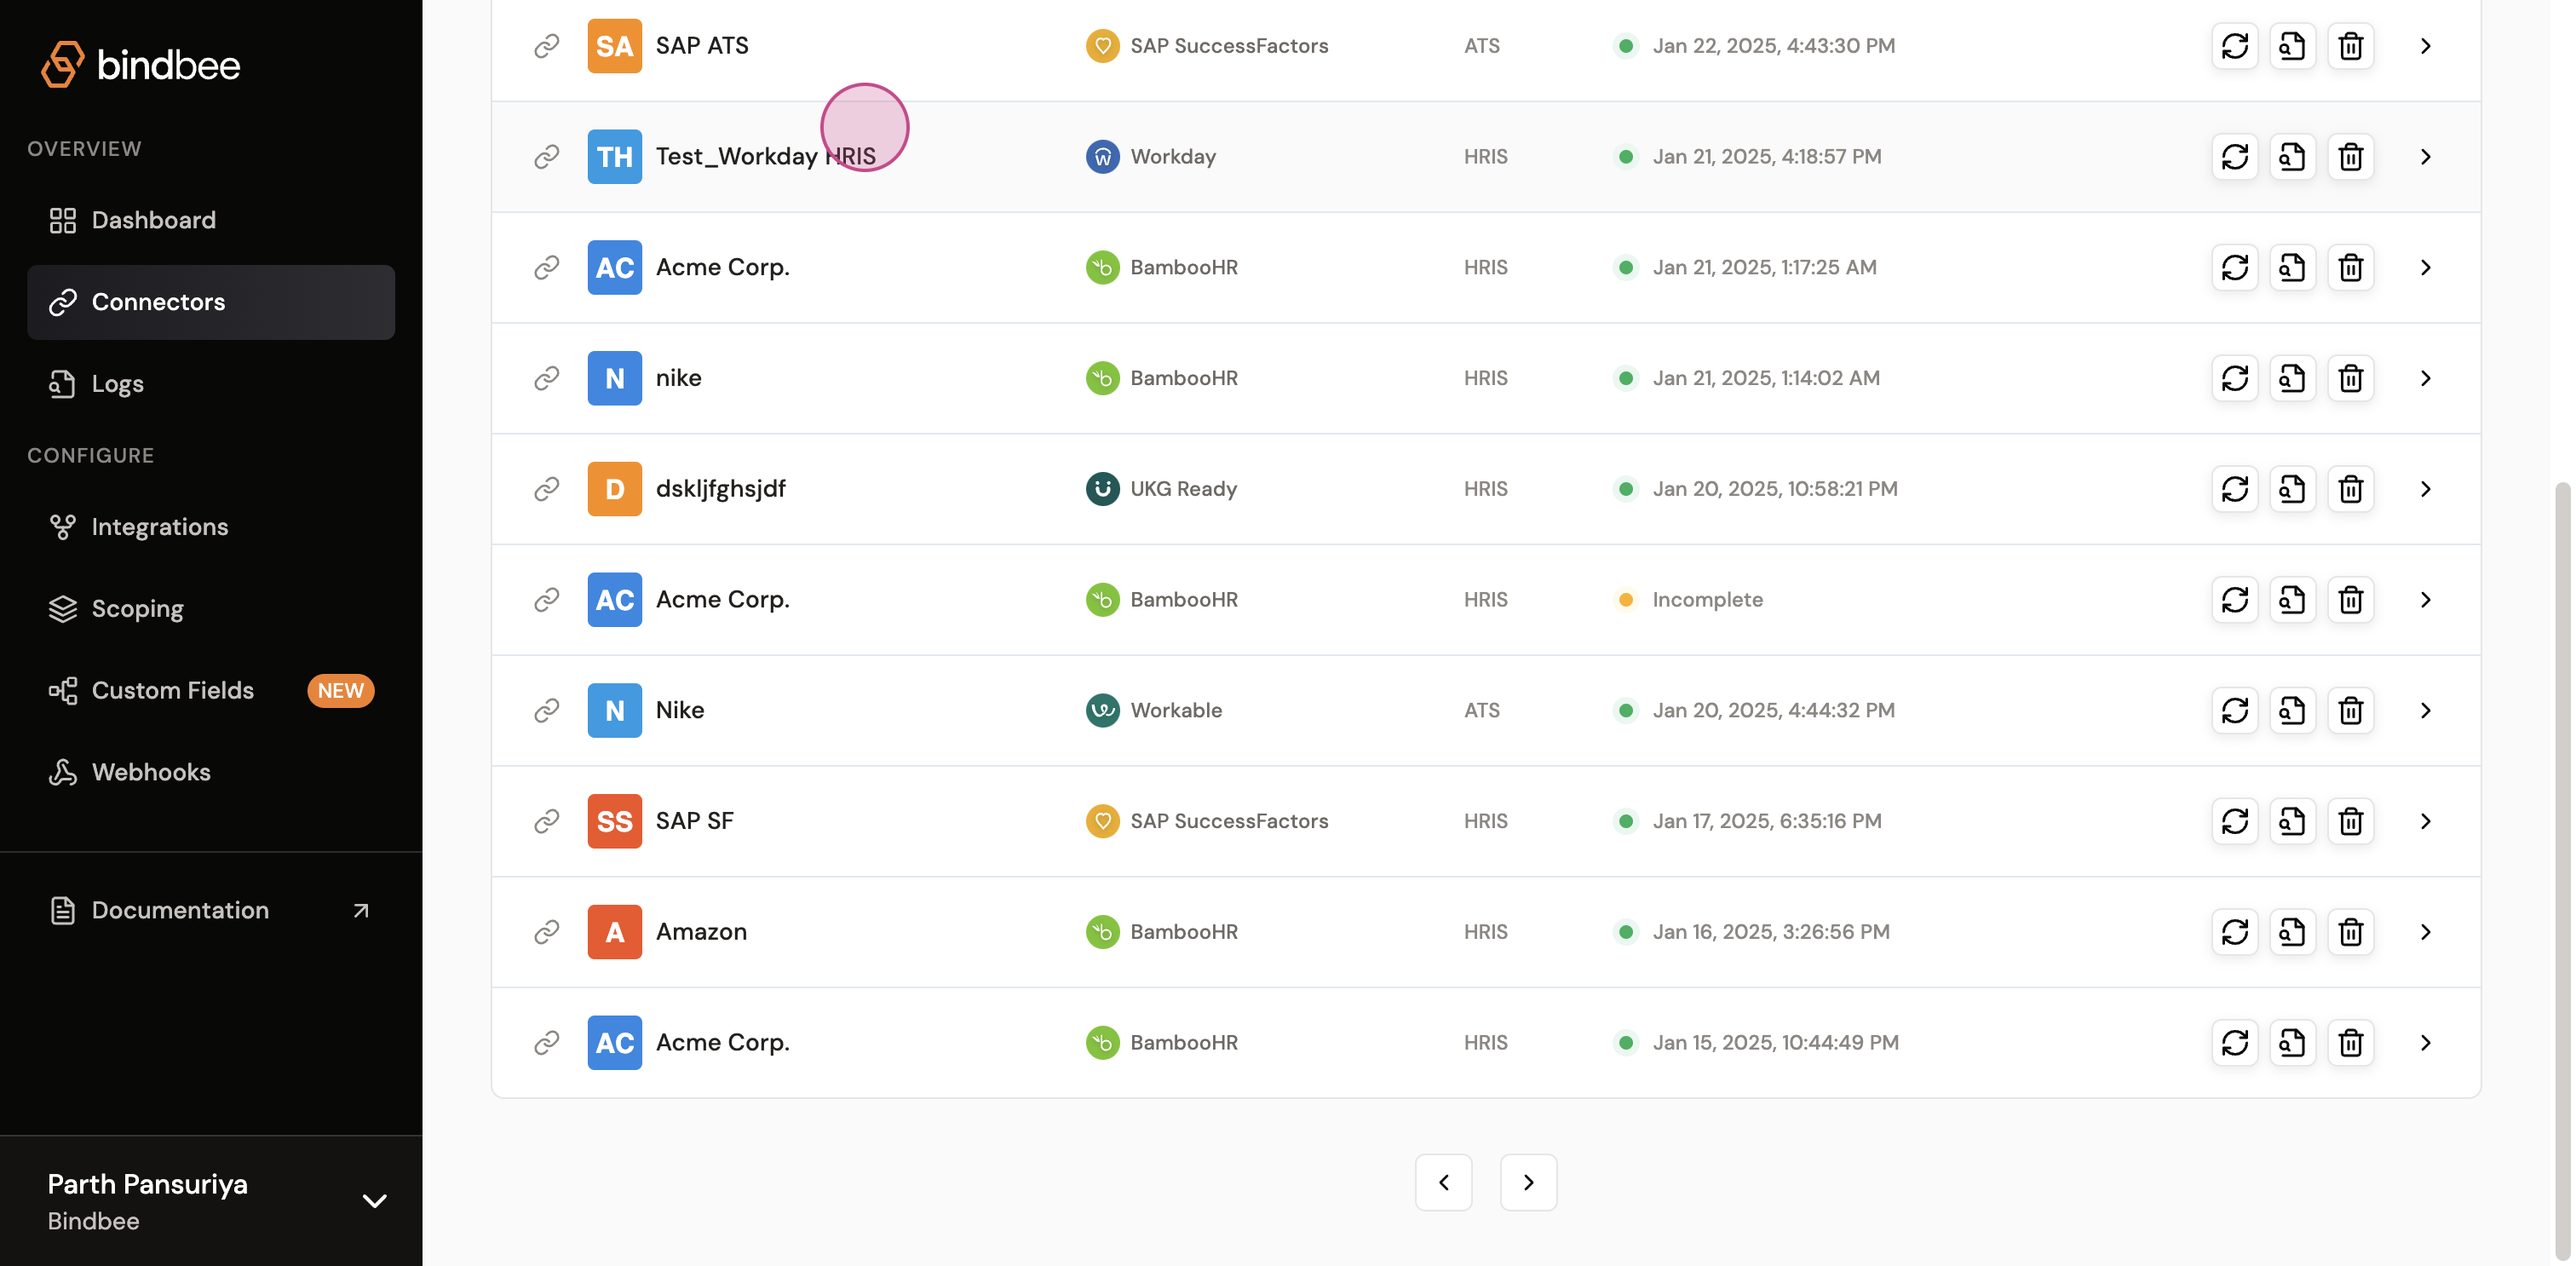
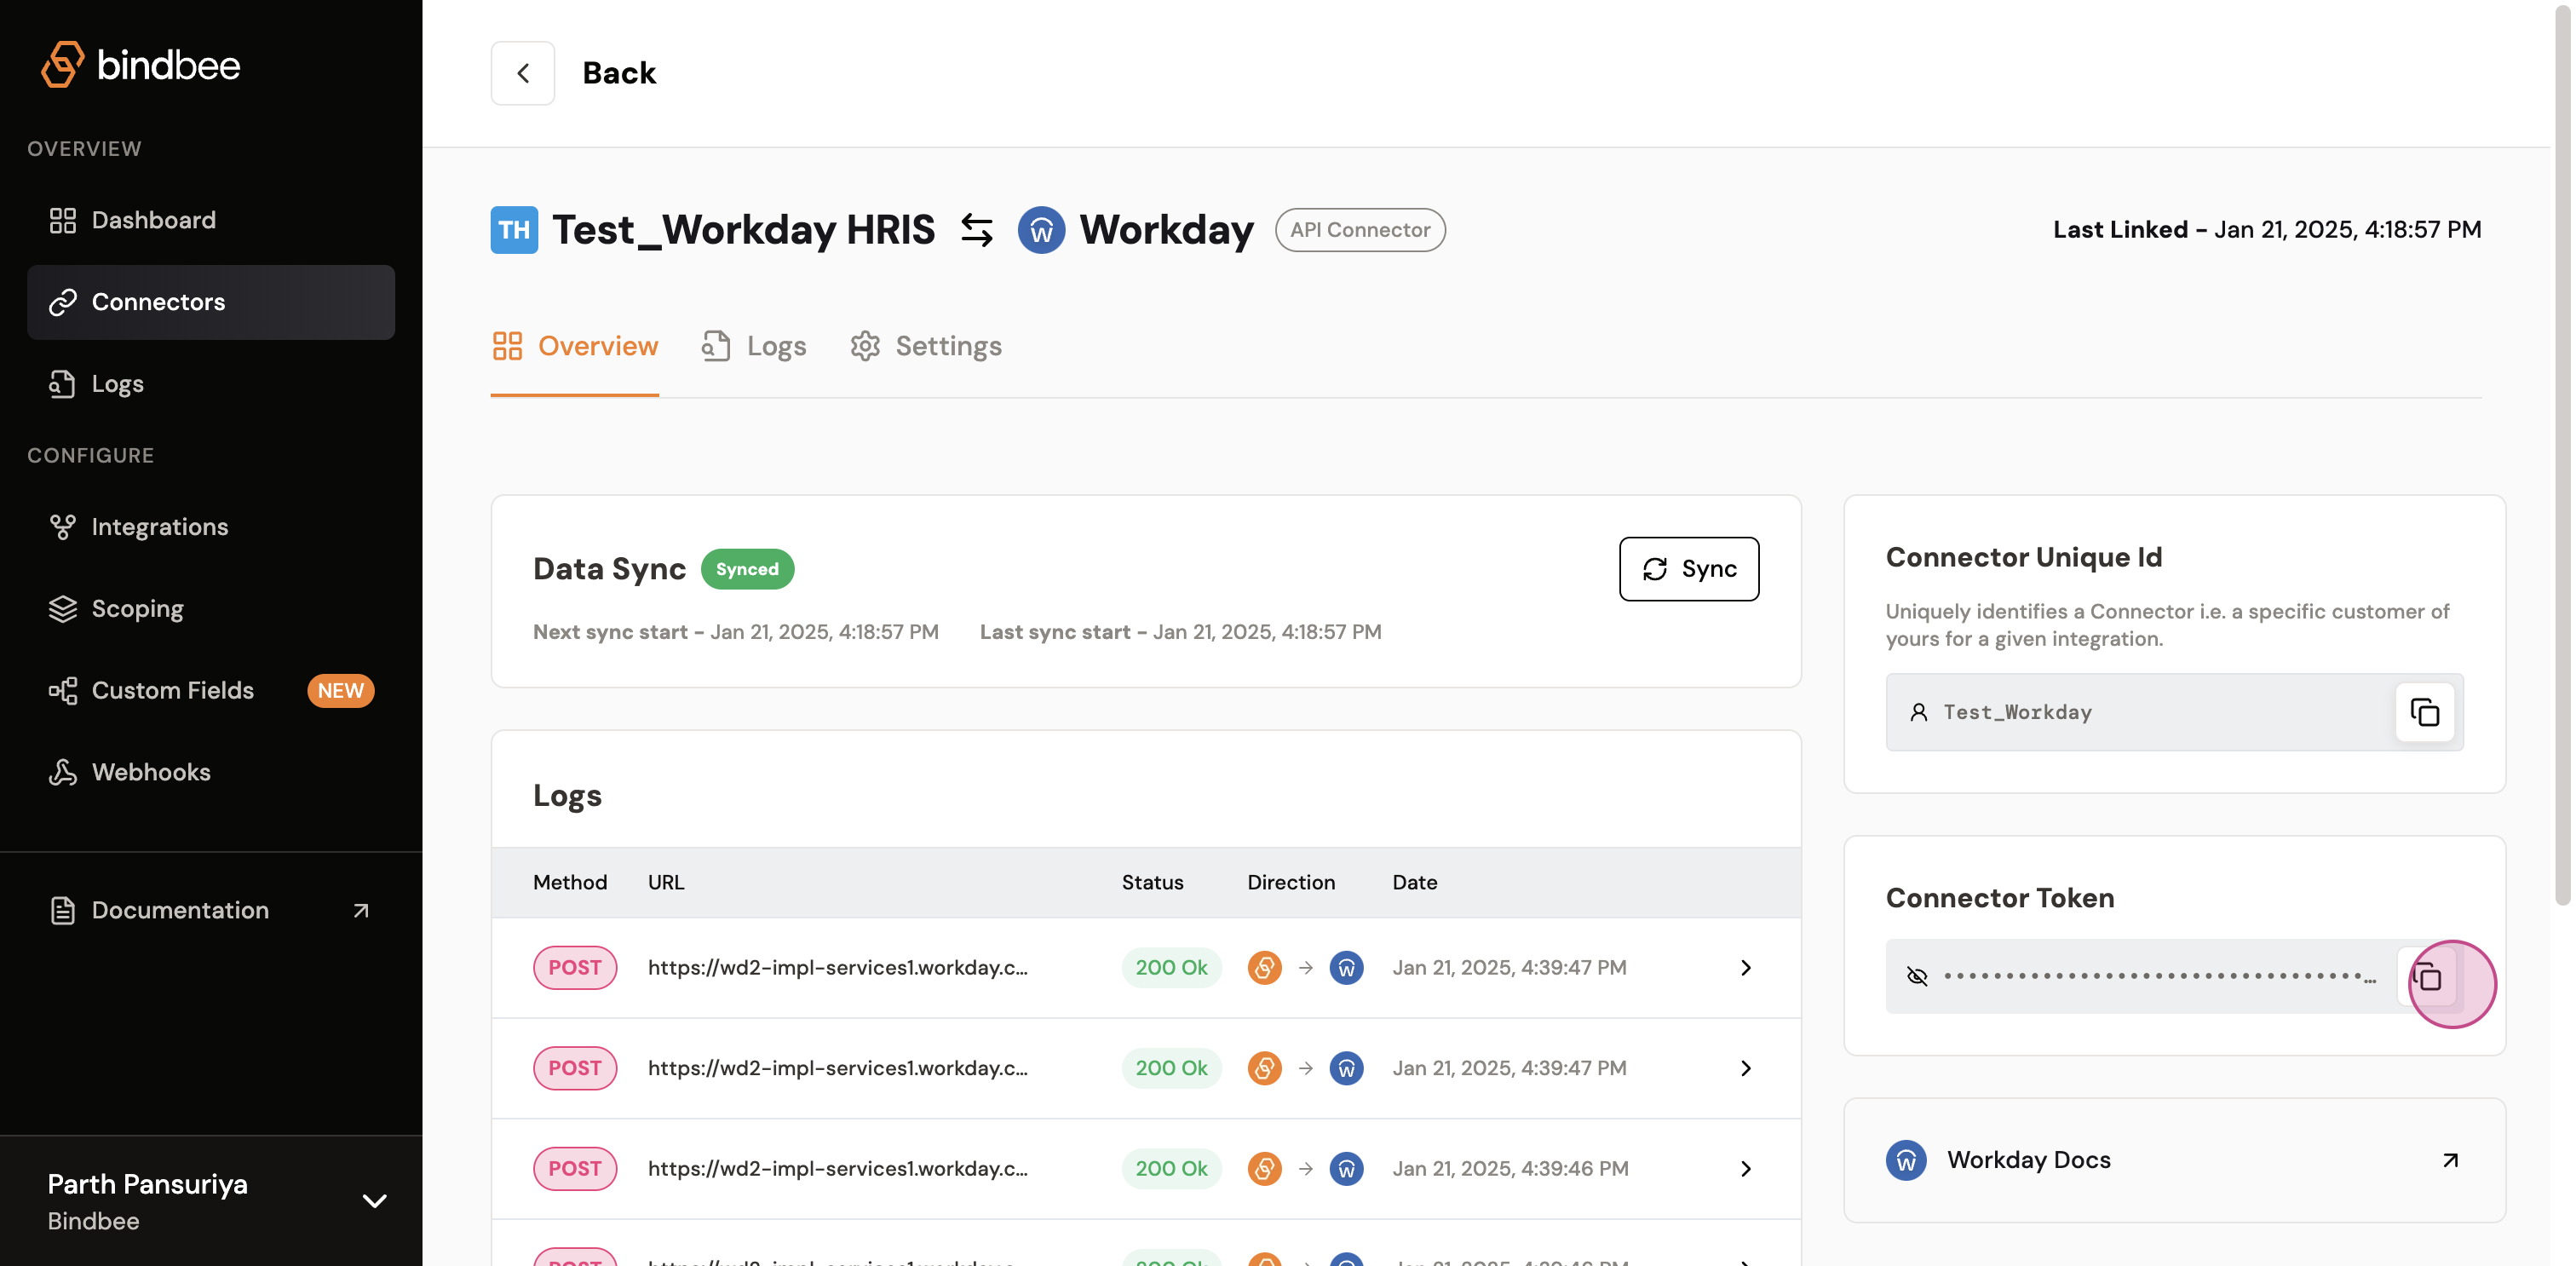
Step 2: From this connector, you will need the connector token. Copy this token
Step 3: Paste the copied connector token into the Create Employee documentation on docs.bindbee.dev
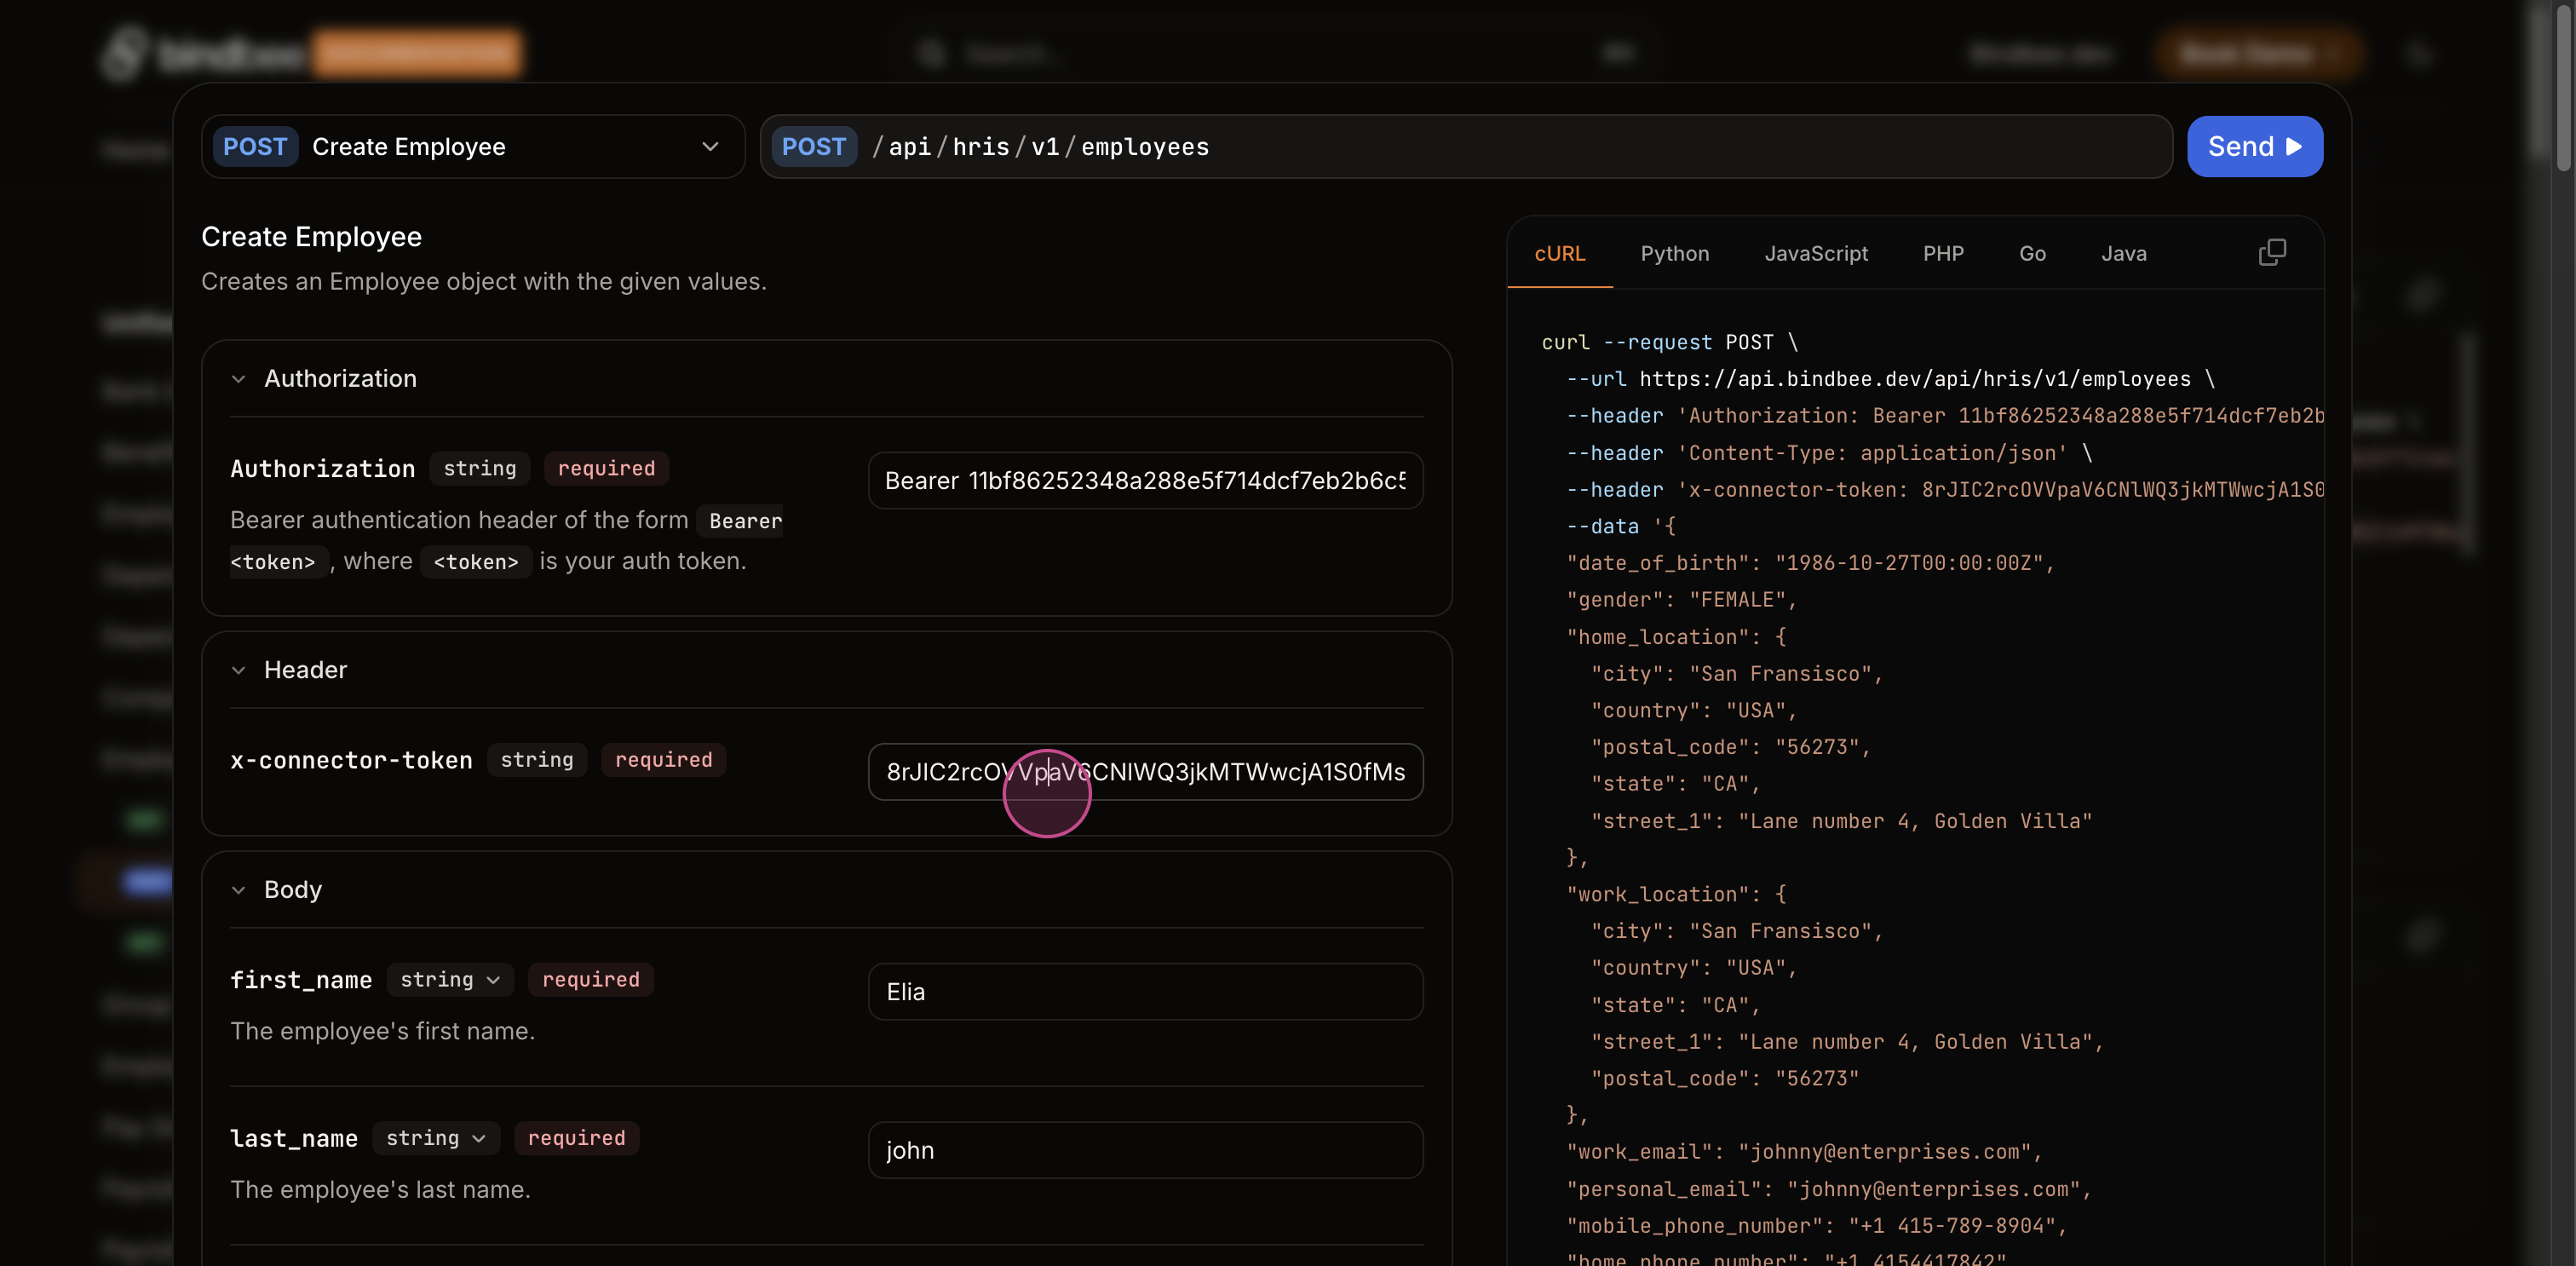
Step 4: Paste the token into the prompt and retrieve the access token from the dashboard.
Step 5: Enter all necessary details such as first name, last name, date of birth, employee number, and gender.
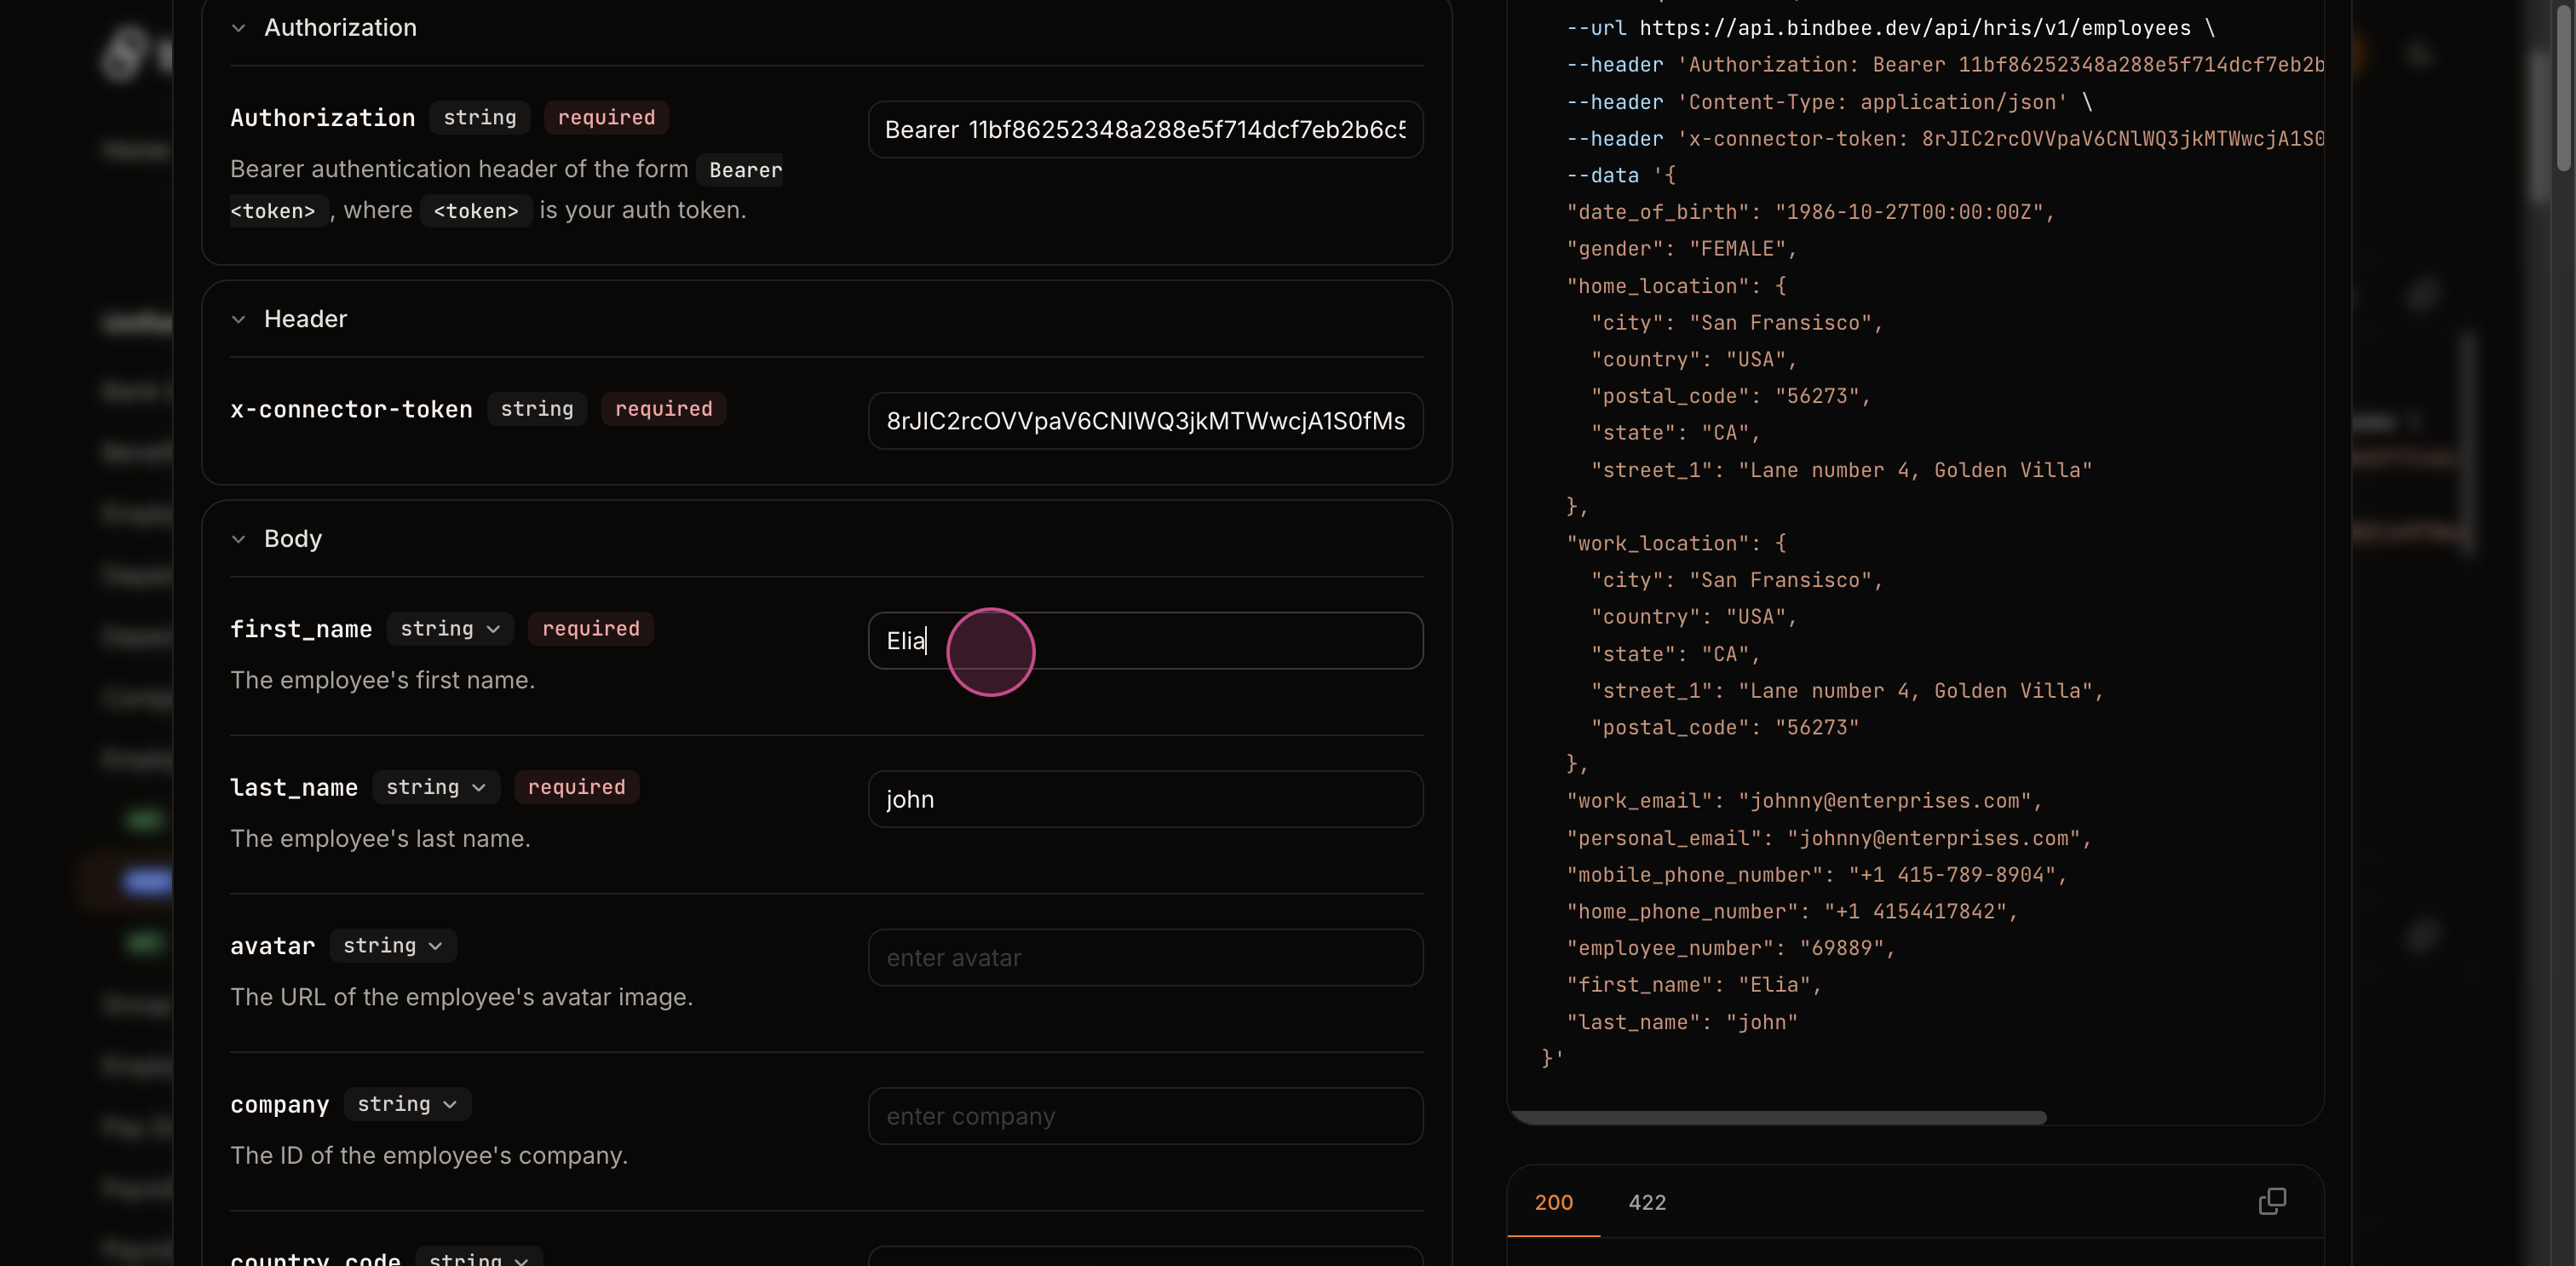
Step 6: For the location, ensure to enter the country in 3-digit ISO format and the state in 2-digit ISO format. Include the phone number with country code, area code. You can also add email addresses too!
Step 7: You'll need the job requisition ID from Workday. You can refer to the Create a Job Requisition for a Position guide for more information. Ensure the ISU has all the required permissions as mentioned in Step-5 and Step-7 of How to Authenticate guide.
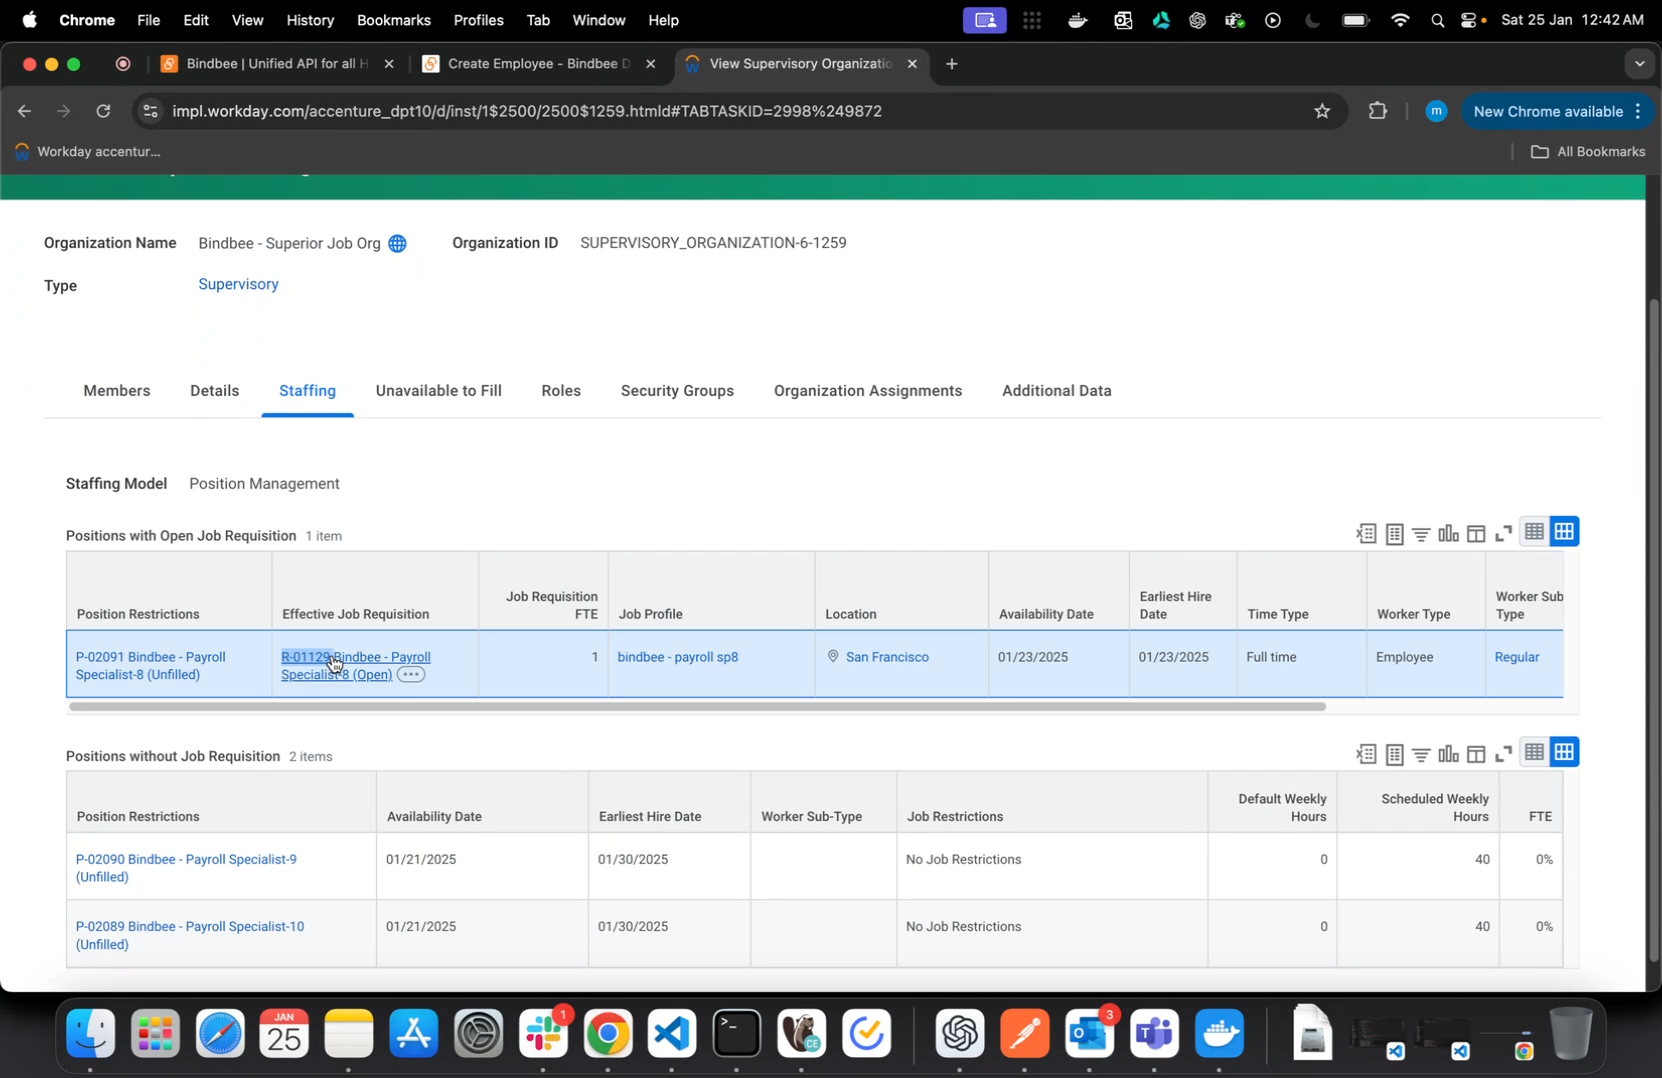
Step 10: Paste the job requisition ID into the prompt and click on Send.
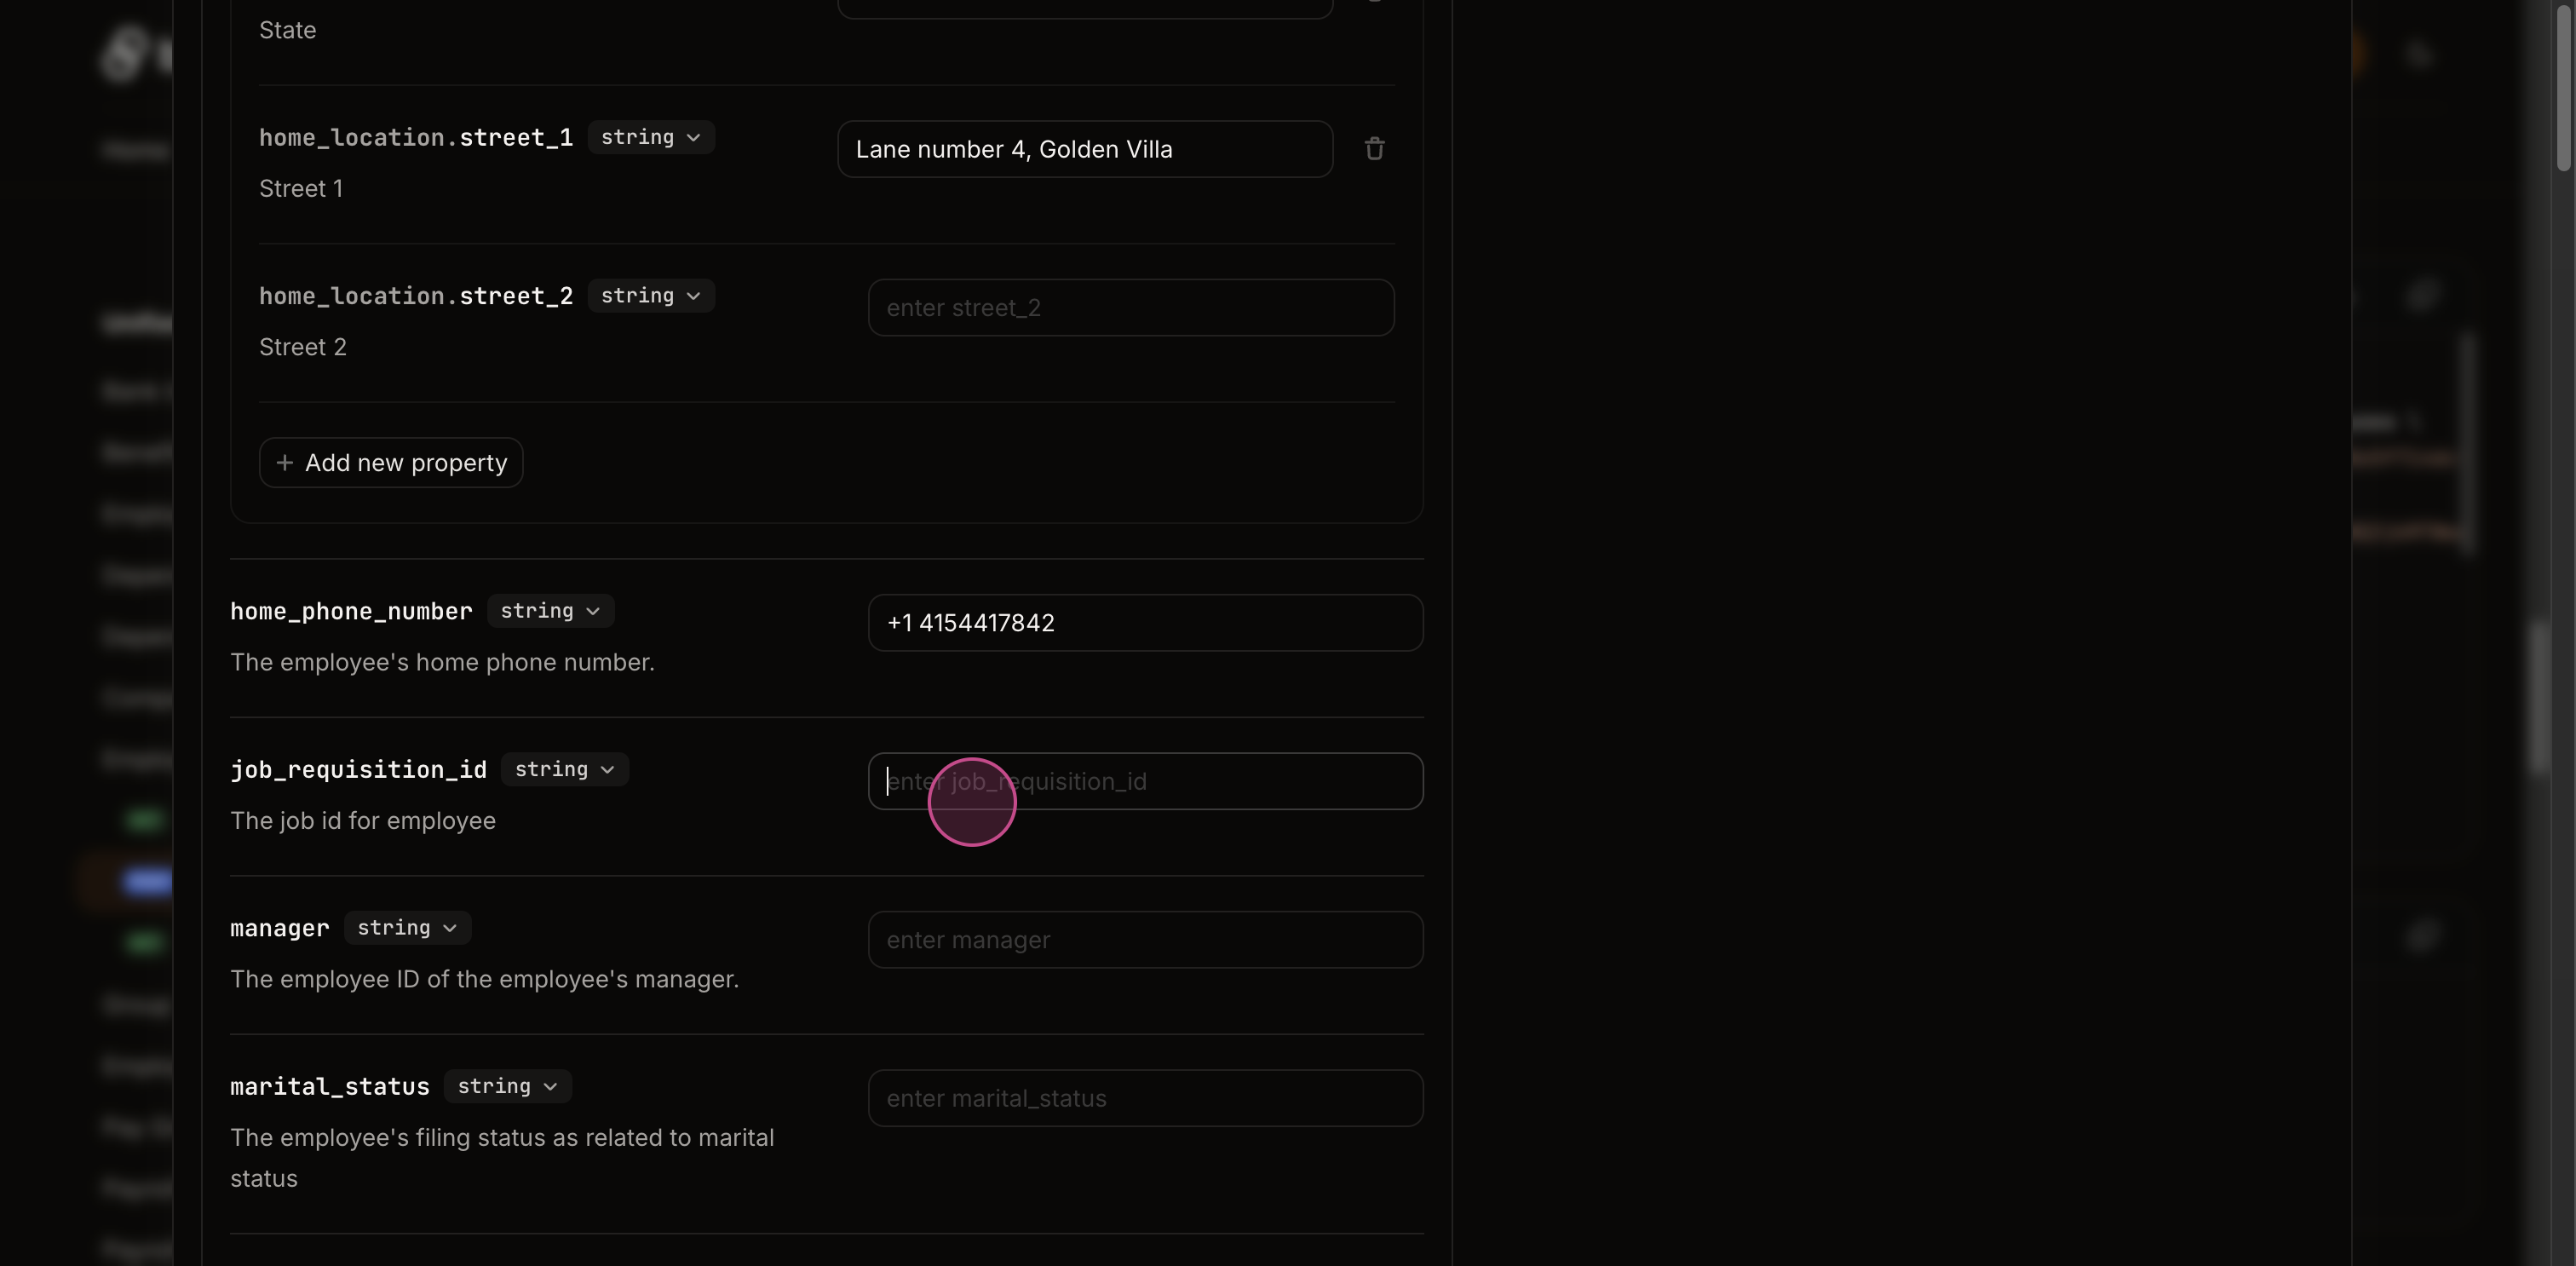
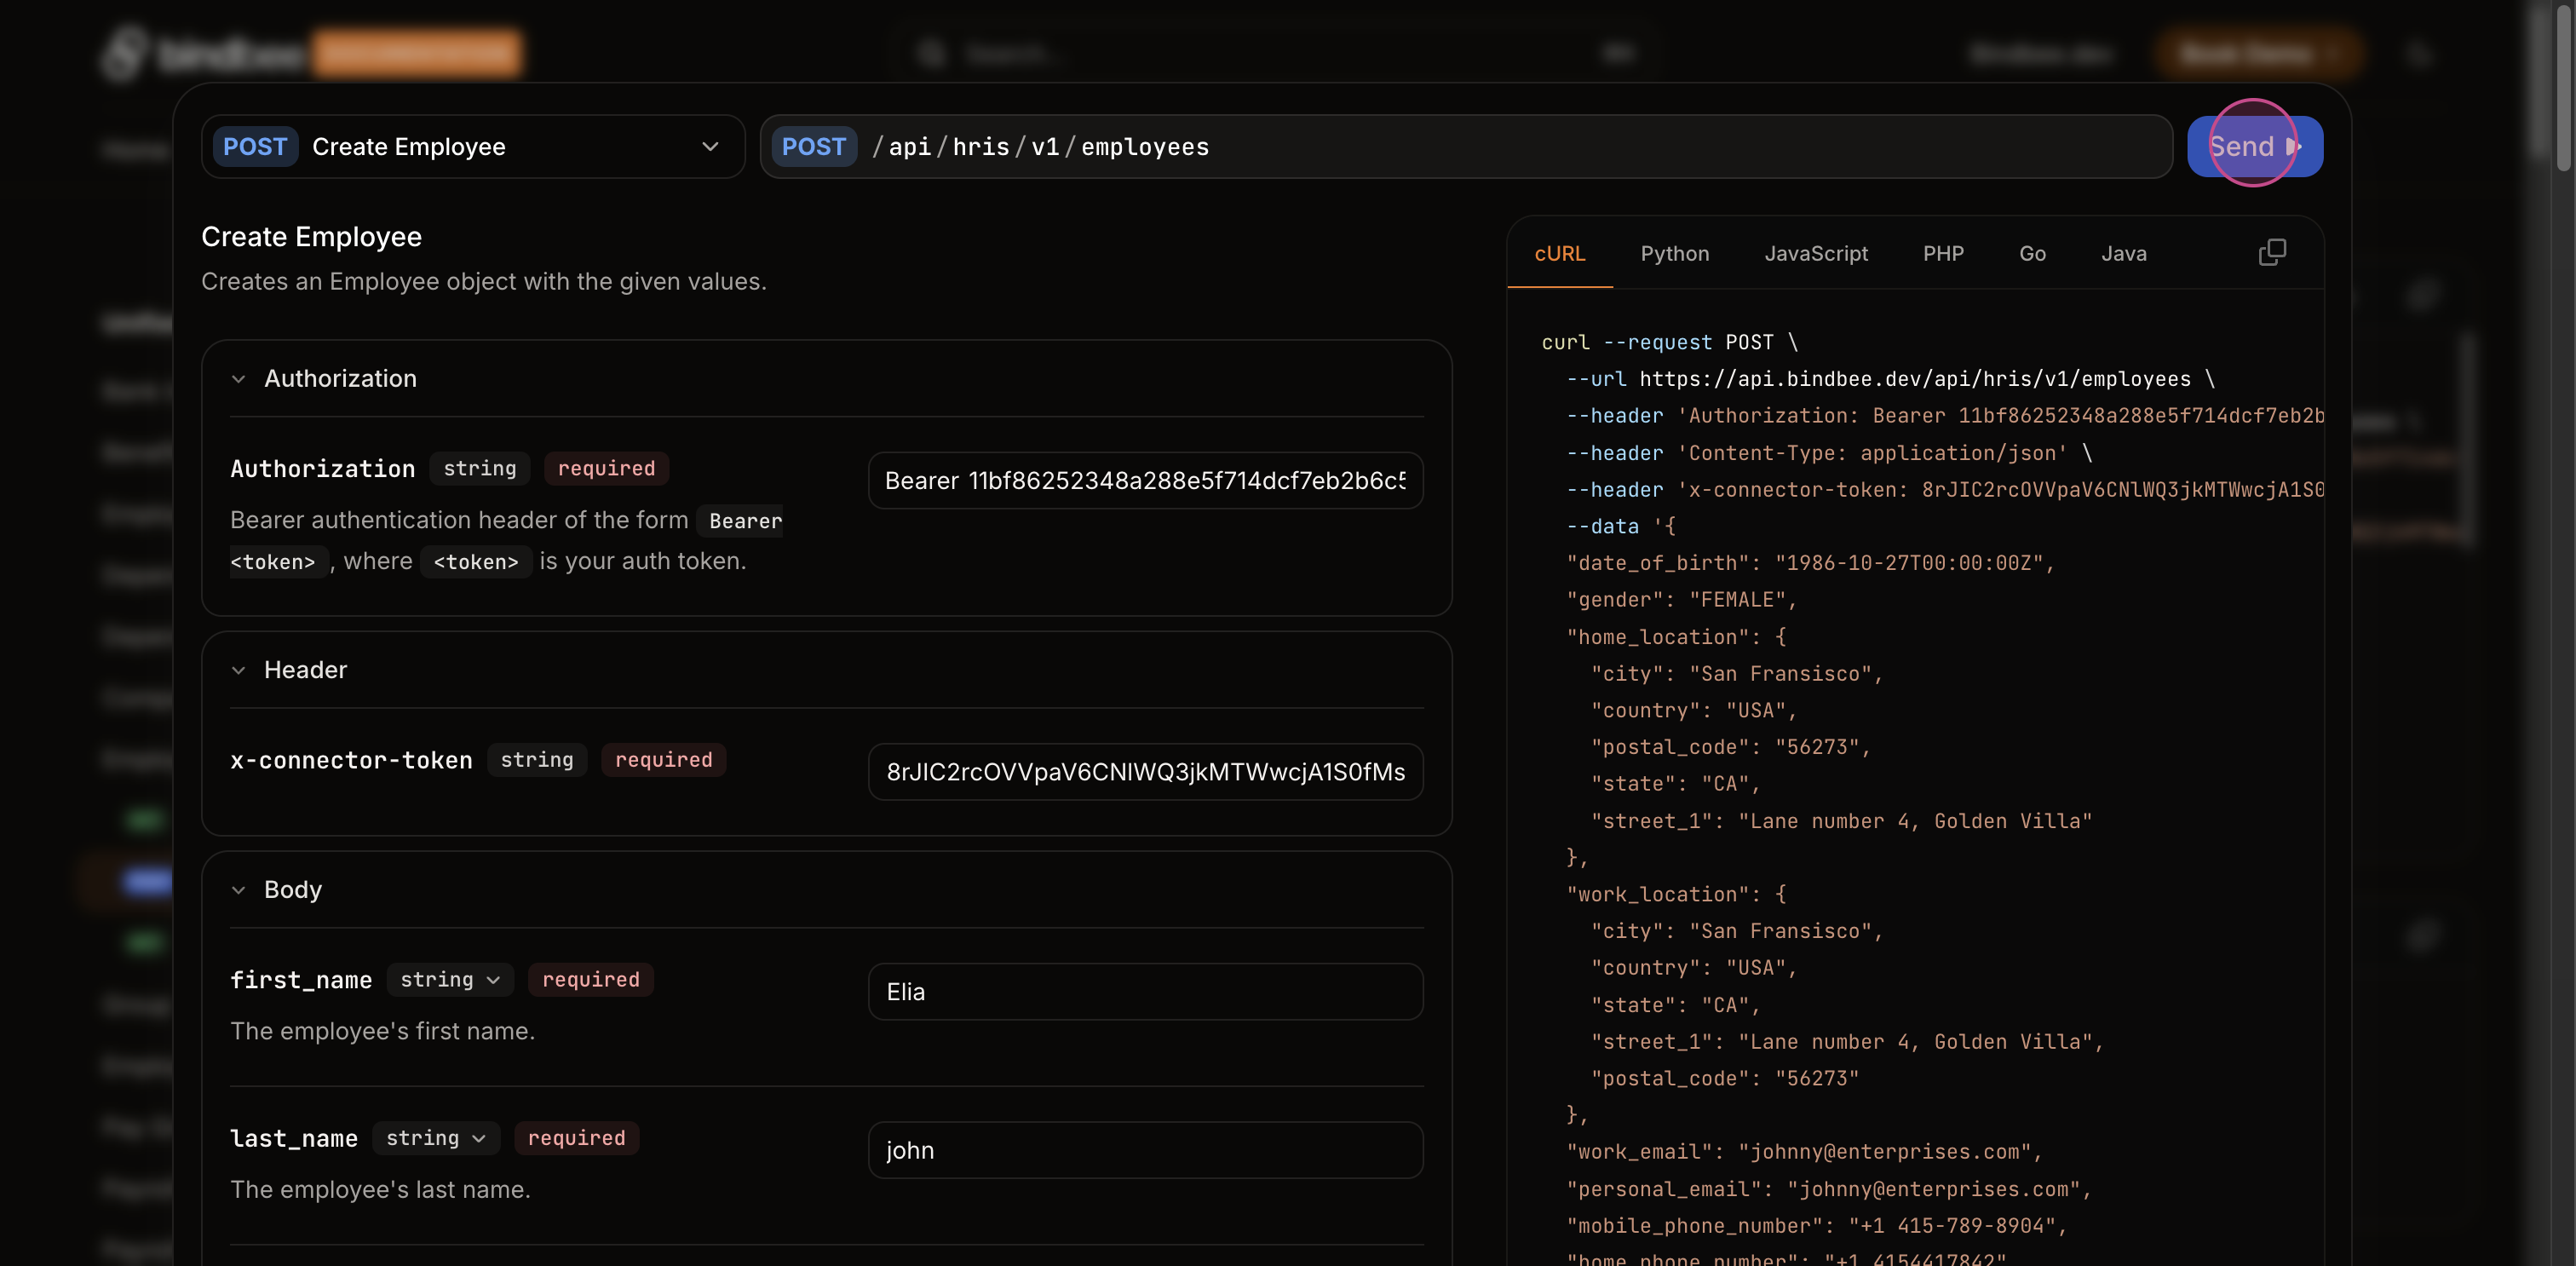
Step 8: This action will create an employee against the job requisition. Go to the Workday instance and approve the employee.
Step 9: To confirm the creation of the employee, search for the employee in Workday.
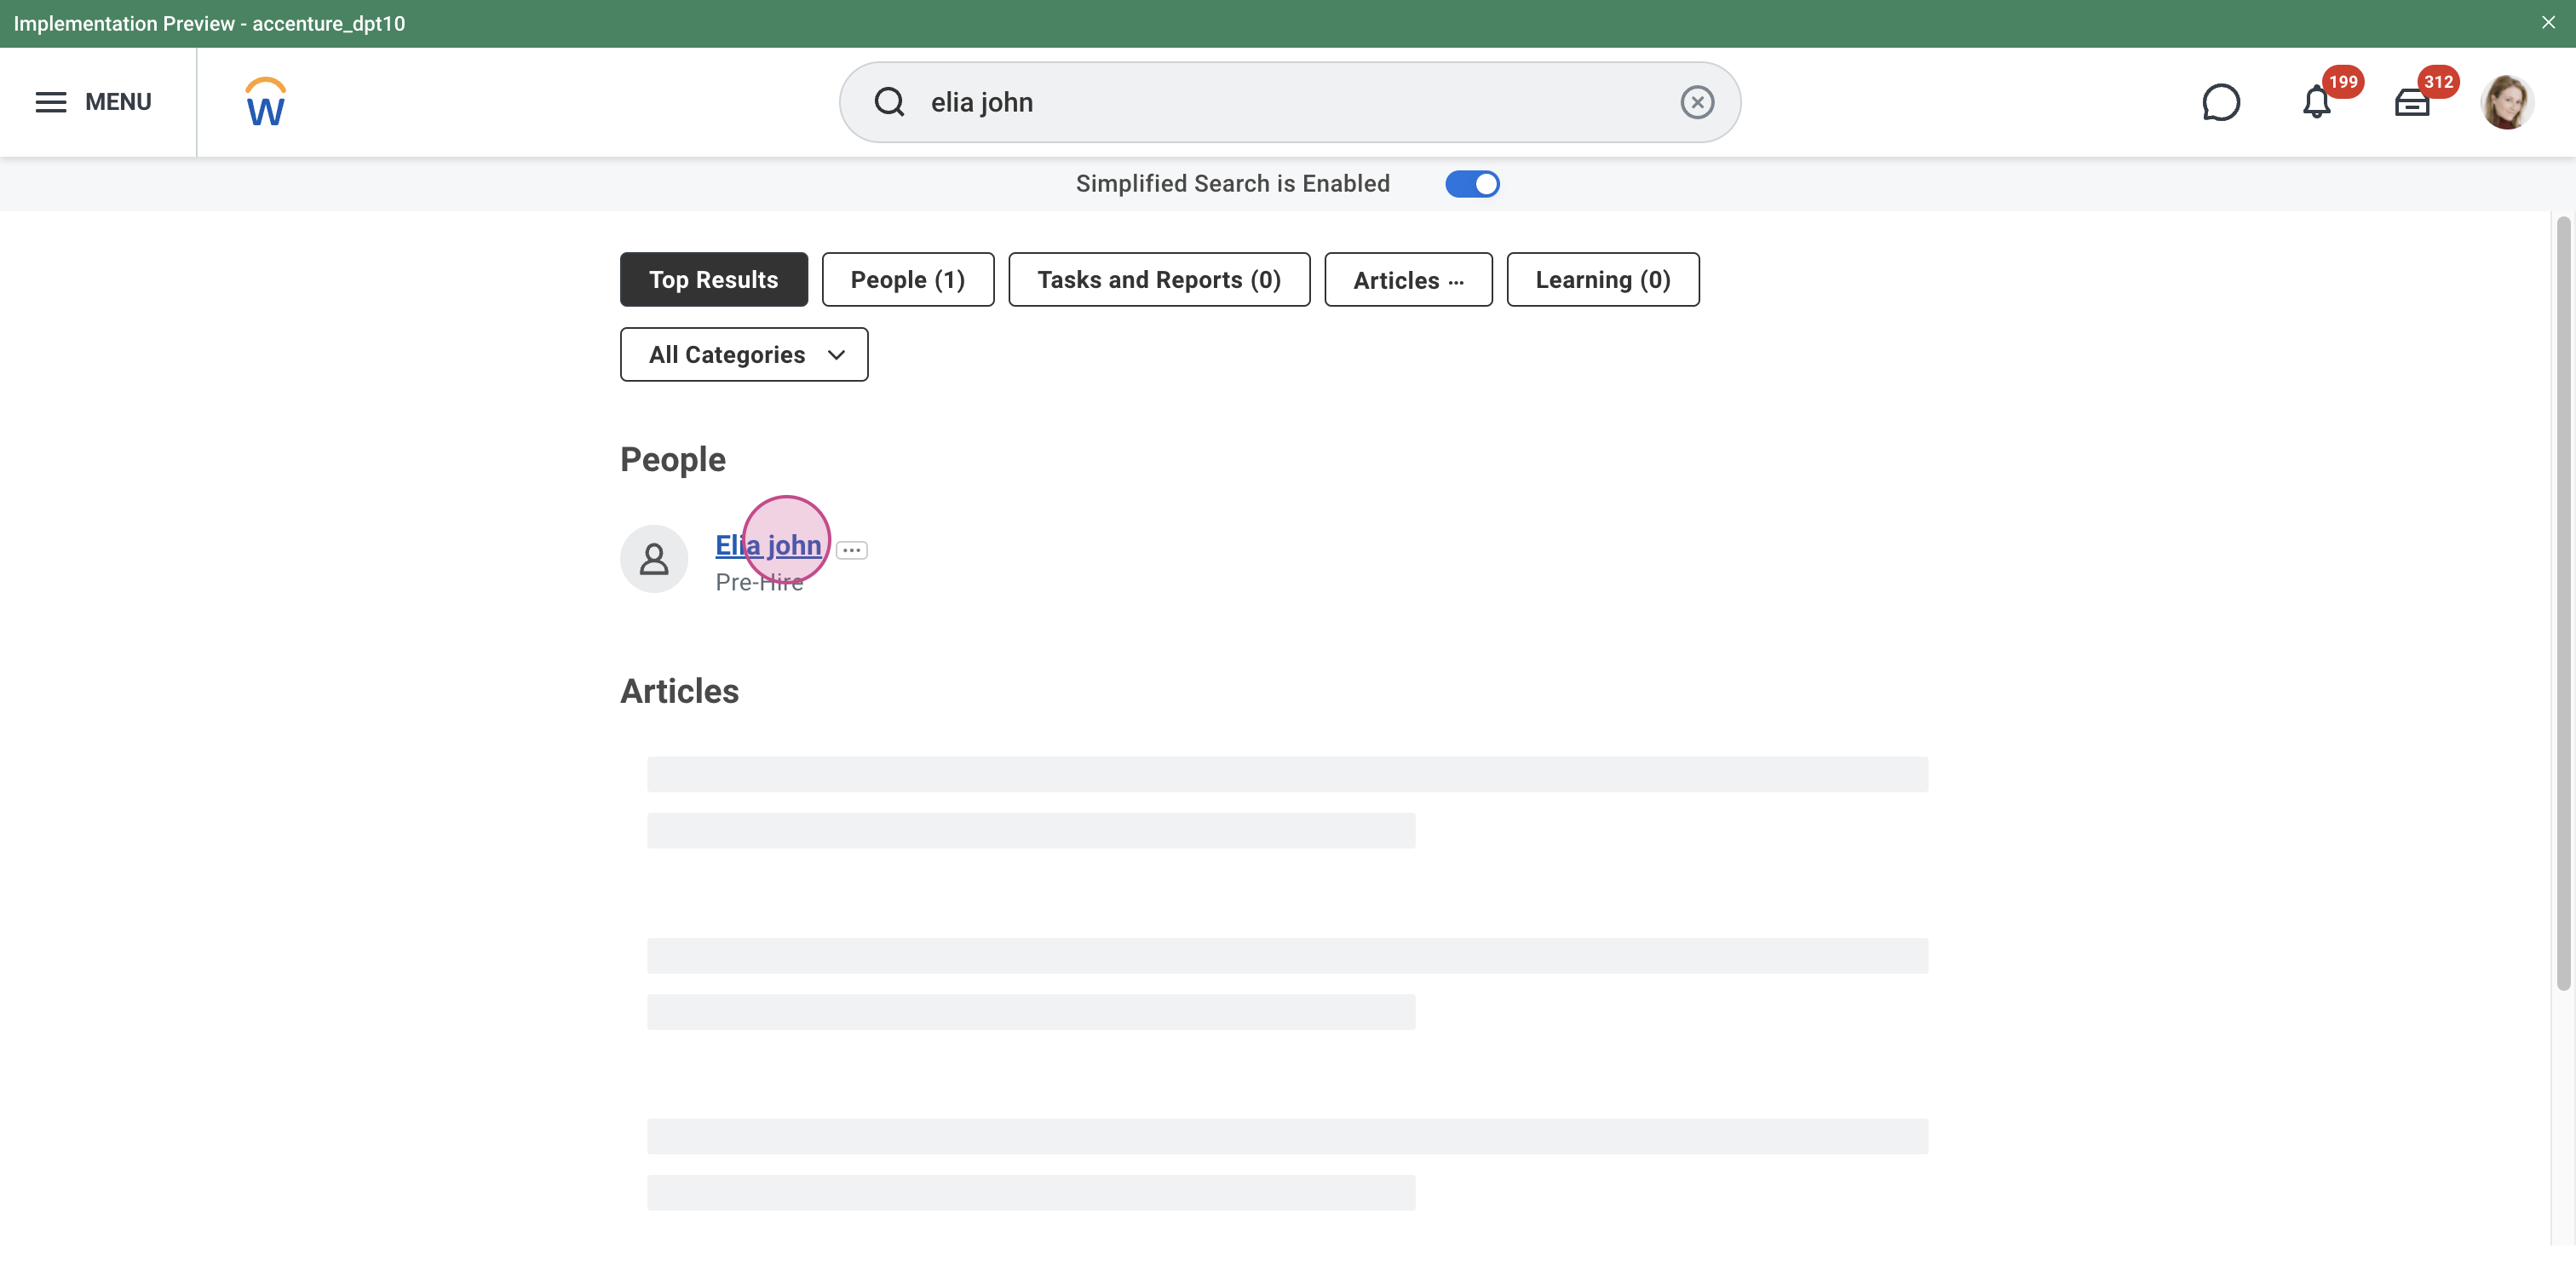
Step 10: Thats how you create an employee in workday!